How to change your pedals
It is important to be careful when installing and removing pedals. Make sure thatyou don’t damage the cranks or pedals. Read more.
You might be thinking, “Installing and removing pedals is easy, why did bc write a how-to about it?” Well, in theory changing you pedals shouldn’t be an issue, but sometimes things just don’t go right and threads are damaged leading to new parts that can get expensive fast. Below you will find a few tips when it comes to installing and removing pedals that will make the process easier.
To start, you should get everything you need out of your tool box and have it within reach. Pedal installation and removal only requires a few things: an 8 mm pedal hex key or a 15 mm pedal wrench as well as grease or titanium installation paste for titanium axles. Whether you need a hex key or a 15 mm pedal wrench depends on the pedal. You should be able to tell the difference by looking at the axle. Some pedals can be installed and removed with both. Another tool that is useful is a torque wrench. You should only use this tool to finish tightening and not to loosen because you might damage the wrench’s internals.
If your old pedals are difficult to remove, you might need some lubricant as well as a pipe that fits over the wrench or hex key to allow for more leverage force to be applied.


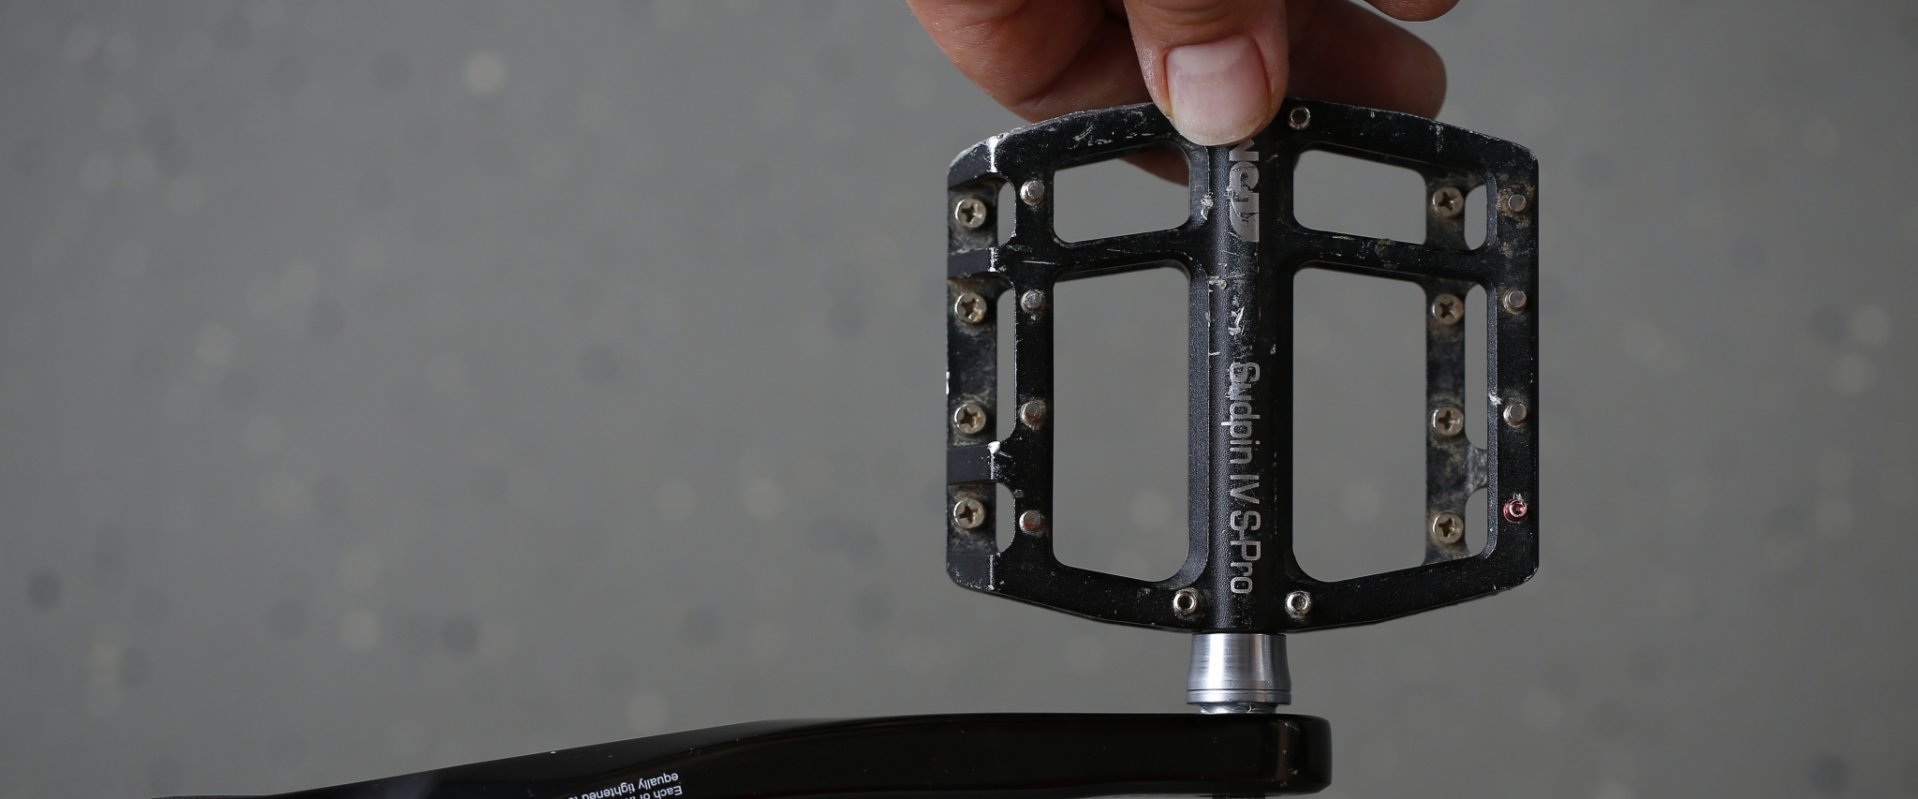
NC-17 Sudpin IV S-Pro
Removing the old pedals
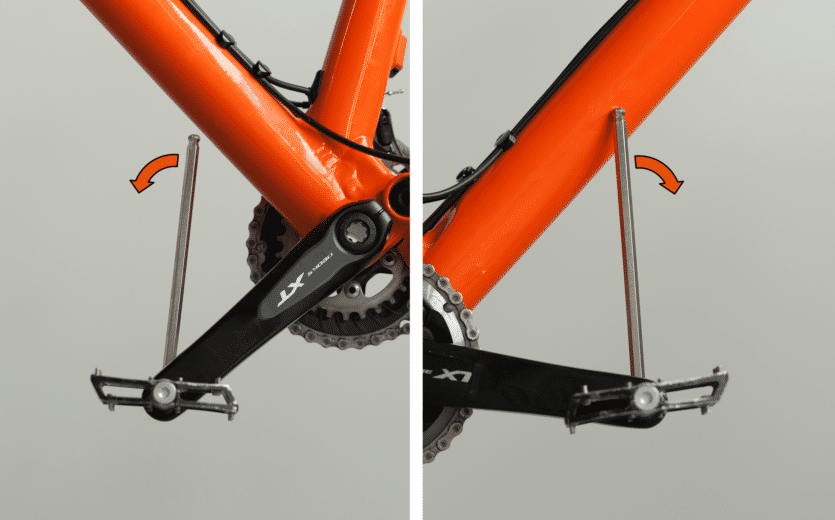
To remove the old pedals, make sure the wrench is set properly so that it does not slip. One way to think about the direction the pedals need to be loosened is to imagine your foot is the wrench and the direction you pedal tightens them. This means, you need to push the wrench right to loosen the non-drive side pedal and left to loosen the drive side pedal.
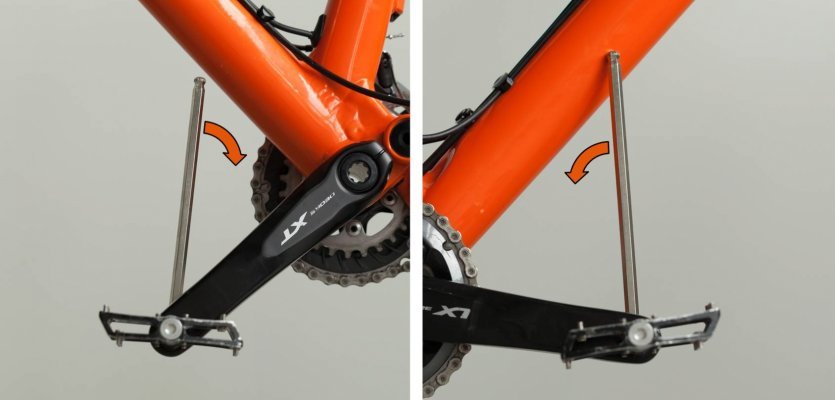
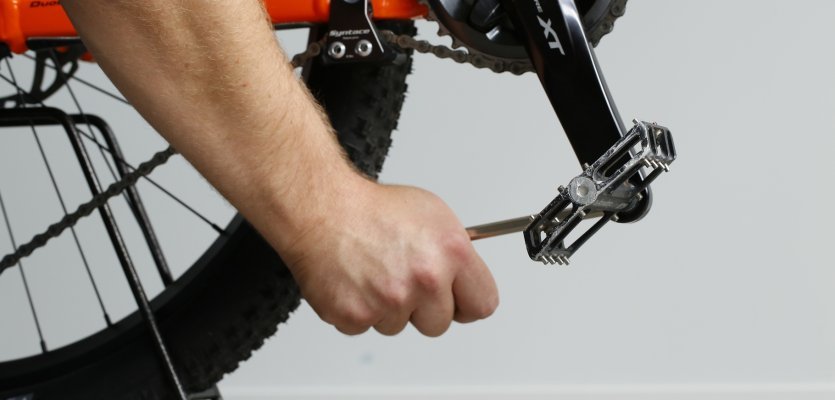

However, be careful when loosening. Pedals often require a lot of force to remove, which can lead to a quick jolt. Make sure you note where the wrench is before attempting to remove the pedal. Be sure there is nothing between the direction you are pushing and your hand.
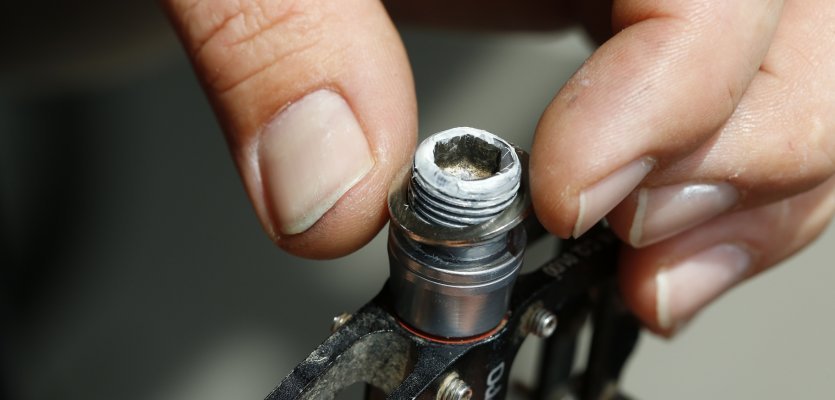
Sometimes, when the old pedals were not installed with enough grease on the treads, they can rust and get stuck in the cranks. Most of the time all you need is to use a lubricant, like WD-40, to get the treads moving again. In extreme cases, you can try and use a pipe over the wrench to increase the amount of leverage you can apply to the pedals.
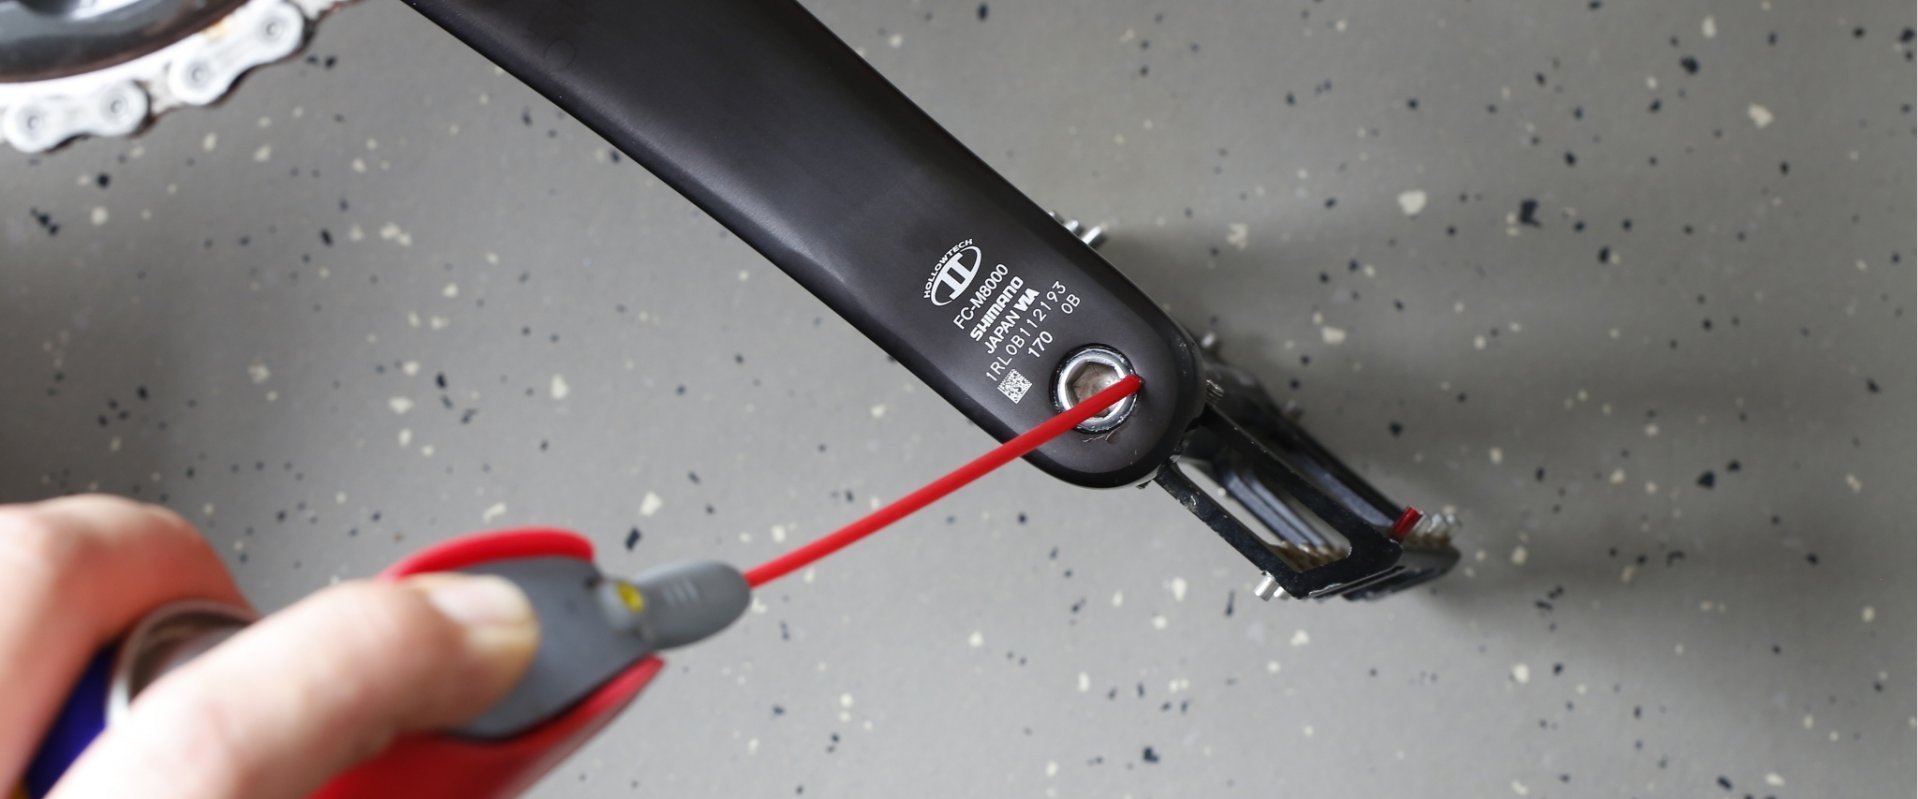
WD-40 can work wonders.
How to tell pedals apart
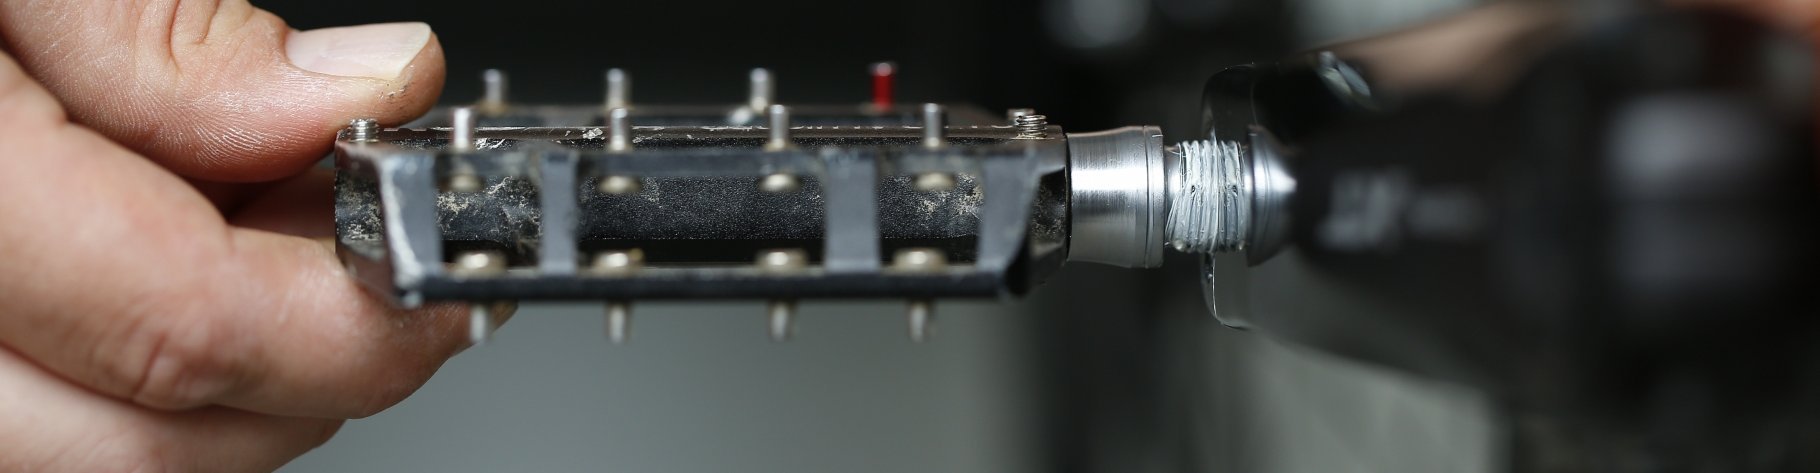
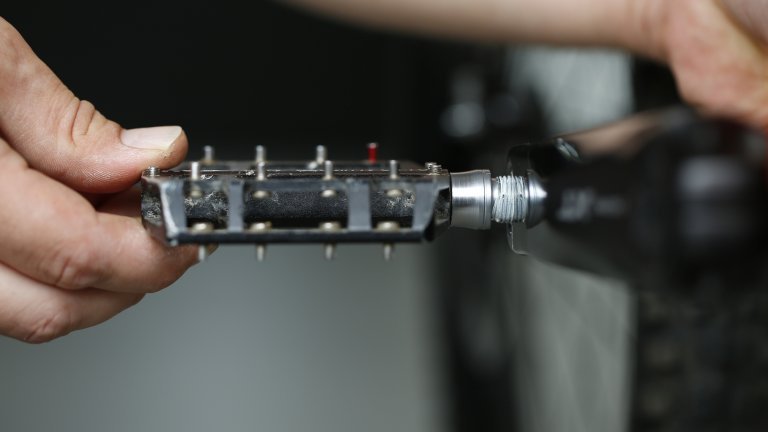
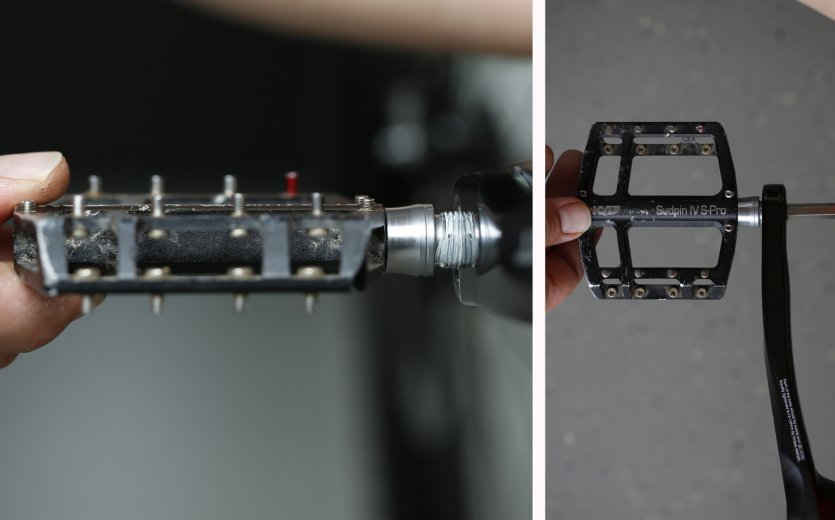
Often, it is not clear which pedal is left or right, especially when an ‘L’ or ‘R’ are not present somewhere on the pedal. There is however another way to tell. The left pedal has a small notch in the axle like shown in the picture below.
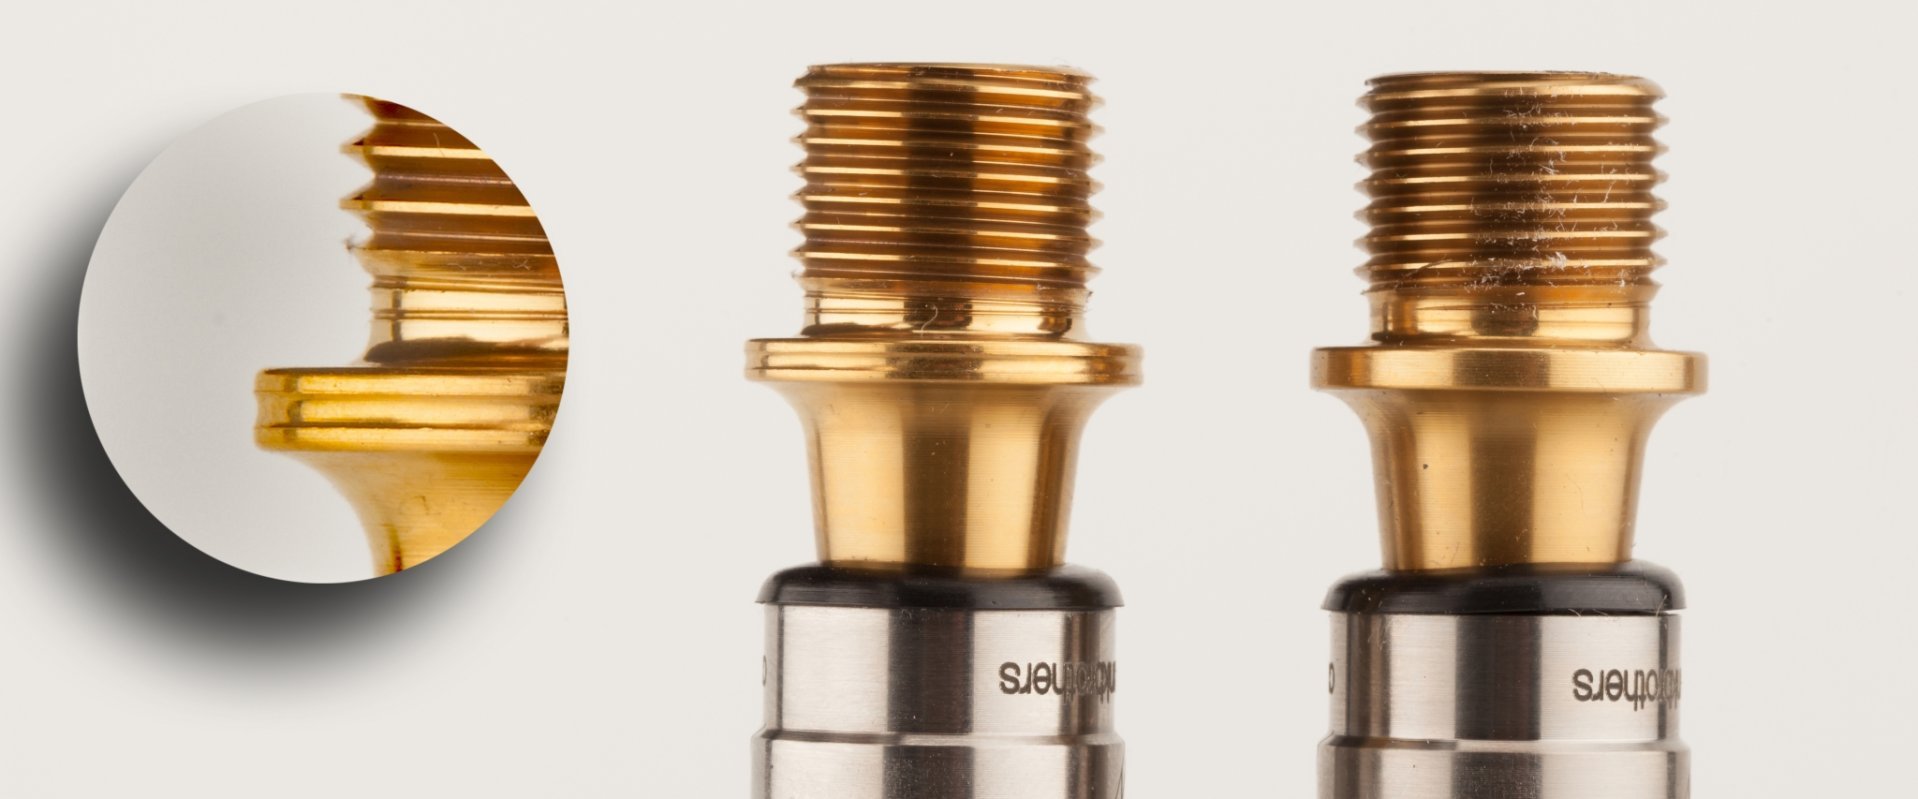
The notch indicates that the pedal is for the left side.
Installing new pedals
Now that you know which pedal is left and which one is right, you can install the new pedals. The left pedal is for the non-drive side and the right for the drive side, or where the drivetrain is. Some cranks require a pedal washer to be used like the one below. These prevent the pedal from damaging the crankarms. However, a washer was not needed in our case.
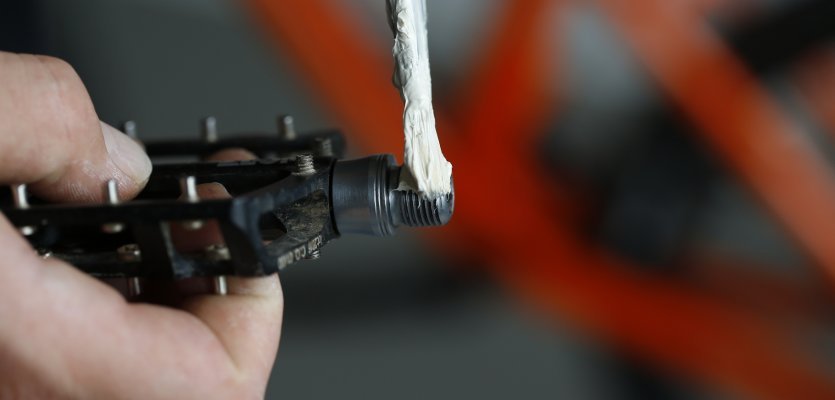
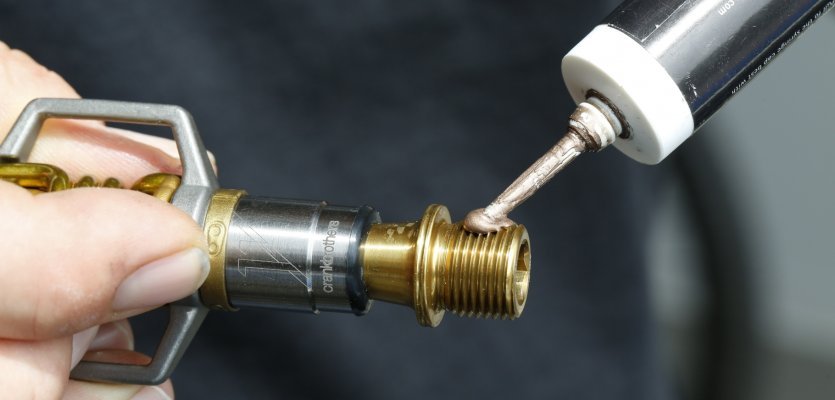
Before screwing in the pedals, you need to grease them. If you have a titanium axle do not use grease, but instead use a titanium installation paste. Grease is water resistant and helps protect the treads of the pedal and crank from corrosion. When it’s time to change pedals again, you’ll be happy you greased them.
As mentioned above, the direction you tighten the pedals is easy to remember. In this case, the drive side pedal is tightened by turning the wrench to the right and the non-drive side pedal by turning the wrench to the left. When you start to thread the pedal into the crank, make sure the axle is lined up straight.
If the pedals are mis-threaded, the threads in the crankarm could be damaged.
Start by carefully turning until you are sure the pedal is correctly threaded. Do not force the pedal into the crankarm. If you do, you might damage the crankarm threads.
When the end of the pedal axle meets the crankarm, we recommended you use a torque wrench to ensure the correct N/m are applied.
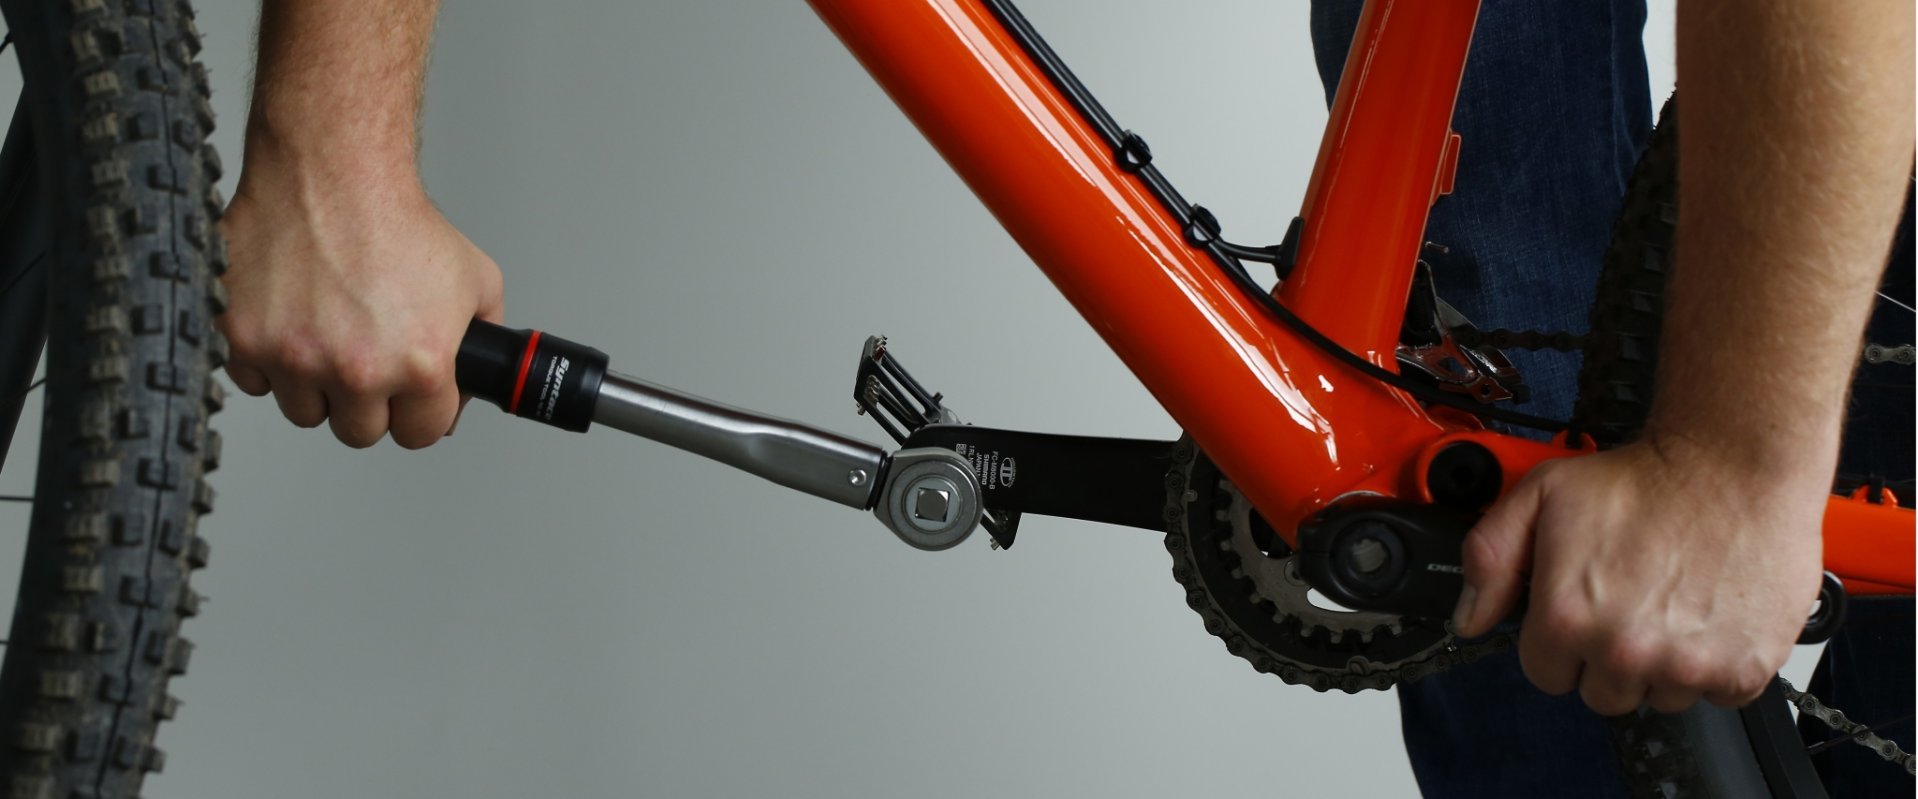
Use a torqure wrench to finish tightening.
Now you can put everything away and get out and try your new pedals!