

The Ultimate Gravel Bike Tyre Guide
More speed, comfort or grip through tyre tuning? Learn how to find your perfect gravel bike tyre here.
With the right tyre pressure, you’ll have more fun, grip and control on your MTB. We explain how to find the sweet spot.
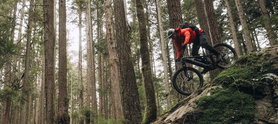
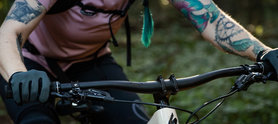
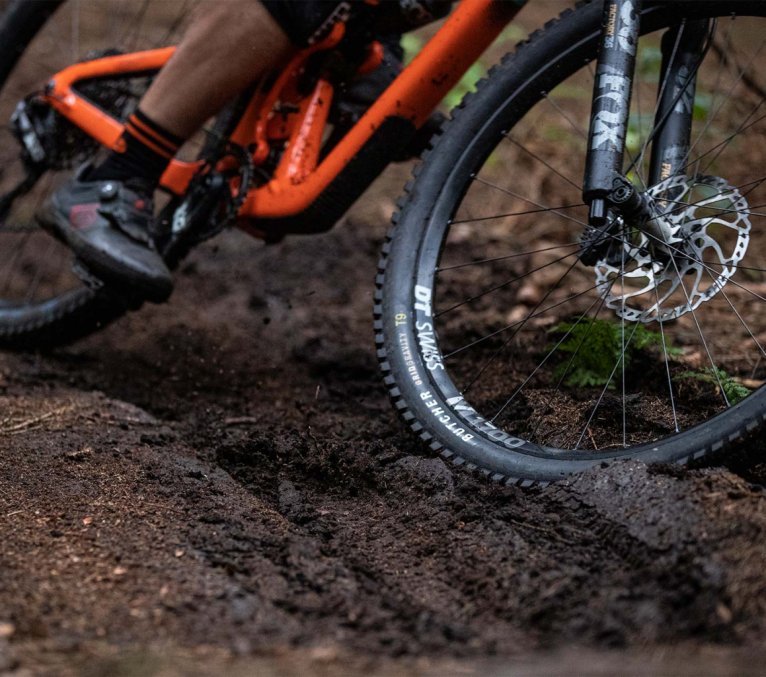
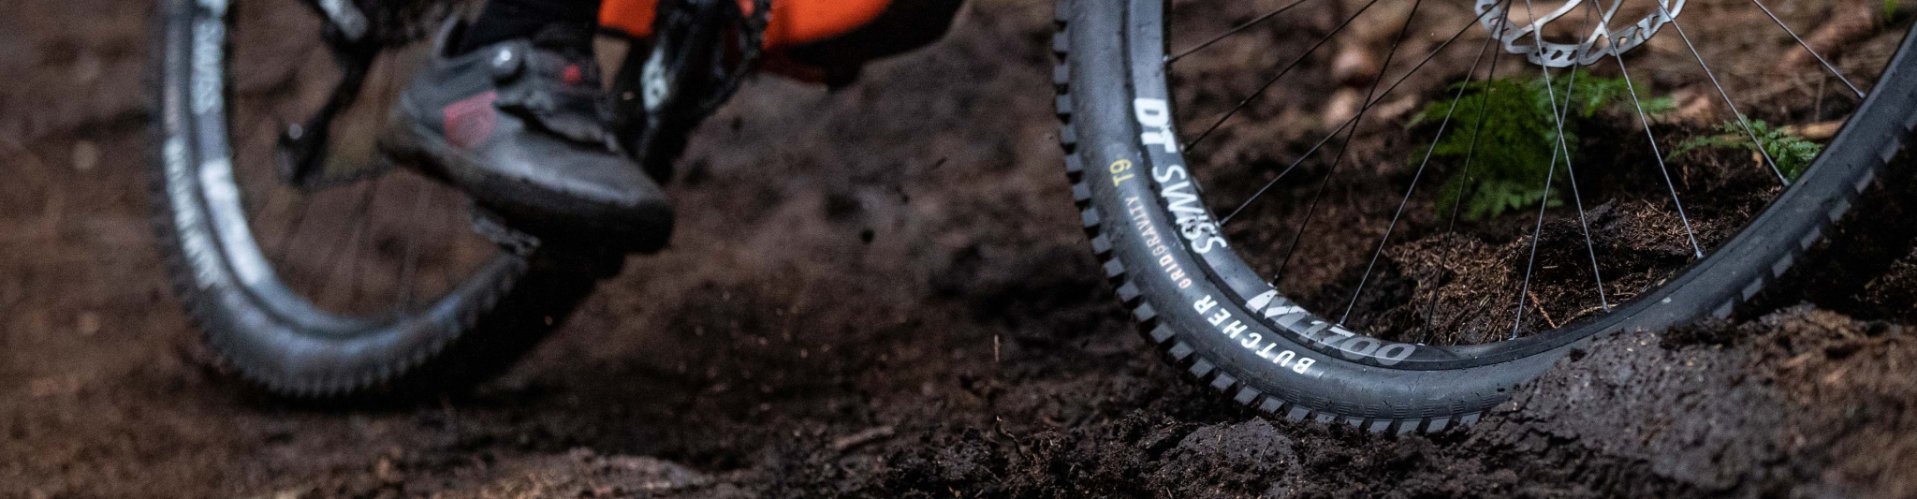
The tyres are your contact point with the trail and have a major influence on how your mountain bike or E-MTB rides. But it’s not only the choice of tyres that matters – tyre pressure is just as crucial. With it, you can precisely tune your bike to your riding style and even adapt it to specific trail conditions. That’s practically free tuning! Pros squeeze out valuable seconds this way, and fans of relaxed riding can maximise their fun off-road with the right tyre pressure. Whether downhill, enduro, trail, touring or XC: everyone benefits! We’ll give you practical tips on how to find the perfect tyre pressure for your MTB or E-MTB.
To understand how powerful tyre pressure really is, it helps to look at how and where it affects the performance of your MTB or E-MTB. Your optimal tyre pressure is always a balance between these characteristics and depends on your individual priorities.
We would love to give you specific pressure values, but in reality there are so many interacting factors when it comes to the ideal tyre pressure on a mountain bike that they cannot be summarised in a simple table. There are online tools and apps that take many parameters into account and provide you with good starting values, such as the Schwalbe Pressure Guide or SRAM’s guide. From there, you can move on to fine-tuning using our tips. Divided into “hard” and “soft” factors, you will find guidance here on which aspects suggest increasing your tyre pressure and which allow for lower pressure — assuming all other factors remain the same. Don’t be put off by the length of the list! For many points, simply being aware of them is enough to develop a better feel for your optimal tyre pressure.
Hard factors that only change when you replace components on your bike:
Soft factors partly depend on external circumstances and can change from one ride to the next.
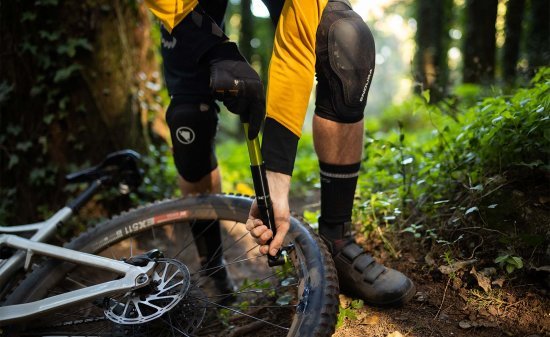
Whether you inflate your tyres at home using a floor pump, a compressor, or carry a hand pump or battery-powered pump on the trail is a matter of preference. What really matters for tyre pressure is how you measure it. High reading accuracy (at least 0.1 bar for MTB) and reliably reproducible results are essential. If you use a pump with a high-quality integrated gauge, that may already be sufficient. If you use multiple pumps, keep in mind that their readings may differ. Even two pumps of the same model can show variations. It’s worth comparing all your pumps with gauges against each other.
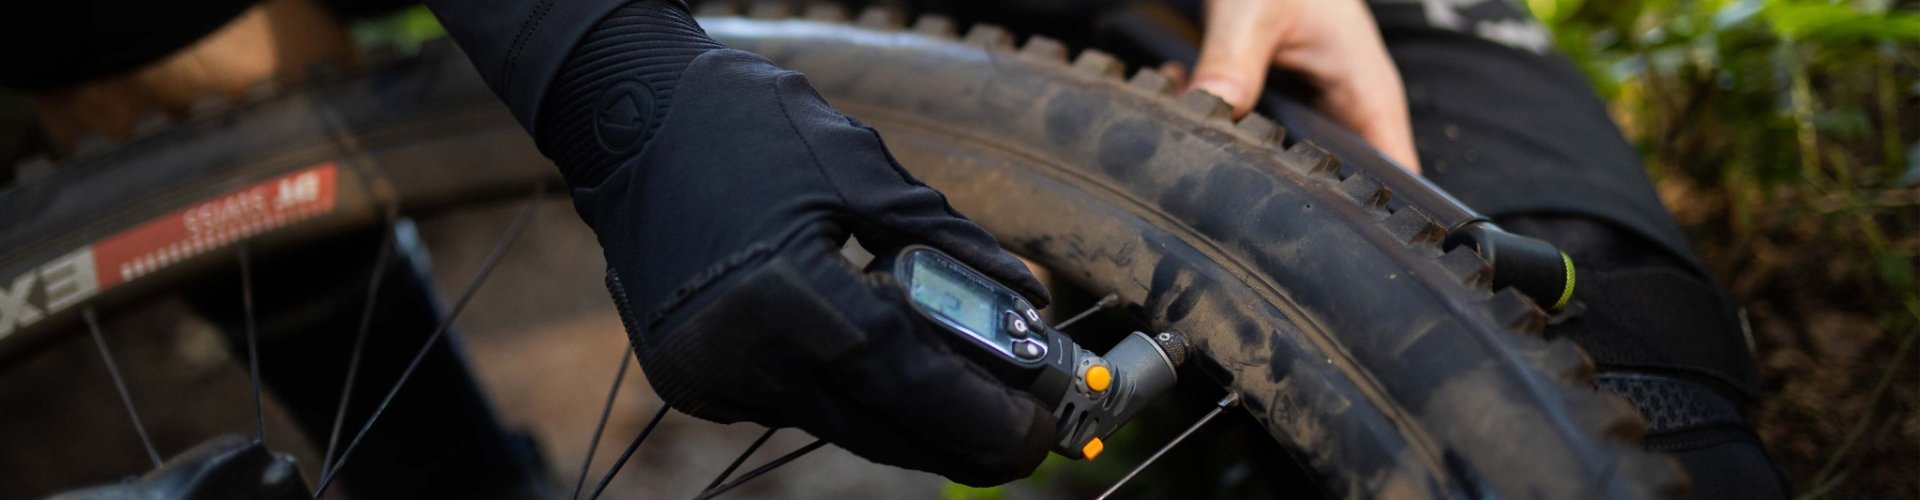
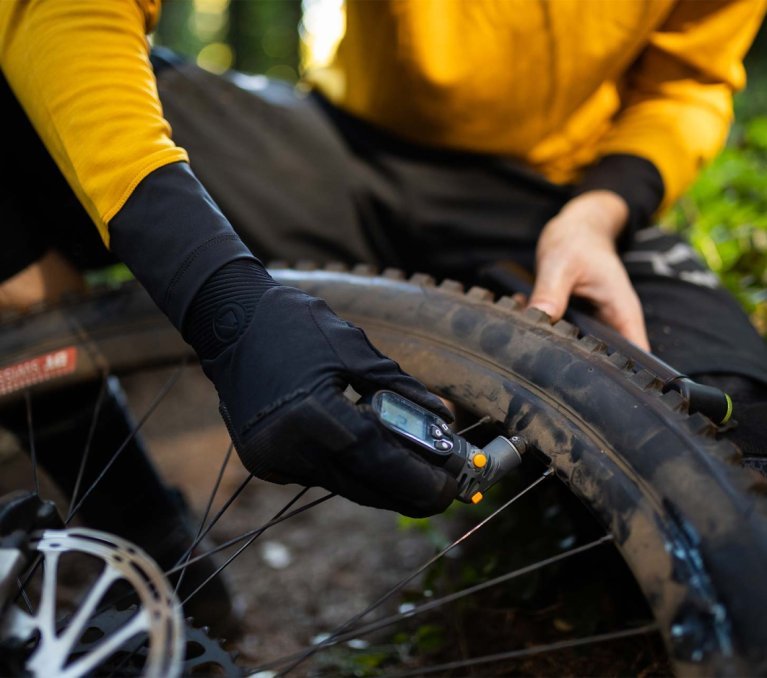
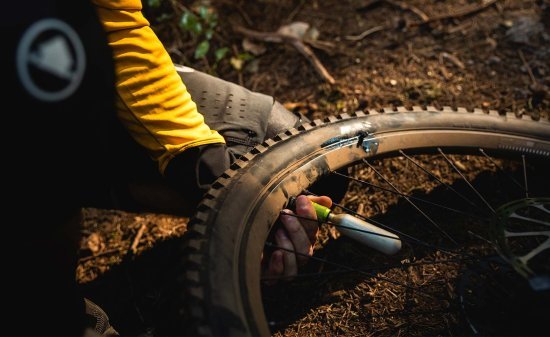
Ideally, you should use a separate tyre pressure gauge that allows you to measure independently of the pump. Most digital handheld gauges are small enough to carry on a ride, so you won’t have to rely on thumb-pressure guesswork on the trail. Many pressure gauges feature a release button that lets you let air out. If you slightly overinflate the tyre first, you can then fine-tune the pressure very precisely by releasing air. Important: different handheld gauges can also vary in their readings. It’s best to always use your own gauge, whose values you know and trust.
If you want to know the exact tyre pressure at all times, you can install valves with integrated sensors that continuously measure pressure and transmit it wirelessly to your smartphone or compatible bike computers. These systems also warn you if the pressure deviates from your preset target value.
Ideally, you should document your tyre pressure values. Especially if you experiment a lot, we recommend writing down the readings in a notebook or saving them on your smartphone, along with notes about your riding impressions. This makes it easier to track changes later and, for example, compare tyres with different casings more accurately.
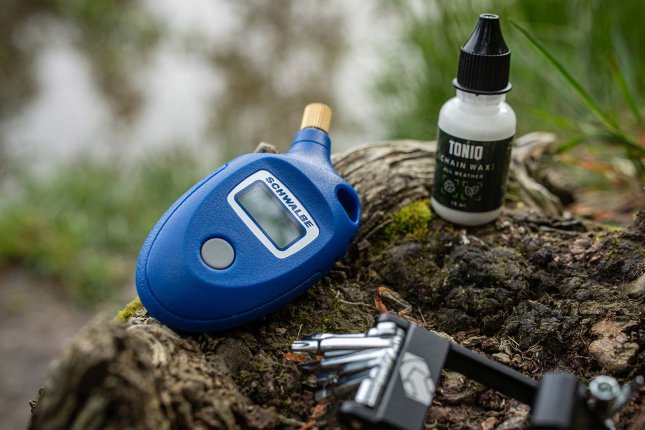
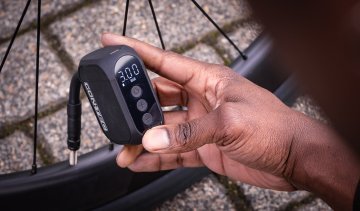
A tire pressure gauge is a handy tool to have with your bike gear, helping you quickly check if your tire pressure is ready for the next ride. © bc GmbH
Once you understand the influencing factors described above and have your pump and pressure gauge ready, you can start fine-tuning. It’s advisable to begin with slightly higher pressure and gradually work your way down by releasing air in small increments. The closer you get to the limit, the smaller the adjustments should be. A difference of 0.1 bar can often already be noticeable. If you realise you’ve released too much air, you can simply add a little more.
After each adjustment, you should test again. Ideally, use a section of trail that you can repeat – with roots, rocks and corners where you can assess grip. You can also optimise tyre pressure gradually during a ride. While you won’t be riding exactly the same sections, you’ll often encounter similar terrain and gain a broader range of riding impressions overall. Additionally, you can perform a few static tests while standing still to get clues as to whether you have too much or too little pressure in your tyres.
It’s not necessary to measure after every minor adjustment. However, once you’ve found a pressure setting that works well for you, it’s worth recording the values. This way, you can reliably reproduce that great ride feel and tyre performance at any time.
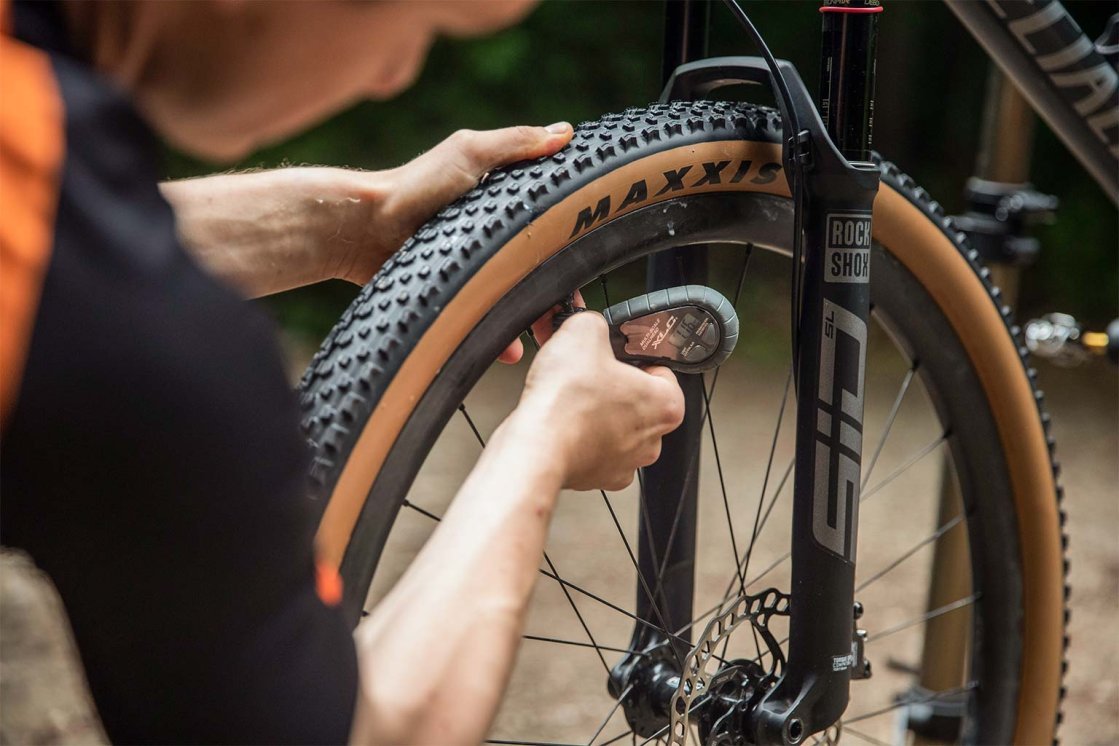
Fine-tuning tire pressure takes patience: adjust in small steps and test on the trail to find the setup that feels best. © bc GmbH
There are a few indicators that show you can lower your tyre pressure further to get the best performance out of your tyres:
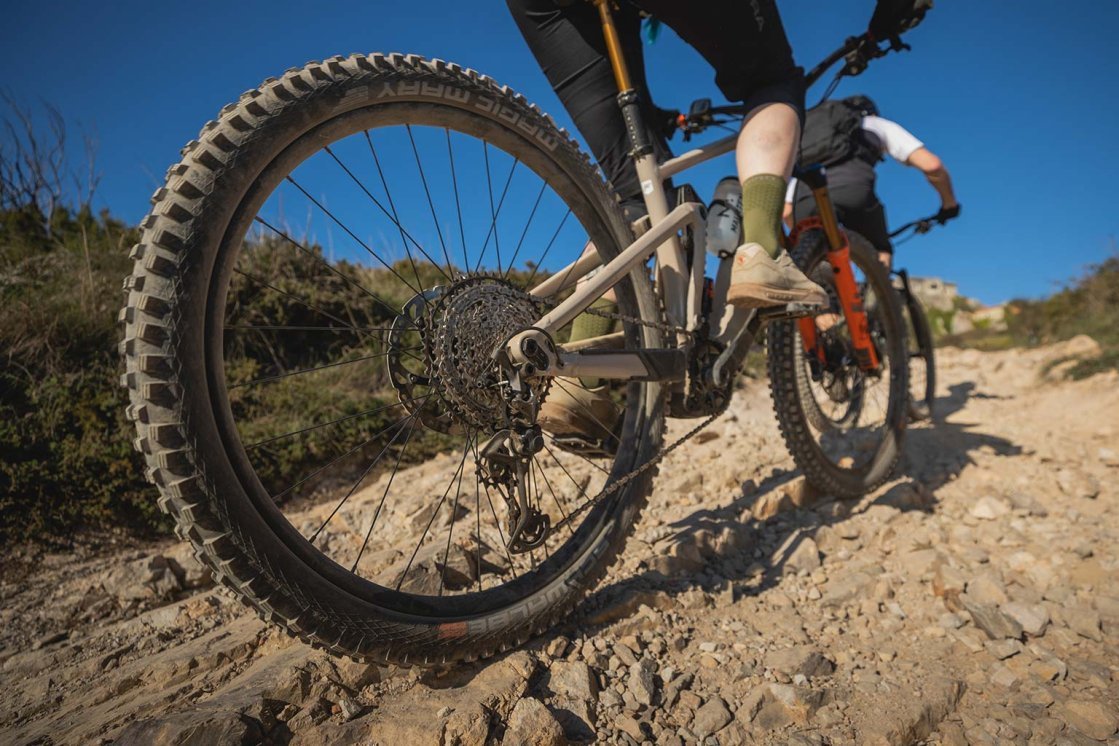
Lower tire pressure helps MTB tires adapt to the terrain, improving grip and control on rough trails. © bc GmbH
If you have gradually reduced the pressure, the limit will make itself known through some clear warning signs. Increase the pressure slightly again if the following occurs:

Too little tire pressure increases the risk of rim strikes, especially on rough trails with rocks and roots. © bc GmbH
Many mountain bikers keep their bike (or several) at home indoors. If that applies to you and you set your tyre pressure in a heated room before heading out, you should keep in mind during the colder months that the pressure inside the tyre will drop as the air cools down to outside temperature. How significant is the effect? We tested it: On the rear tyre, which we inflated to exactly 2.00 bar at 20 degrees Celsius, we measured only 1.80 bar on the trail at around zero degrees using the same gauge. The front tyre dropped from 1.50 to 1.34 bar. So you can roughly expect a loss of about ten percent when the temperature difference is 20 degrees Celsius. Next time, simply add that little bit extra air at home before heading out.
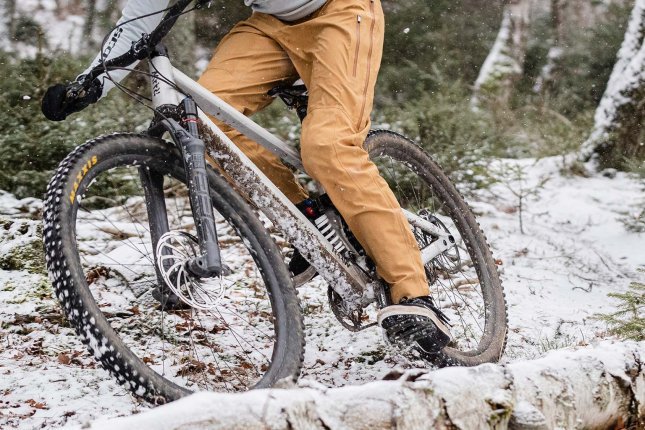
Cold temperatures can affect tire pressure. A quick check before riding helps maintain grip and control on winter trails. © bc GmbH
The manufacturer specifies the minimum and maximum tyre pressure on the sidewall of your tyres. For safety reasons, you should not go below or exceed these values. In the past, the minimum values often seemed quite high by today’s standards: since the introduction of tubeless systems, many mountain bikers prefer to run lower pressures. Fortunately, most manufacturers have responded and approved their current tyres for the pressures commonly used today.
How many bar are 25 psi?
25 psi equals approximately 1.72 bar. If you want to convert it yourself: one bar equals 14.504 psi. However, since most pressure gauges display both units, this is rarely necessary.
Can I run lower pressure with a tubeless tyre?
Yes, since the risk of pinch flats is lower with a tubeless system, you can run slightly lower tyre pressure than with an inner tube.
What tyre pressure should I use in mud and wet conditions?
In mud, wet conditions and even snow, you can gain more grip and therefore more safety by slightly lowering the tyre pressure.
Should the front tyre have more or less pressure than the rear tyre?
On an MTB, it makes sense to run lower tyre pressure in the front tyre than in the rear tyre, as there is less weight on the front.
What tyre pressure is recommended for an e-MTB?
Since an e-mountain bike is heavier than a non-assisted MTB, you should run slightly higher tyre pressure to achieve the same level of pinch flat protection.
How often should I check the tyre pressure on my MTB?
We recommend checking your tyre pressure before every ride. Even if your tubeless tyre or inner tube usually holds pressure for several days, this way you’ll notice early on if something is wrong – for example a slow puncture. In general, a small amount of air always diffuses through the tube and tyre casing over time, which causes pressure to drop gradually.
Can I adjust tyre pressure during a ride?
Yes, you can adjust the tyre pressure at any time if you feel it is too high or too low. You’ll find our tips on this above.
More speed, comfort or grip through tyre tuning? Learn how to find your perfect gravel bike tyre here.
“Hey you! Yes, you on that lightning-fast Factor race bike! Bet your tyre pressure is too high?”
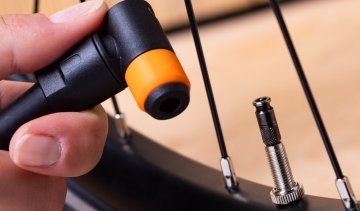
Functional, durable, and easy to use – the Schwalbe Clik Valve promises to be the best bicycle valve yet. We decided to give it a try!
Send your unused goods back within 100 days after purchase and get your money back!
See more