
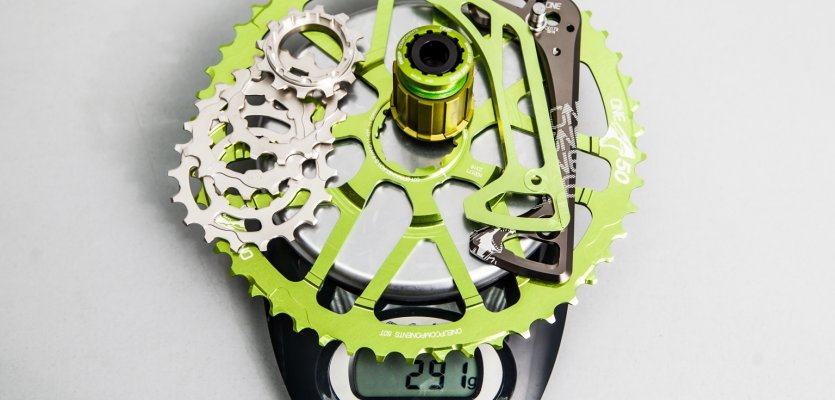
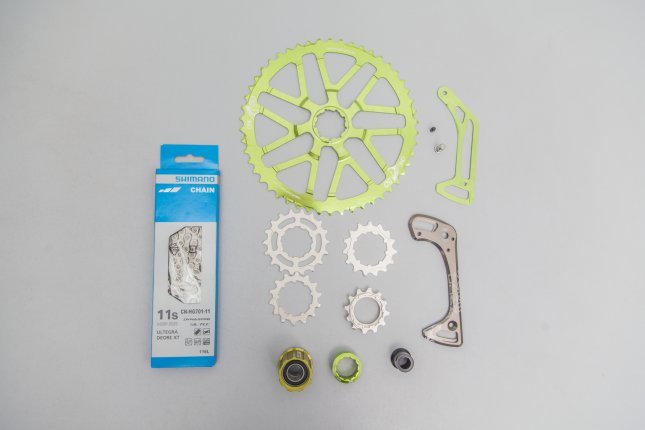
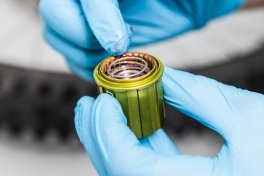
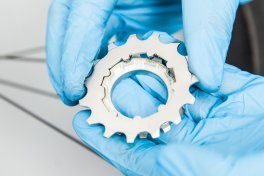
OneUp Shark conversion kit - 50 teeth on one sprocket
How to massively extend your gear range without switching the whole drivetrain.
The new 1x12-speed Eagle groupset by SRAM is currently the latest in drivetrain technology. With the 10-50 cassette, the Eagle has a very large range, but at almost € 1.000,00 it can be hard to justify. If your are not willing to pay that outrageous price for a couple of teeth more, then the OneUp Shark conversion kit is the perfect solution. It includes a 50 tooth sprocket, derailleur cage and a mini freehub body. With this kit, you are able to achieve a similar range to the Eagle on your 11-speed cassette. Caution: currently the kit is only for DT Swiss freehub bodies available and if this is mounted, you will probably lose the manufacturer’s warrantee.
Required parts
...
| bc item No. | Product name |
|---|---|
| 50321 | OneUp Shark 50+18 tooth sprocket with cage |
| 50606 | OneUp Shark conversion kit sprocket cluster |
| 44481 | CN-HG701-11 Shimano Ultegra / XT / E-Bike 11-speed chain |
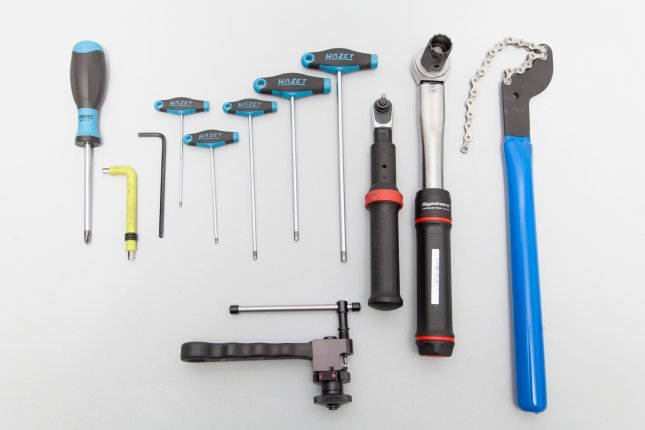
Tools
Before you start, it is always good to place out the tools that are needed. This way there is no need to reach in the toolbox with greasy and oil covered hands.
...
| bc item No. | Product name |
|---|---|
| 30422 | Hazet screwdriver set |
| 35326 | Hazet Allen wrench set |
| 30546 | Hazet T-handle Allen wrench set |
| 45105 | Syntace 1-25 Nm torque tool |
| 1946 | Syntace 10-80 Nm torque tool |
| 24477 | Rohloff Revolver 3 chain tool |
| 22594 | Tacx T4542 9-/10-speed chain whip |
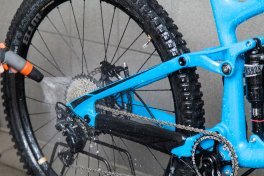
Clean your bike
Before disassembling, it makes sense to clean the bike.
....
....
We were lucky enough to have a bike bath available, but for those reading this from home, using a garden hose outside works just as well.
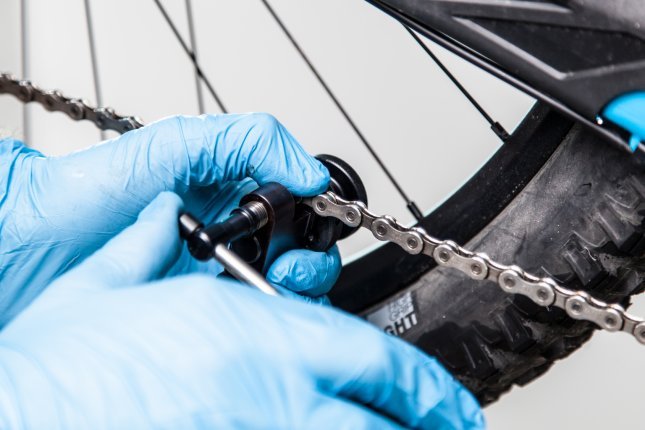
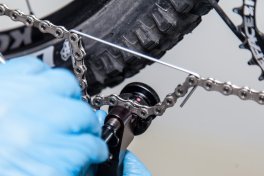
Chain breaking
...
Once the bike is clean you can start by breaking the chain with the chain tool. The chain that is being disassembled will be too short for the new 50 tooth sprocket, so you can throw it away.
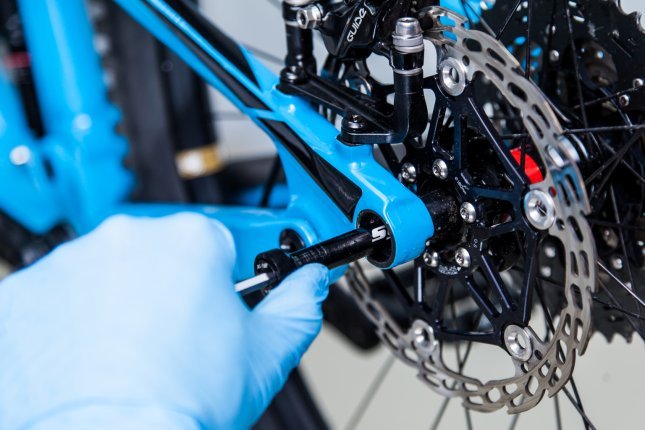
Remove the rear wheel
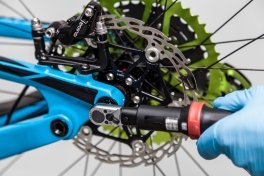
In our case, the bike has an X-12 axle.
Tip: change gears to the smallest sprocket. This makes it easier to remove the rear wheel.
...
- Loosen the thread of the axle with the 5 mm Allen wrench and pull out the axle.
...
- The rear wheel is now loose and can be removed.
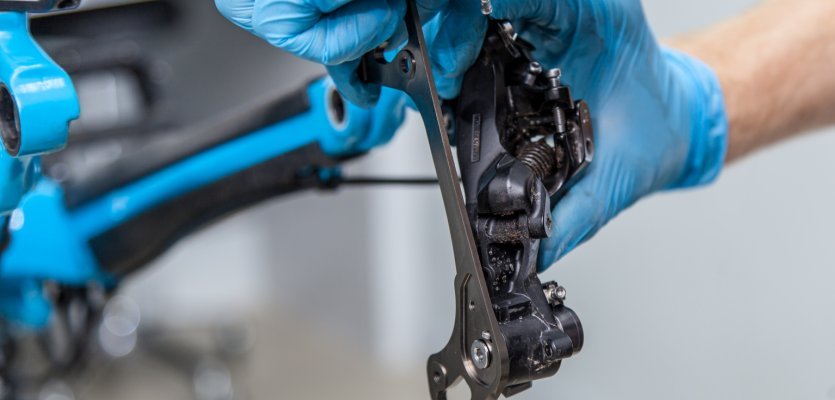
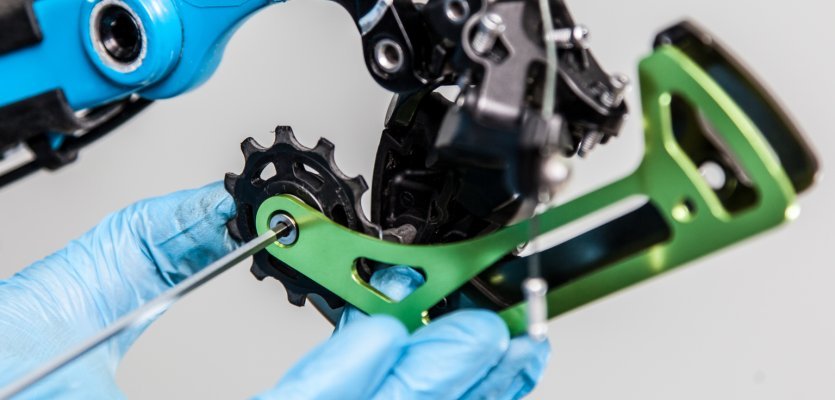
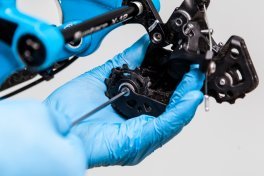
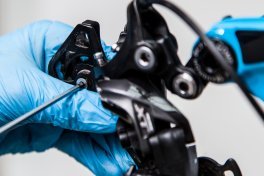
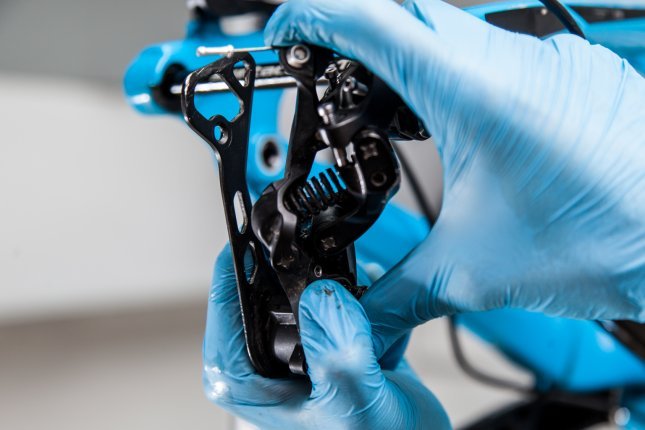
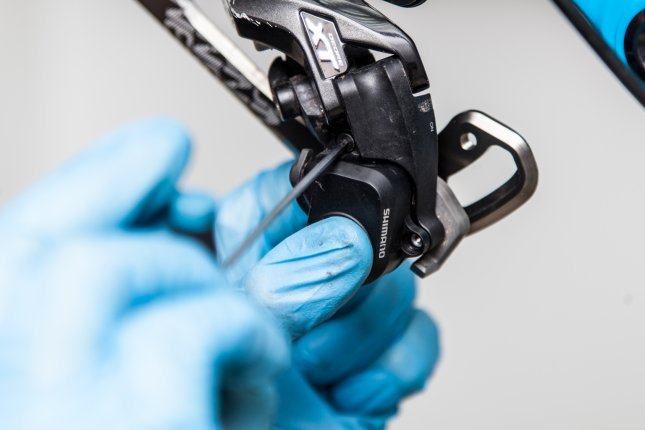
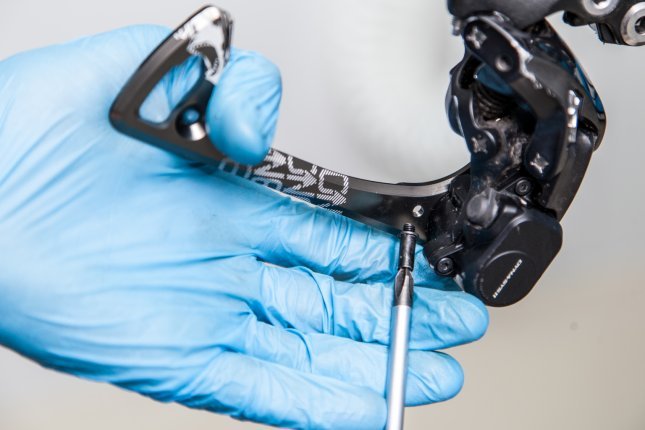
Disassemble the rear derailleur
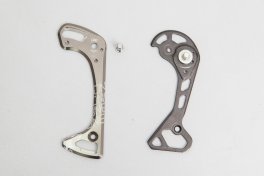
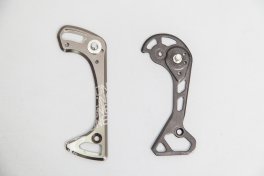
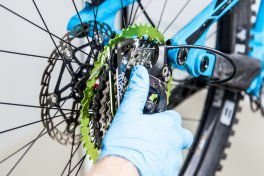
Because the Shark sprocket has 4 more teeth when compared to Shimano’s largest sprocket, the capacity of the rear derailleur needs to be increased. This is done by exchanging the derailleur cage.
...
...
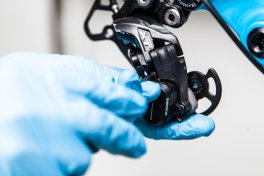
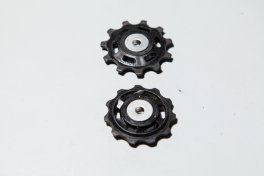
- With a size 3 mm Allen wrench you can loosen the derailleur pulleys. Bear in mind the direction of movement and the position of the pulleys. The upper one has a different shape than the lower one. Best is when they are placed down the way they are disassembled.
- Watch that the bearings do not fall out.
- If both pulleys are loose, then you can remove the rear side of the cage.
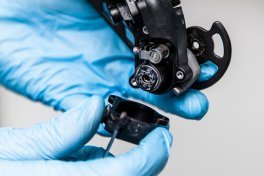
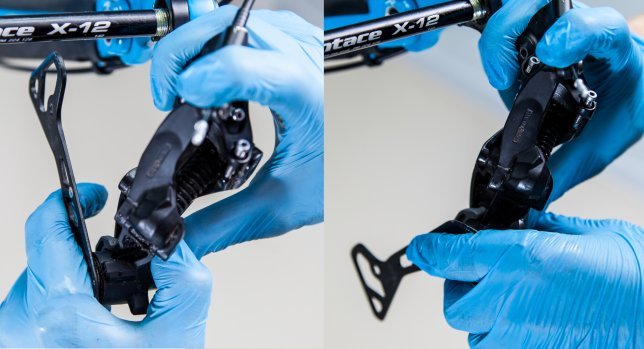
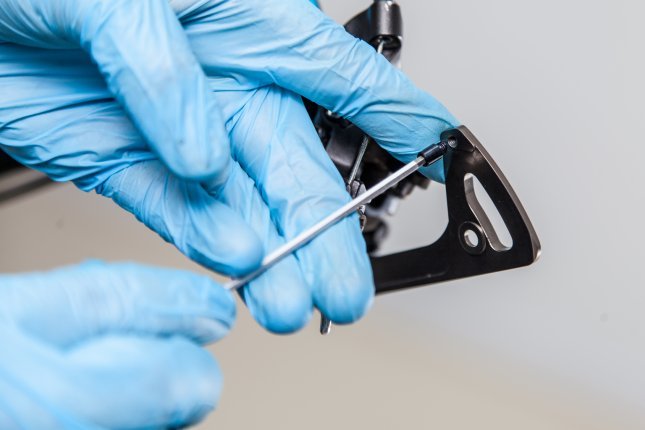
Removing the front side of the cage is a little more complicated. In the pictures shown, we have a Shadow Plus rear derailleur. First, the cap of the derailleur damper has to be removed. Dyna-Sys is usually written on the cap.
...
...
- To loosen the 3 bolts of the Dyna-Sys cap use a 2 mm Allen wrench, then remove it.
- Watch out that you don’t lose the seal placed underneath the cap.
...
-
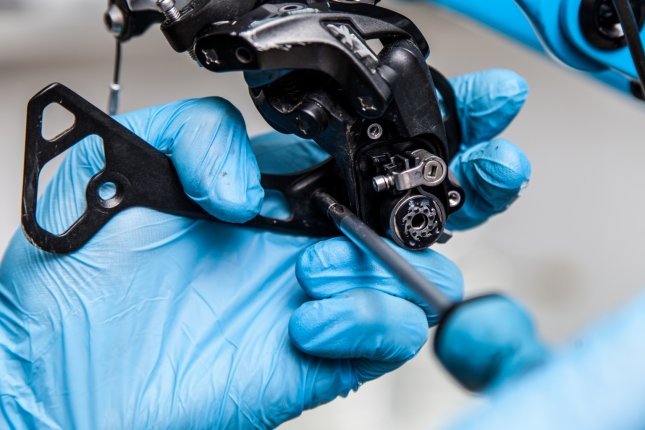
To release the front cage completely, first unscrew the limiter bolt completely.
...
- To release the tension of the derailleur, press it up in end position and push it lightly to the frame. Hold on to it with one hand.
...
- With the other hand rotate the cage a ¾ turn forward towards the fork.
- Now the front cage is without tension and can be unscrewed.
...
- Unscrew the centre of the rear derailleur damper with a 4 mm Allen wrench. If the bolt spins, then counter it from the other side.
...
- The cage can now be completely removed.
Watch out that the washer doesn’t fall down and roll away, it is needed for the new OneUp cage.
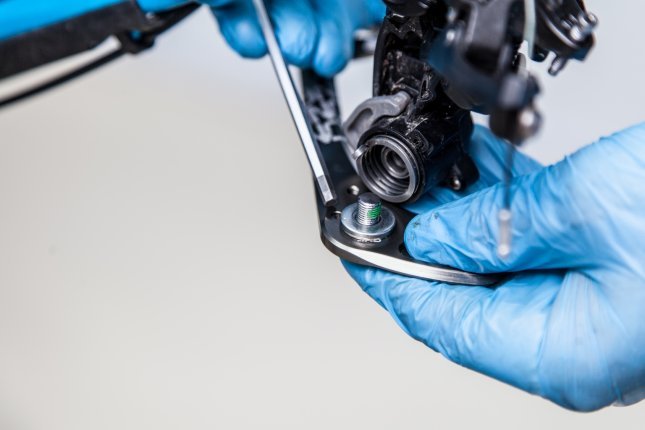
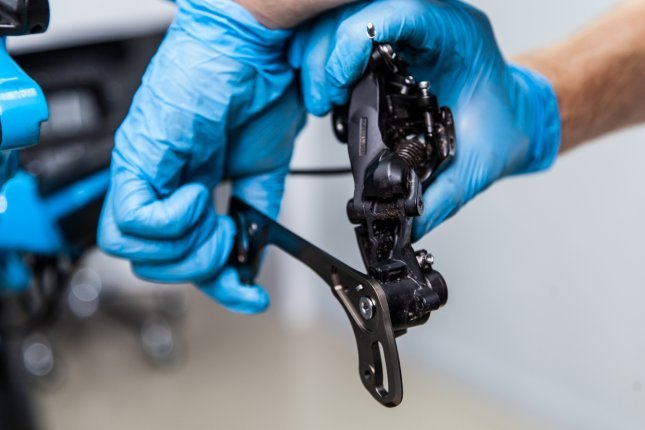
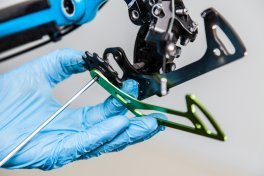
Mount the OneUp cage
- Before the OneUp cage can be mounted, the washer from the old cage has to be put in place on the new cage.
...
...
- Once the washer is put in place the front cage can be mounted.
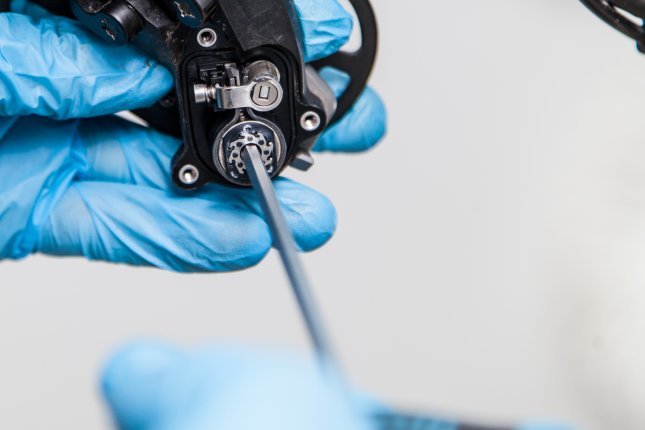
- Before the front cage is mounted, check if the spring is in the right hole.
...
- Once the cage is bolted on it can be screwed tight. A torque wrench should be used for the recommended torque of 8 Nm.
...
- Now the cap from the rear derailleur damper can be reinstalled.
...
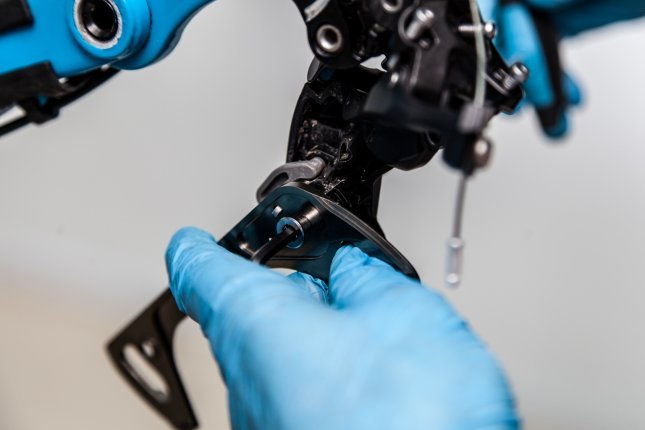
-
To put tension back on the cage, push it out towards the middle of the frame and hold on to it in this position.
...
- With the other hand, turn the cage a 3/4 rotation backwards. This process is similar to what we did during disassembly.
...
...
- To avoid the cage flipping back, set it with the limiter bolt.
...
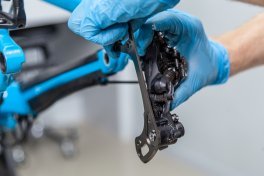
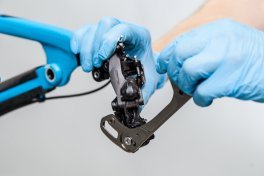
- After the OneUp cage is mounted, the small spacer has to be attached to the cage. Screw the spacer in the designated hole on the inside of the cage.
...
- Now, the cage can be completely assembled again. Make sure that the position and direction of the rear derailleur pulleys are correct. Most of the time, the rear derailleur pulley with the more pronounced teeth is located on top of the cassette.
...
...

...
After tightening the lower rear derailleur pulley the rear derailleur has been converted.
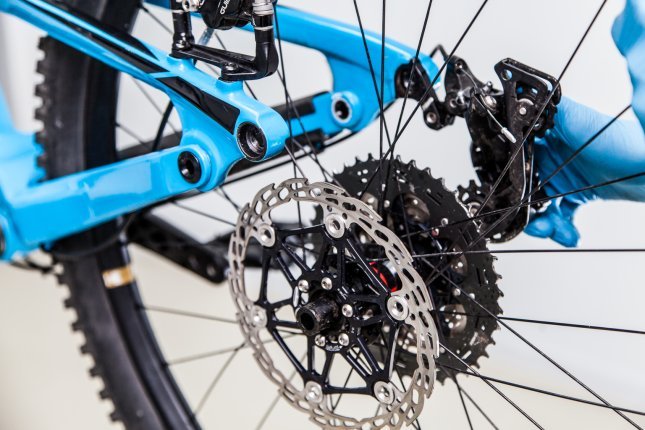
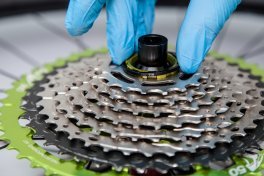
Disassemble the cassette and freehub body
...
...
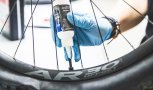
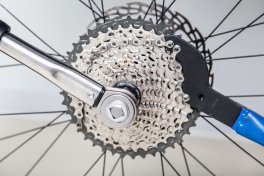
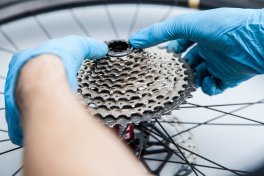
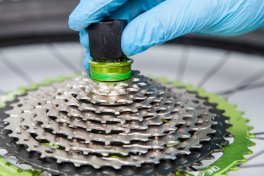
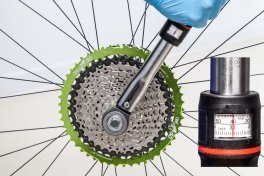
- Loosen the lockring with a chain whip and a torque wrench. Then pull the entire cassette up off the freehub body, holding it together
...
...
- With a short tug, the freehub body is loosened and can easily be pulled off.
- Be sure that the spring on the inside of the freehub body doesn’t fall out, it is needed for the new freehub body.
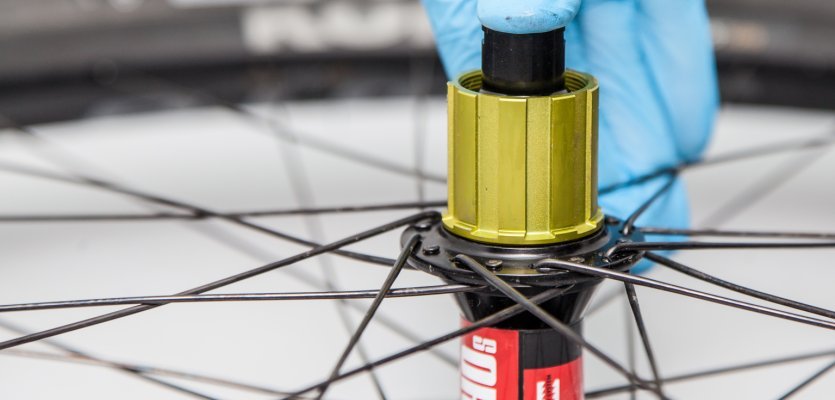
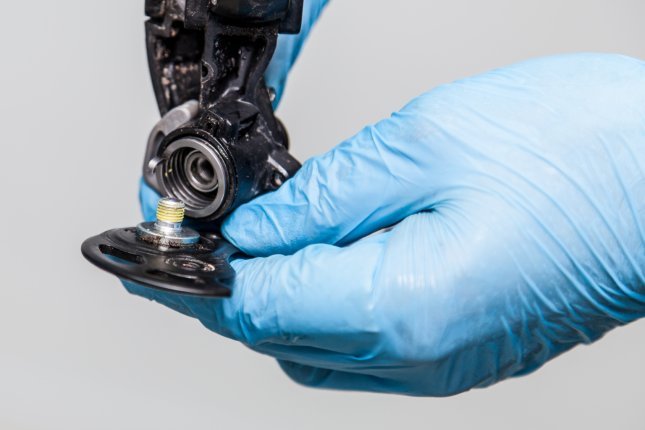
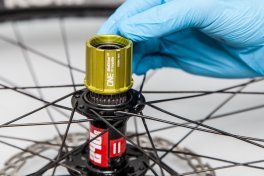
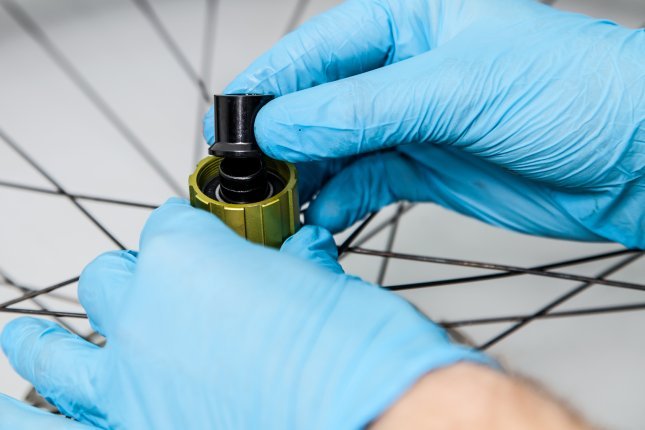
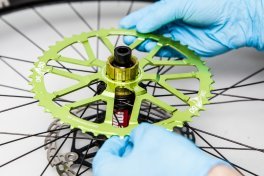
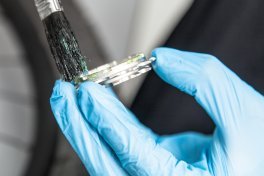
Assemble the OneUp freehub body
...
...
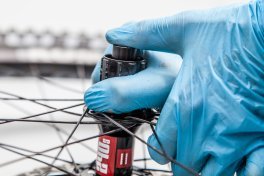
- Take the spring out of the old freehub body place it in the new freehub body.
- Once the socket is greased the freehub body easily slides on.
- Press it down to make sure that it sits in place.
...
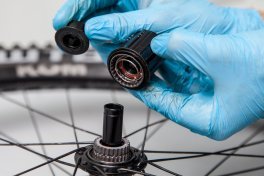
- Now the end cap can be put on.
- Only use the end cap that is included in the OneUp kit. The new freehub body is shorter than the old one and the end cap is therefore longer.
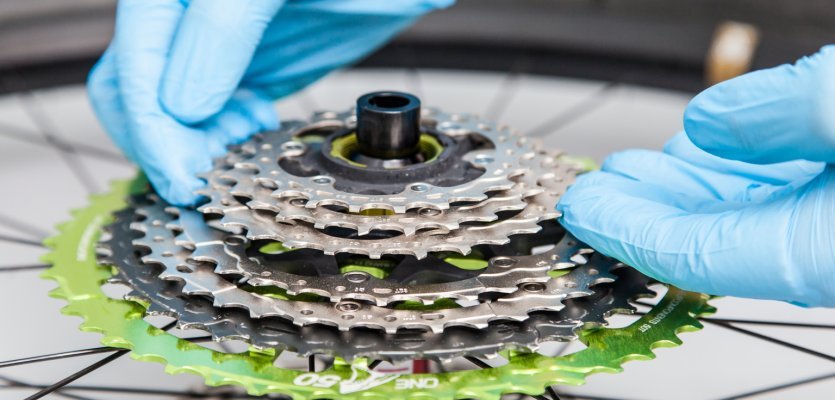
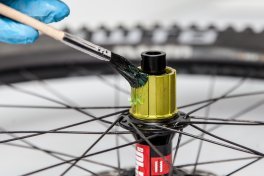
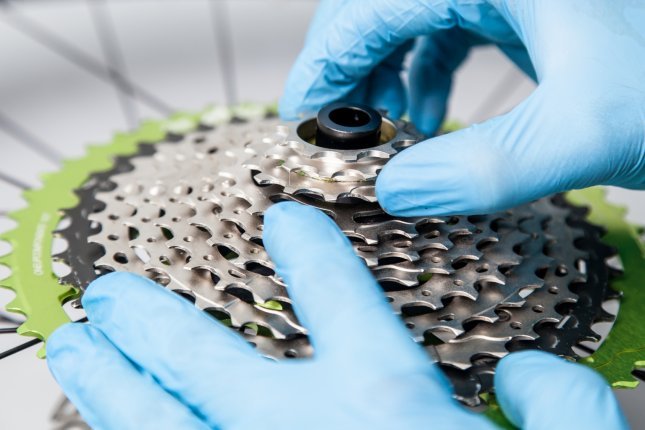
Cassette installation
...
...
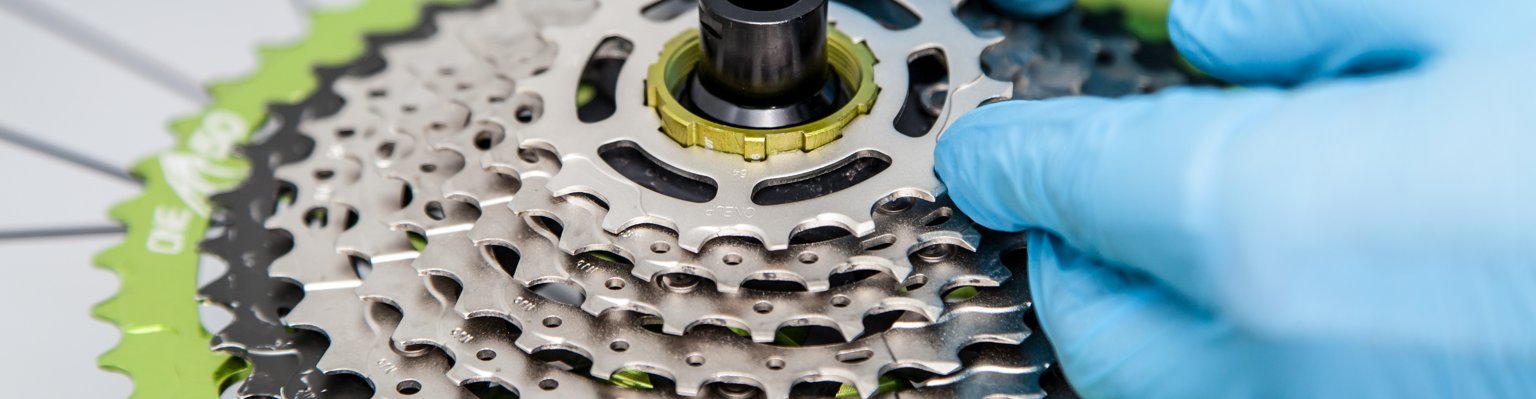
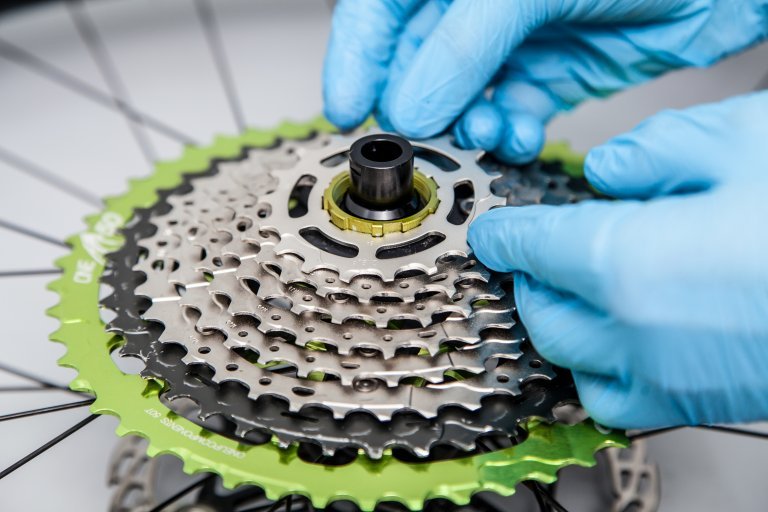
- Before putting on the 50 tooth sprocket, grease the freehub body from the outside.
- Now, the large 50 tooth sprocket can be put in place.
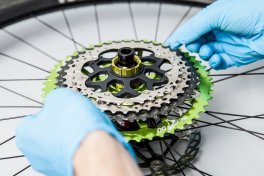
...
- The other sprockets can now also be put on the freehub body.
- The 17 and 18 tooth sprockets are not needed anymore, they are replaced with a sprocket out of the OneUp conversion kit.

...
- Do not forget the chain spacer.
...
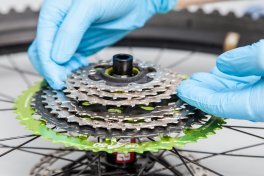
- Grease the sprocket cluster before putting on the last sprocket.
- Now place the 15 tooth OneUp sprocket behind the 2nd sprocket cluster and press them together.
...
- Now, place the last sprocket cluster on the freehub body.
...
...
- Tighten the cassette with lockring. Most of the time the required torque is 40 Nm.
- Check again, if everything is pulled tight and sits in place. If this is the case, then the cassette is assembled.
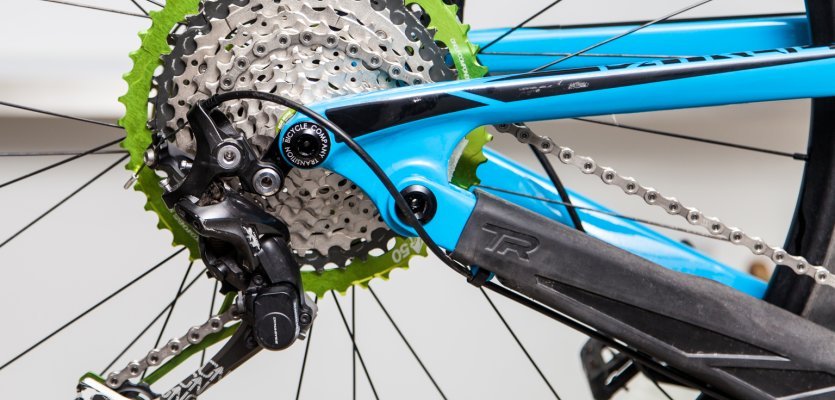
Reattach the rear wheel
...
...
-
Now, the rear wheel can be reattached.
- Only tighten the axle with a torque wrench. Our X-12 axle has to be tightened to 10-16 Nm.
Chain installation
...
...
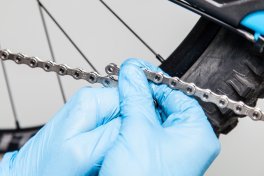
- To measure the correct length of the chain, shift the rear derailleur to the largest sprocket.
- If you have a full suspension bike, be sure to check that the length of the chain as your suspension is compressed. If the chain is too short, the rear derailleur may be ripped off during compression. If it is too long, the chain my fall off on the trail.
Tip: if the chain is under tension during installation, it can be difficult to assemble. A broken spoke, bent on both ends, can be used to hold the chain together while you join the links.
Derailleur adjustment
- Switch through all gears to be sure that the shifting runs smoothly. Double check everything that was changed if it tight and is still in place, if necessary make the needed adjustments.
- If everything runs smoothly, you can finally test the 50 tooth sprocket on the trail.