

The perfect tyre pressure for your mountain bike
With the right tyre pressure, you’ll have more fun, grip and control on your MTB. We explain how to find the sweet spot.
You want to convert your MTB to tubeless? In our How To Isa shows you how to get your tires tubeless and what you need for it.
Pizza or pasta, tubeless or tubed? Decisions, decisions. When it comes down to it, it’s all about preferences and of course the requirements. Because - and I’m not talking about food - both varieties have pros and cons.
Bicycle tyres with tubes are classic. Installing and maintaining them is simple: the tyre is mounted on one side of the rim. The tube is put in. The tyre is completely installed. Pump it up. And done! The biggest con of tyres with tubes: puncture protection is weak, especially off-road when rocks and stones are battering tyre and wheel.
Tubeless tyres allow you to ride lower tyre pressures. That means more grip, thanks to the larger contact area. Besides that, the puncture protection is increased. Small holes, e.g. from thorns, are closed up while riding because of the tyre sealant. And no tube, means no snakebites either. Also notable are the weight savings of tubeless over tubed. Most of the time, a wheel weighs less tubeless. But of course, there are ultra-lightweight tubes. However, we can forget about puncture protection then.
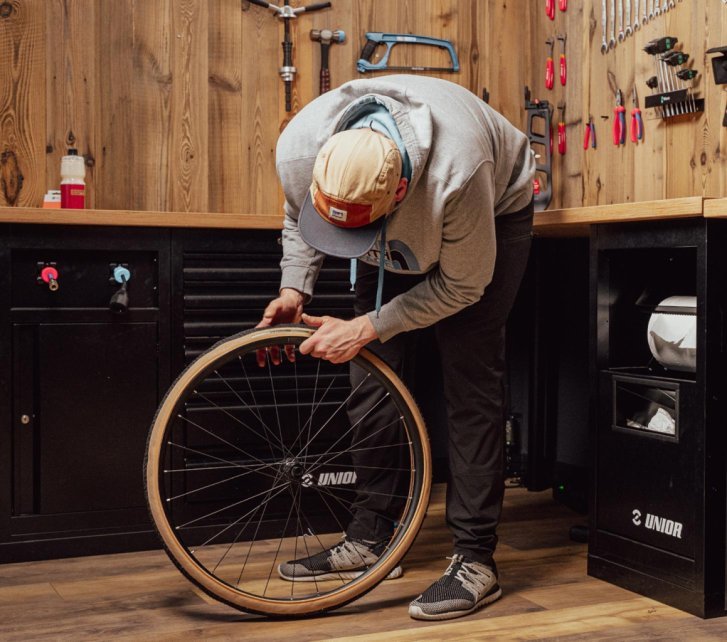
I would recommend trying both options out. This way you’ll find the right one for you pretty quickly. If you decide to go tubeless, the first thing you need to know is if your tyre and rim are tubeless compatible. The tyres have a manufacturer specific indication, e.g. Tubeless Ready on Schwalbe, DT Swiss and Maxxis.
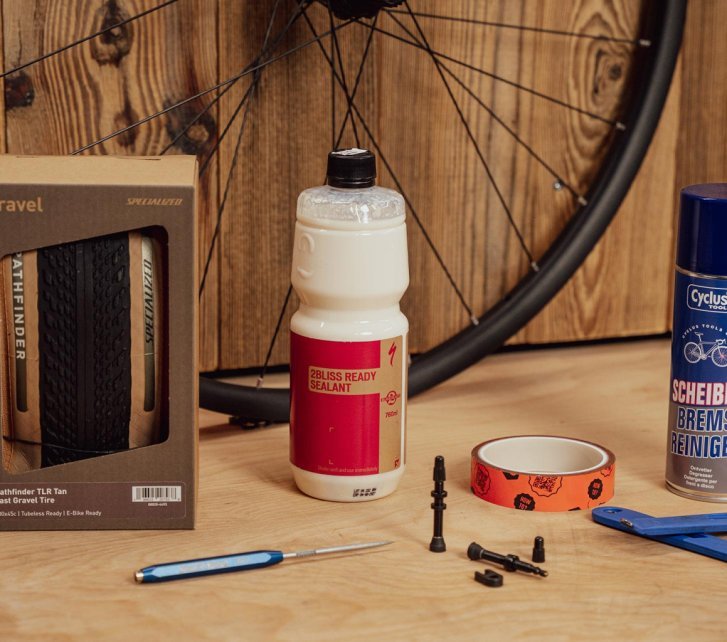
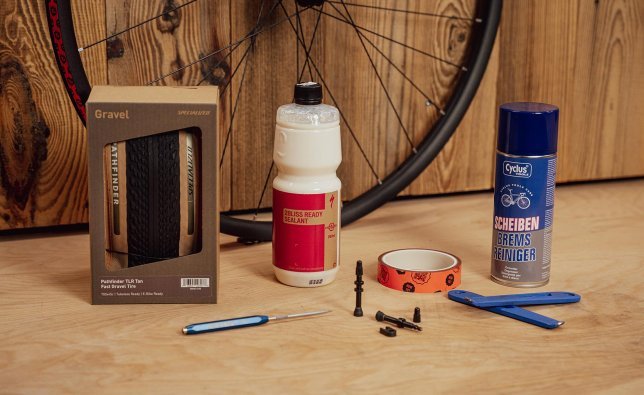
Before you begin, have rim tape, tubeless valves, sealant, brake cleaner, tire levers and a sharp tool to pierce the valve hole ready. © bc GmbH
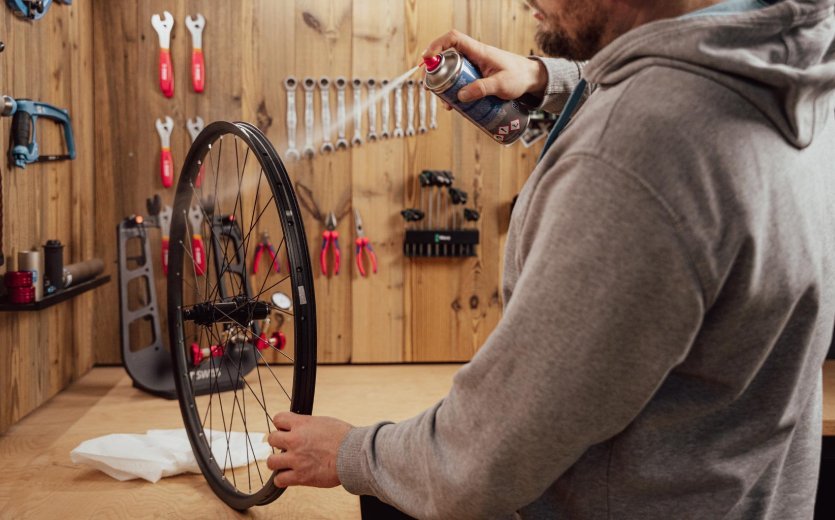
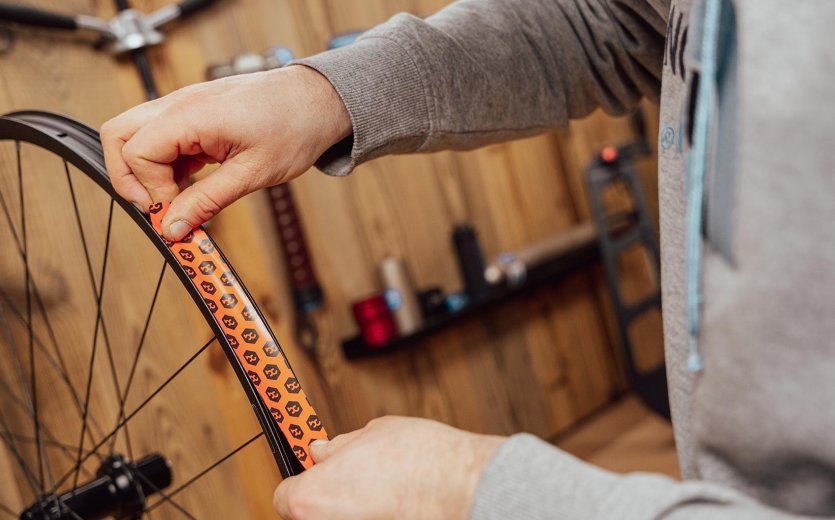
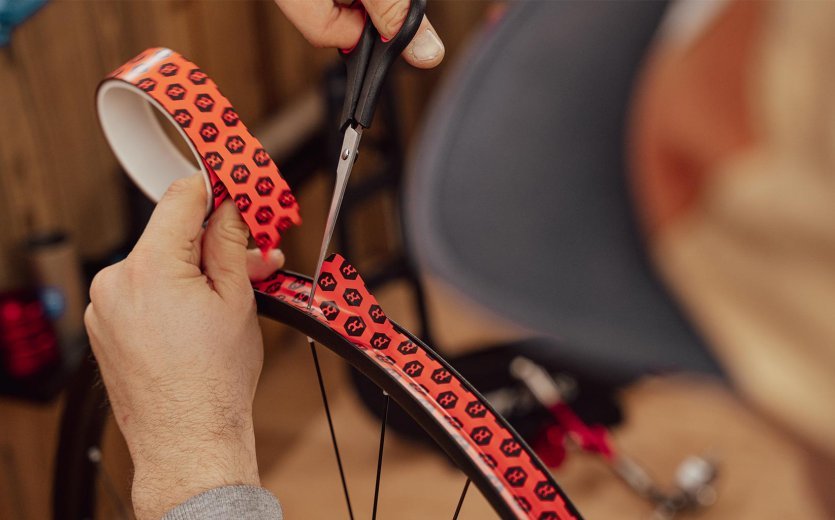
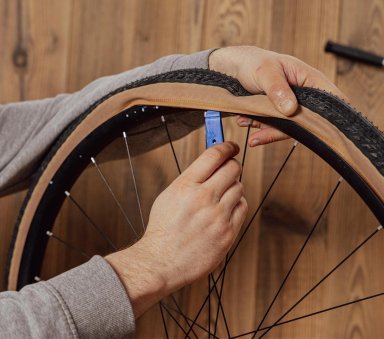
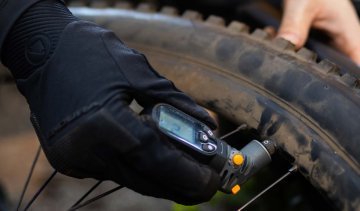
If your rim is already setup for tubeless, you can skip this step. If not, you’ll need special rim tape to seal everything up. The majority of tubeless rim tapes are on a roll like normal tape. That means, you need to cut the length yourself. But please do this after taping the entire rim all the way around with one continuous piece. Before starting to tape, the rim bed needs to be clean and free of any grease. I usually use a brake cleaner and wipe the wheel down with a lint-free cloth. When taping, I first tape a few centimetres behind the valve hole (looking from the drive direction) and pull the tape over the valve hole and once around the wheel. Then, I check to make sure the end of the rim tape overlaps itself at least 5 cm at the valve hole. There, I poke a hole for the tubeless valve.

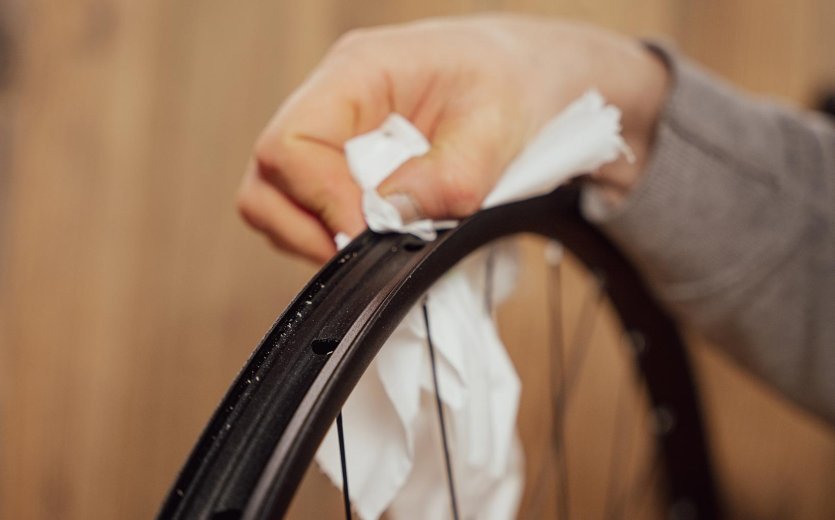
Clean surface, strong bond: degreasing the rim is key to making sure your rim tape sticks perfectly in your tubeless setup.
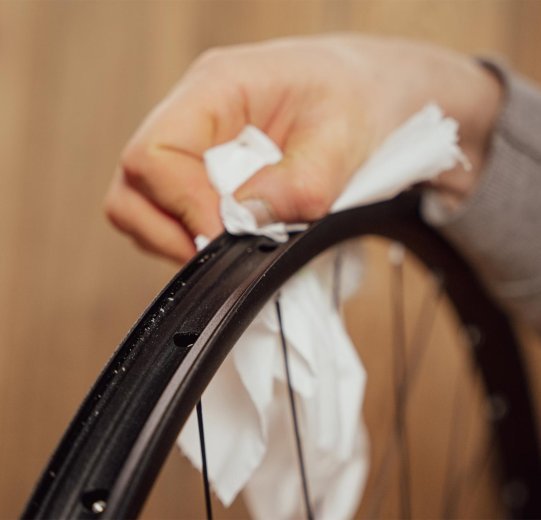
Even tiny sealant residues matter: clean the rim thoroughly so your rim tape adheres properly and your tubeless setup stays airtight.
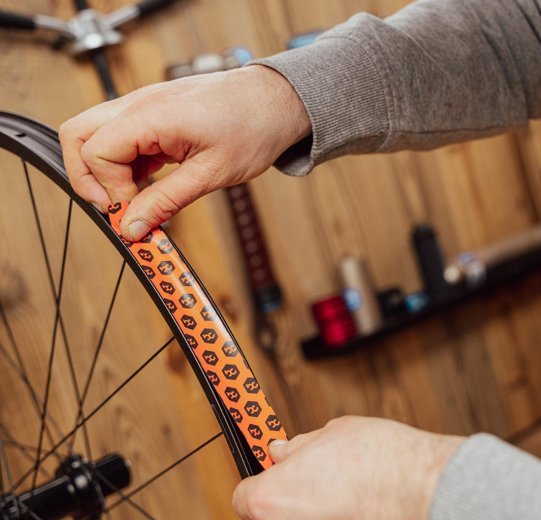
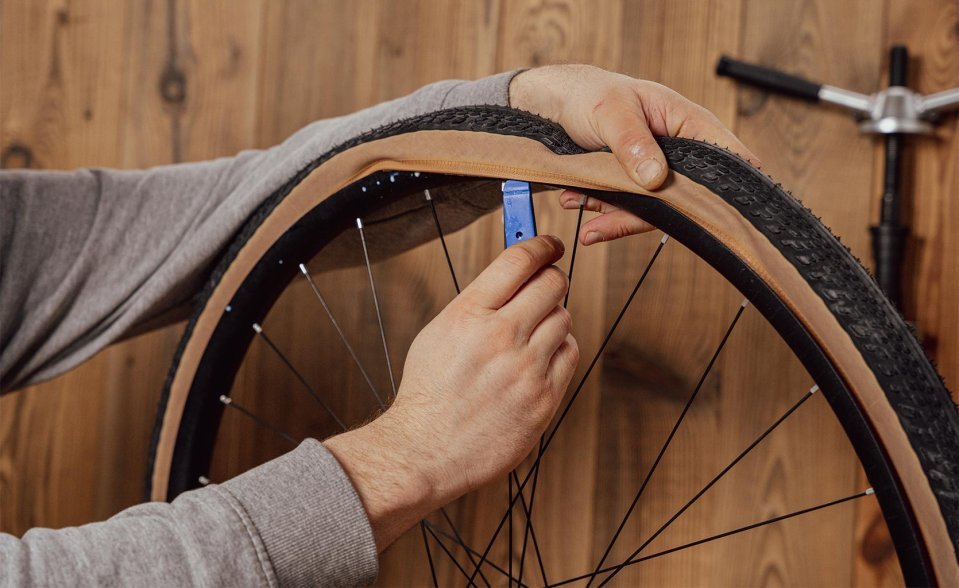
Start a few centimeters before the valve hole to create a clean overlap and ensure the tape sits securely in the rim.
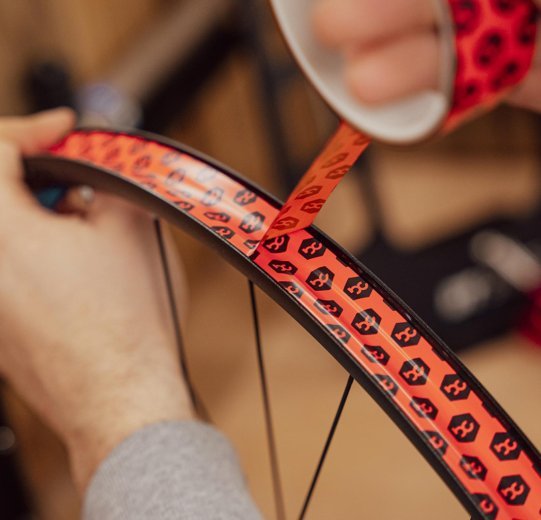
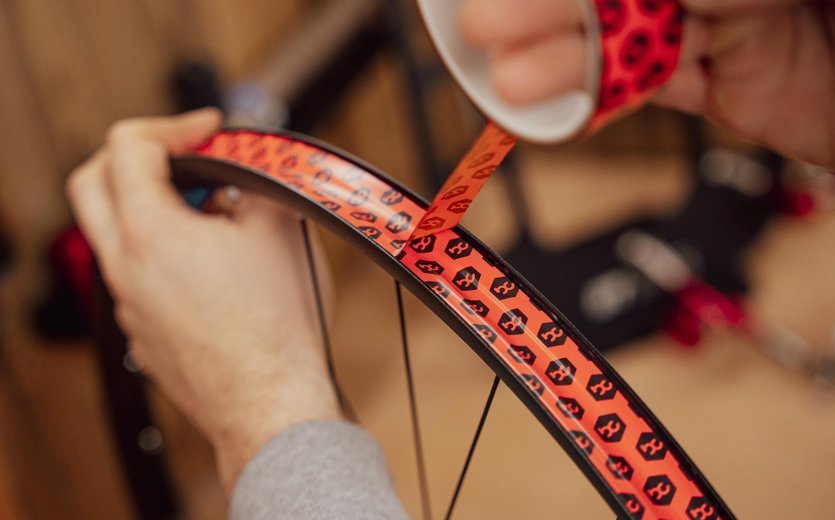
Apply the rim tape with steady tension and allow a few centimeters of overlap for a smooth fit and reliable sealing.

Trim the end in a rounded shape – straight, square edges tend to lift more easily and can affect adhesion.
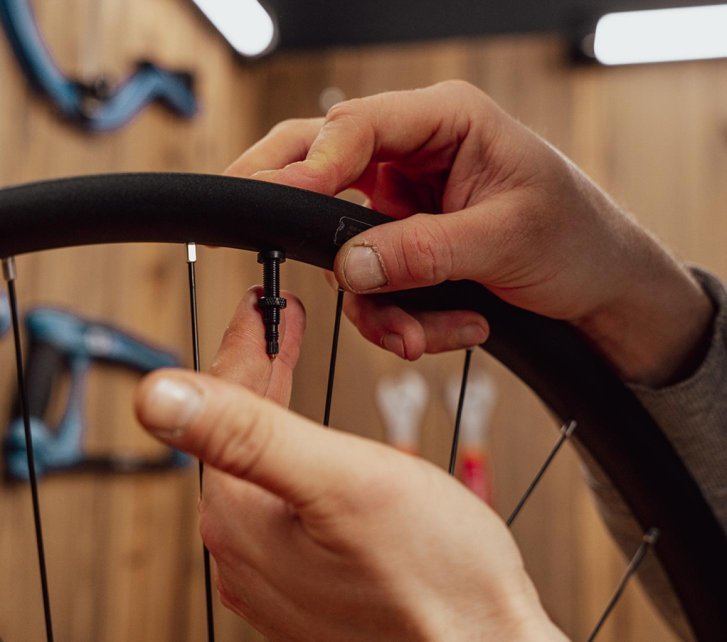
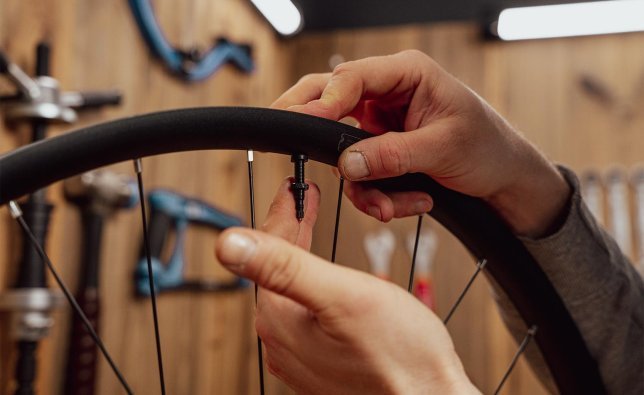
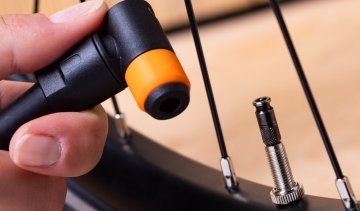
Now the tubeless valve can be installed. A defining characteristic of one is the rubber stopper at the lower end. This seals the valve hole once the nut is screwed onto the rim from the other side.
When the tubeless valve is installed, the tyre can be mounted again. Before going through with this step, it is important to know how you want to add the tyre sealant.
Depending on which method you choose, decides how you finish mounting the tyre.
Press the valve firmly into the rim bed first, for example using a screwdriver handle, to seat it properly. Then secure it with the locknut. © bc GmbH
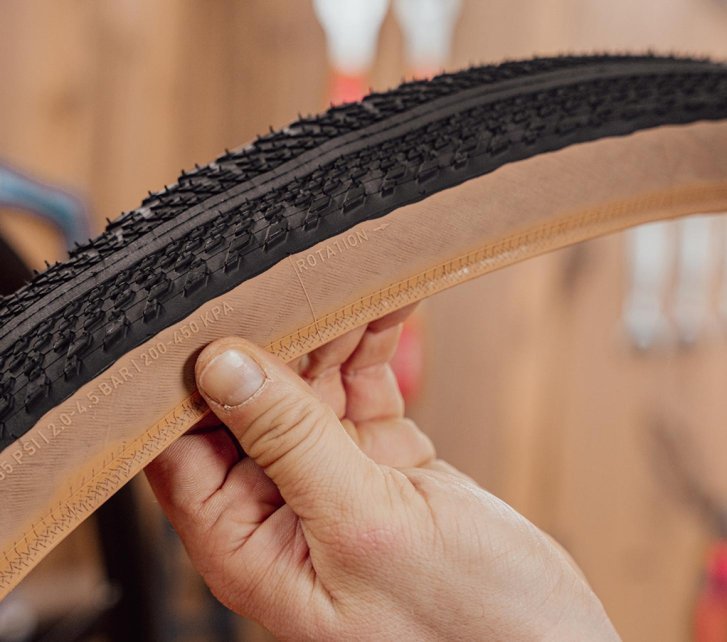
Check the rotation arrow before mounting – only installed the right way will the tire deliver its intended grip and rolling performance. © bc GmbH
Now it’s hands-on: fit the tire onto the rim step by step, working your way evenly around. © bc GmbH
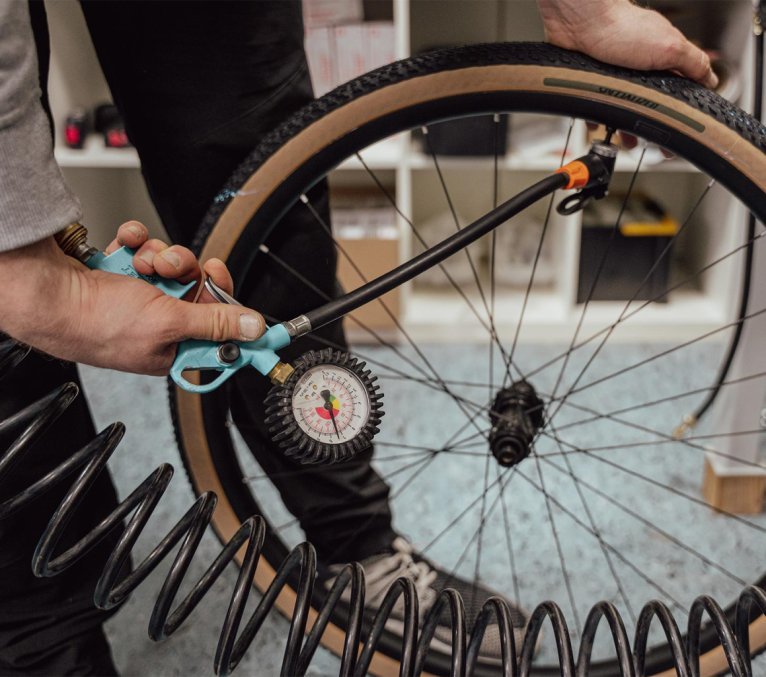
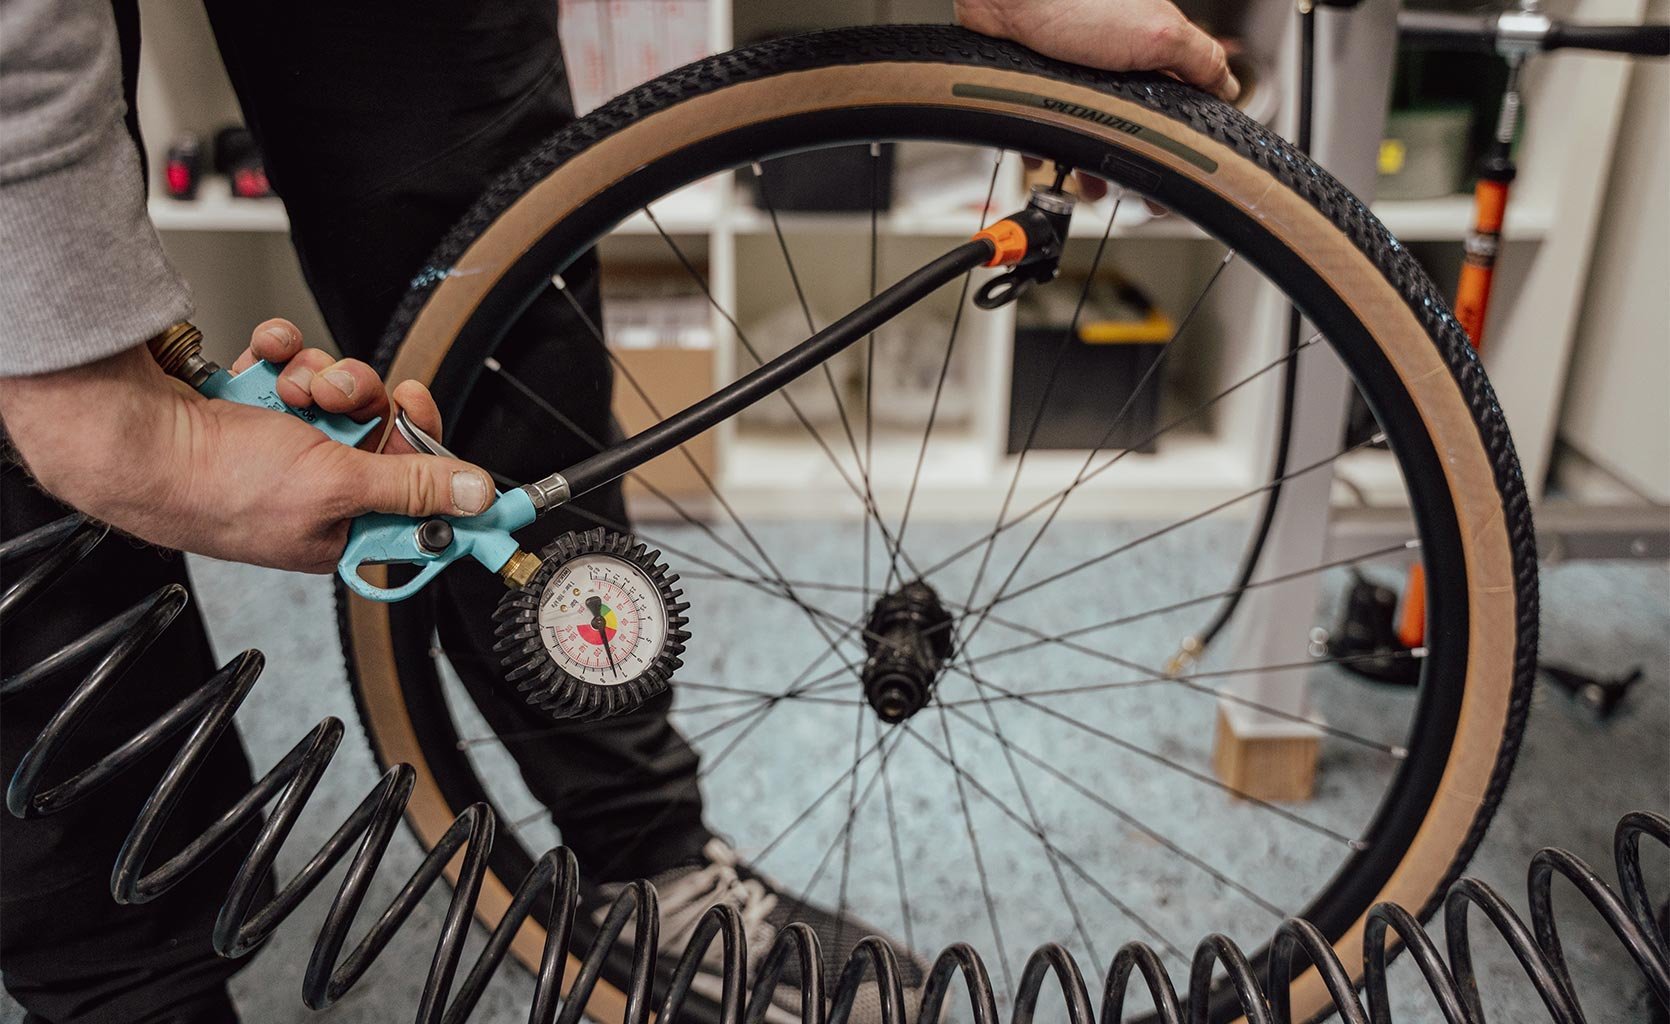
If you are going to add the tyre sealant through the valve, first you need to put both beads of the tyre on the rim. Be sure to put both beads in the centre of the rim. This helps with installation because the diameter of the rim is smallest here. Now the tyre needs a lot of air fast to push the beads to the rim flange. A decent pump can usually do this with a few fast pumps. Get the tyre up to 3-4 bar (make sure to check the max air pressure of the rim), and you’ll hear a noticeable pop as the tyre hits the right position. Alternatively, you can use a tyre booster like the one from Schwalbe.
If the tyre still isn't sitting correctly in the flange check the distance between the beads and the rim. By pulling, massaging or using tyre levers you can help the tyre fall into place. Worst case scenario you’ll need to pump the tyres with the compressor at the gas station. How well this works depends on the rim and tyre combination, however with pressurised air it should work.
When the beads are set in the rim, let the air out of the tyre through the valve. After, you remove the valve insert - either by hand or with a valve key. Now the valve can be used as a filler for the tyre sealant.
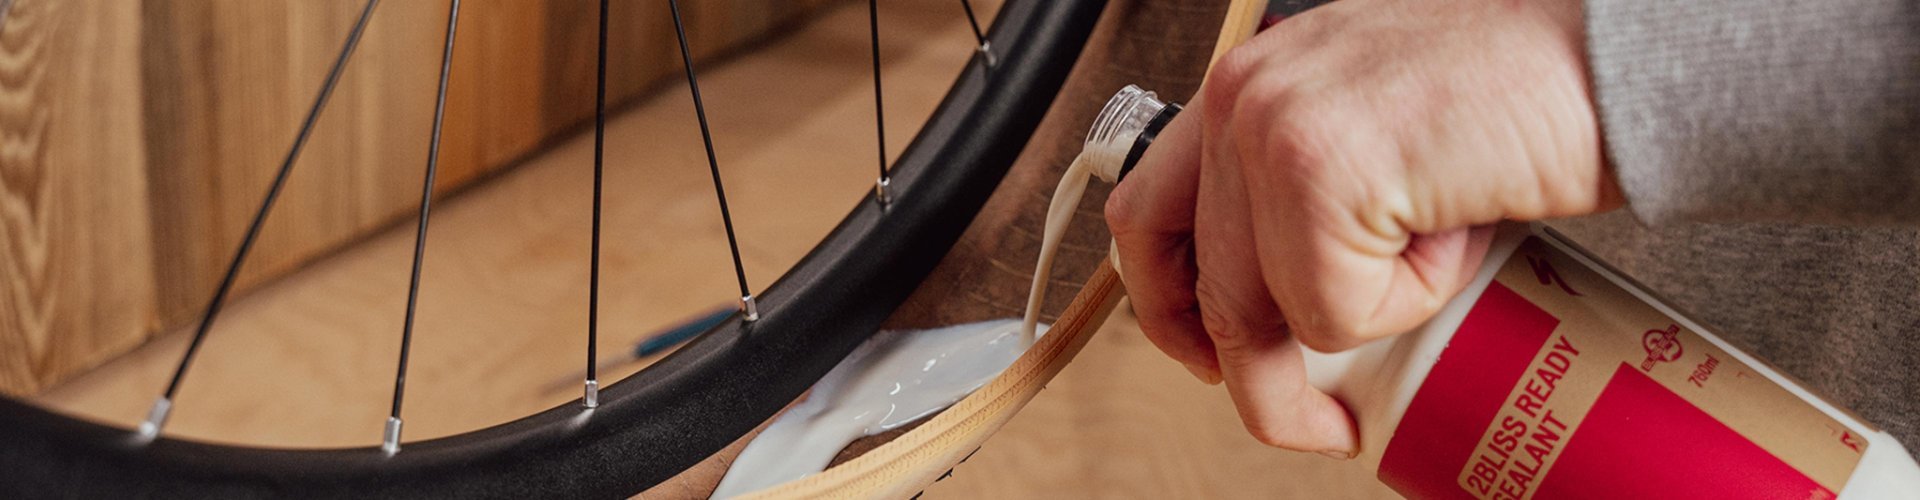
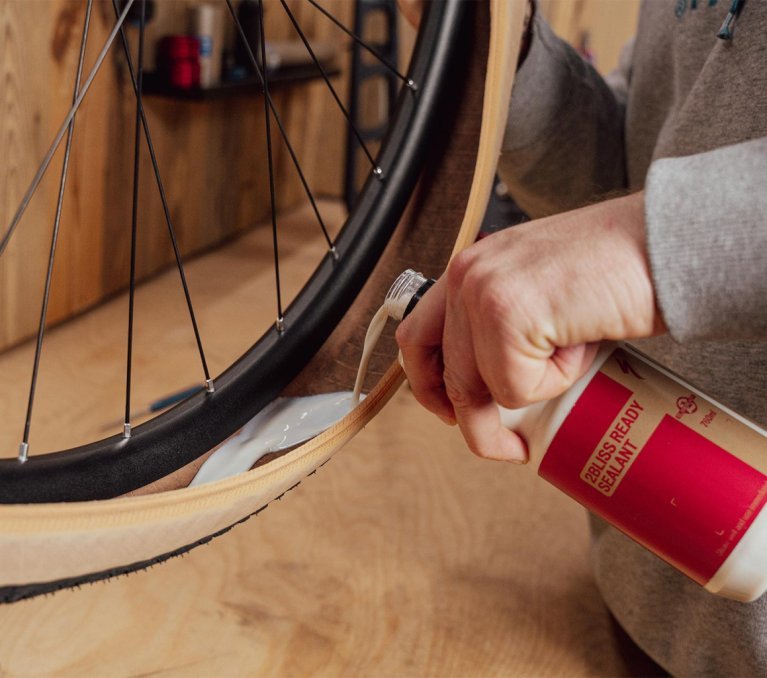
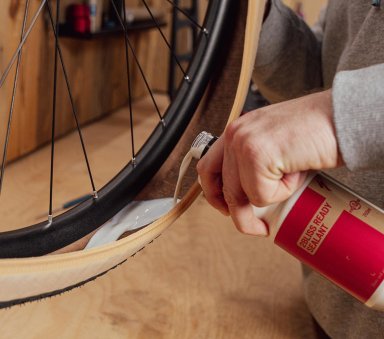
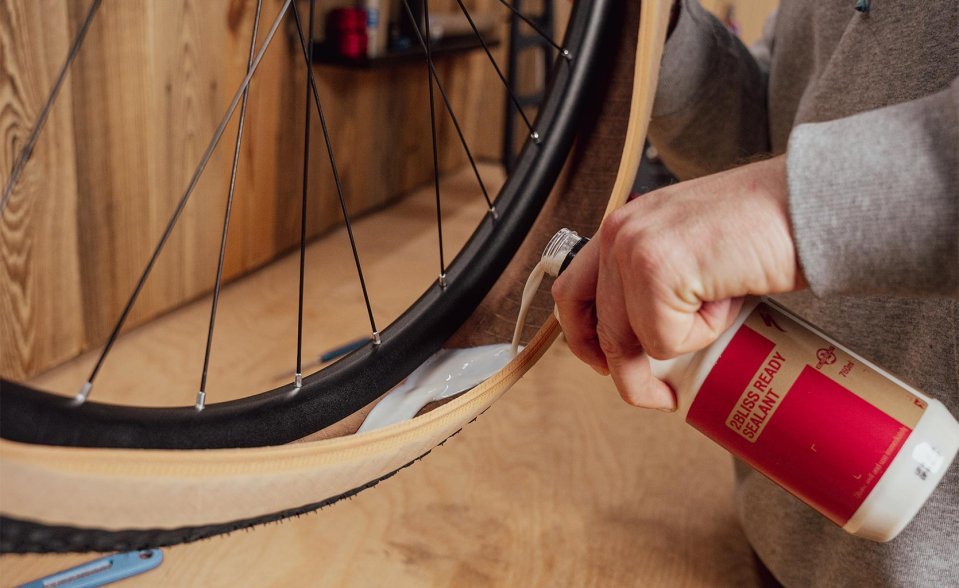
Make sure to shake the sealant well before using it. Filling works best when the valve is set to about 5 o’clock. This way the sealant can flow into the tyre easier.
Most of the time an MTB tyre needs between 60 and 90 ml and Road tyres (make sure you use tubeless ready rims) between 30 and 45 ml. Still make sure to check the needed amounts on the bottle. The amount can vary depending on the manufacturer and tyre. When the sealant is in the tyre, the valve insert can be screwed back in and the tyre pumped back up. To ensure that the sealant is well spread, it is recommended to spin and shake the wheel. It’s best if you take a ride. That’s why you’re doing this right?
Pour the sealant evenly into the open tire before fully seating the second bead onto the rim. © bc GmbH
Once the sealant is inside, carefully lever the second bead onto the rim to close the tire completely. © GmbH
Maybe you don’t want to use the valve to fill the tyre with sealant. That’s why there’s another way. First, one side of the tyre needs to be installed on the rim. The other side needs to be done as well, but 20-30 centimetres need to be left off the rim. This method can be more difficult depending on the rim/tyre combination and it takes a bit of practice not to get sealant everywhere.
It can be a bit tricky getting the last bit of the tyre over the flange when the sealant is in. However, if you turn the opening to 12 o’clock then the sealant stays at the bottom while completing the tyre installation cleanly.
In this case the tyre also needs to be pumped up quickly to get the bead to lock into the flange. To do this, either pump quickly, use a booster or head to the next compressor.
Ideally use a compressor – the quick burst of air helps the bead snap securely into place on the rim. © bc GmbH
Depending on the brand, tyre sealant will eventually separate or dry up, which means it should be checked and refilled at regular intervals. How often this needs to be done is determined by the manufacturer.
With the right tyre pressure, you’ll have more fun, grip and control on your MTB. We explain how to find the sweet spot.

More speed, comfort or grip through tyre tuning? Learn how to find your perfect gravel bike tyre here.
“Hey you! Yes, you on that lightning-fast Factor race bike! Bet your tyre pressure is too high?”
Functional, durable, and easy to use – the Schwalbe Clik Valve promises to be the best bicycle valve yet. We decided to give it a try!
Send your unused goods back within 100 days after purchase and get your money back!
See more


