


Traka packing list and expert tips
Katrin and Herbert took on the 360 km at the Traka Gravel Race. Check out their packing list and the video with their tips in the article!
Installing the upgrade kit takes a little finesse, but with our step-by-step guide, you’ll have it done quickly.
With the new e*thirteen TRS+ 12-speed upgrade kit it is now possible to take all SRAM 11-speed MTB groupsets and upgrade them to 12-speed!
The TRS+ 12-speed upgrade kit includes everything you need to upgrade your drivetrain and most of the tools. Even the necessary grease is provided, leaving nothing to chance when you upgrade. Below is a step by step guide on how to convert the trigger shifter and rear derailleur so that they can handle the range of e*thirteen’s TRS+ 12-speed cassette.
e*thirteen has included almost everything you need for upgrade to a 12-speed drivetrain. This includes 2.5 mm, 3 mm, 4 mm, and 5 mm Allen keys as well as a square drive and T25 bit chuck. 2000 mm of cable housing, grease, chain and the small parts necessary to completely convert are also in the box. The only extra tools you need are for removing/installing the cassette. These can be seen in the pictures below.
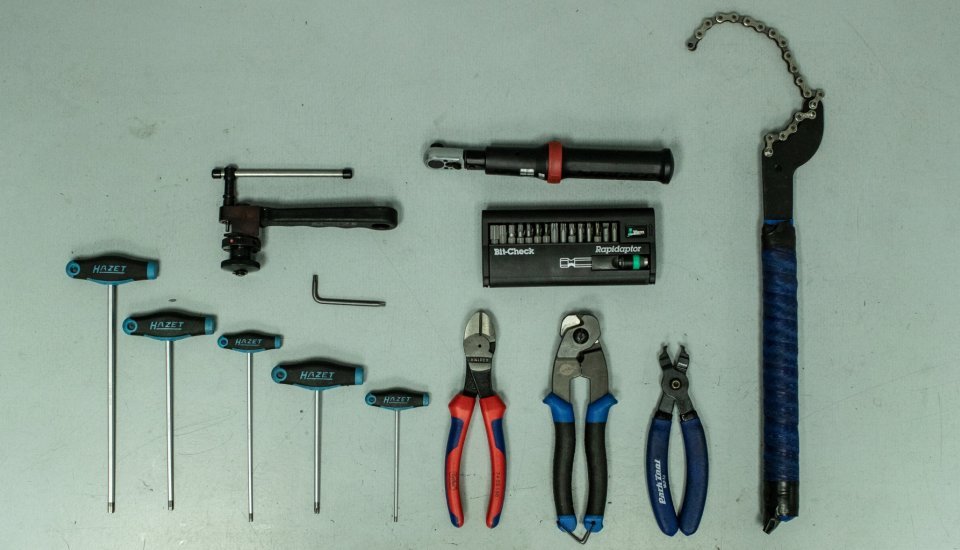
Additional tools.

The entire upgrade kit with tools.
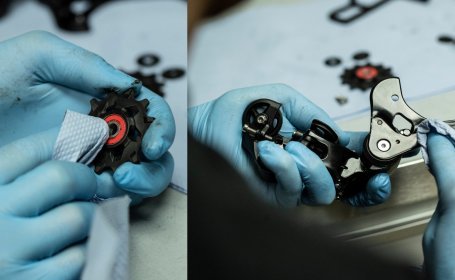
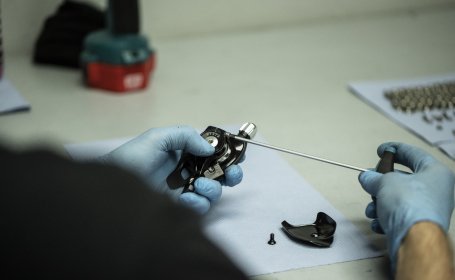
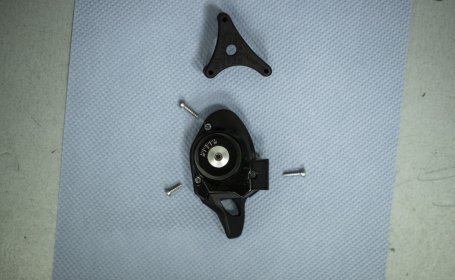
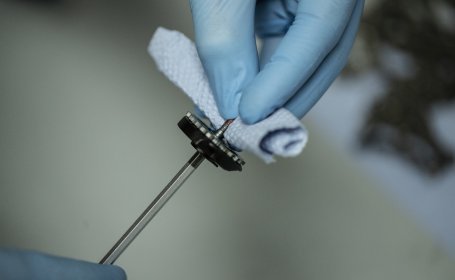
After removing the derailleur, it makes sense to clean everything up.
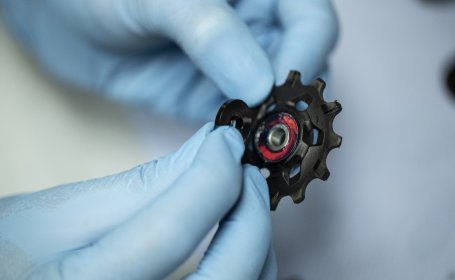
Remove the upper and lower pulley wheels.
Make sure to clean the derailleur pulleys.
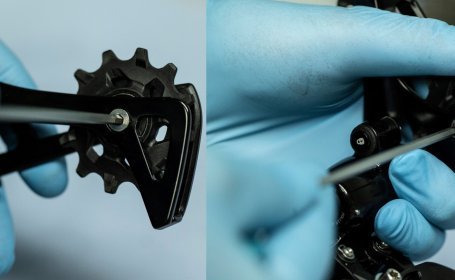
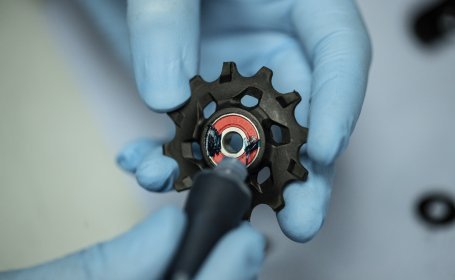
The e*thirteen spacers replace the original outer spacers.
Make sure to grease the pulleys before reinstalling.
Note that you are using the correct bolt for each pulley.
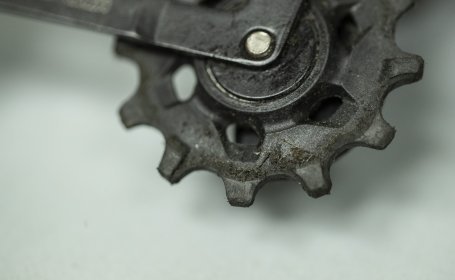
After reinstalling the pulleys, the spacers increase the distance by 1.5 mm.
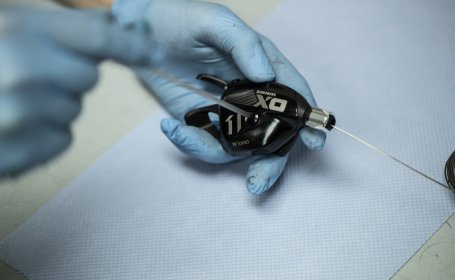
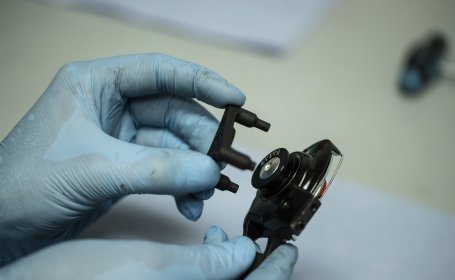
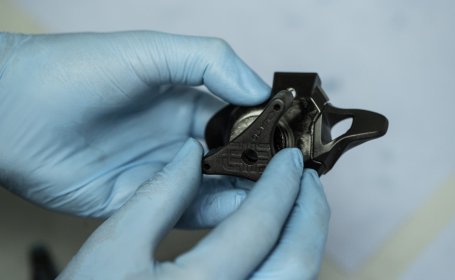
Loosen the cover from the trigger shifter.
And remove it.
Remove the shifter cable.
Loosen the bolts holding the lever.
Put them to the side.
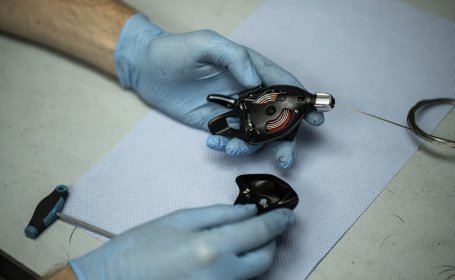
Install the Claw with the three bolts
Do this like so.
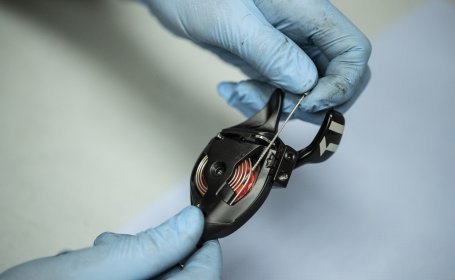
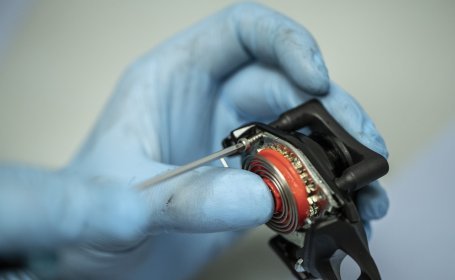
Carefully remove the spring.
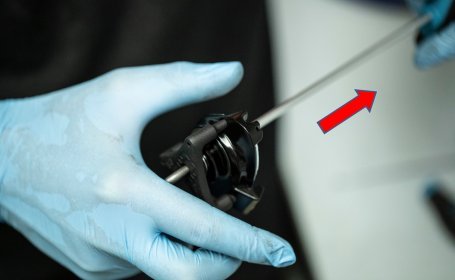
Loosen the original bolt of the shift spool assembly.
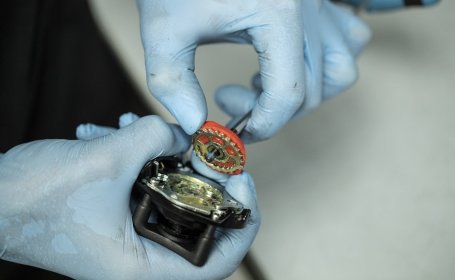
Remove the original red ratchet.
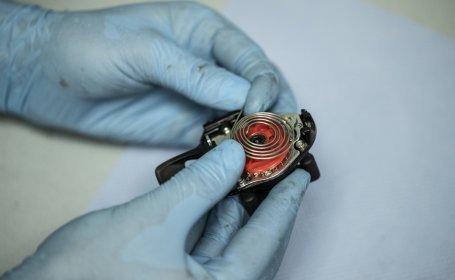
Install the e*thirteen shift spool assembly with washer if necessary.
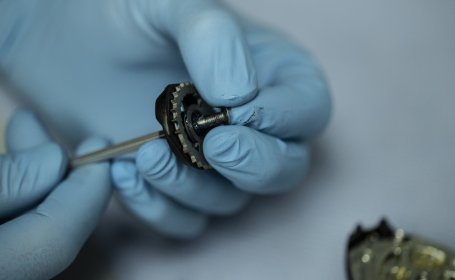
Next, the spring can be reinstalled.
First remove the Claw.
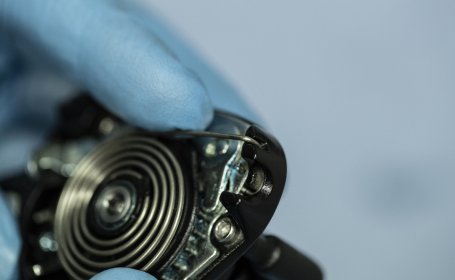
Reinstall the spring.
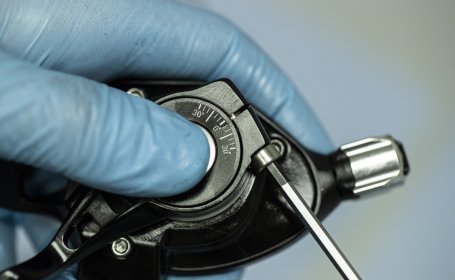
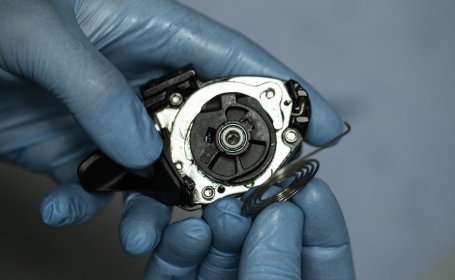
Reattach the trigger.
Add the shifter cable and pull it through.

The cover can now be reattached and the shifter can be put back on the bars.
Don't use grease, but instead screw lock.
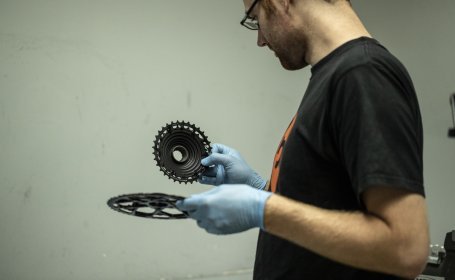
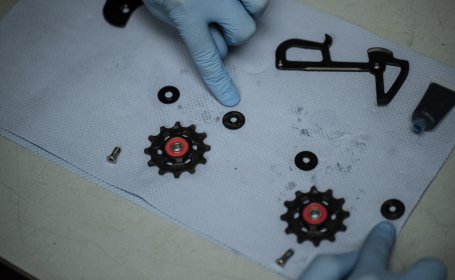
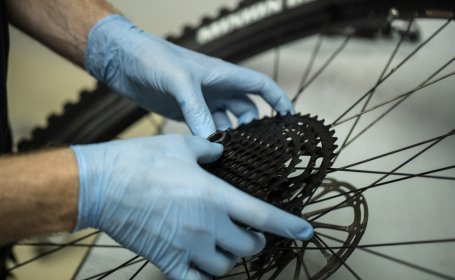
The cassette comes in two parts.
The larger sprockets are installed first.
Tighten the clamp to 3 Nm.
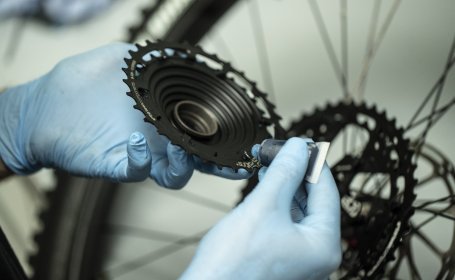
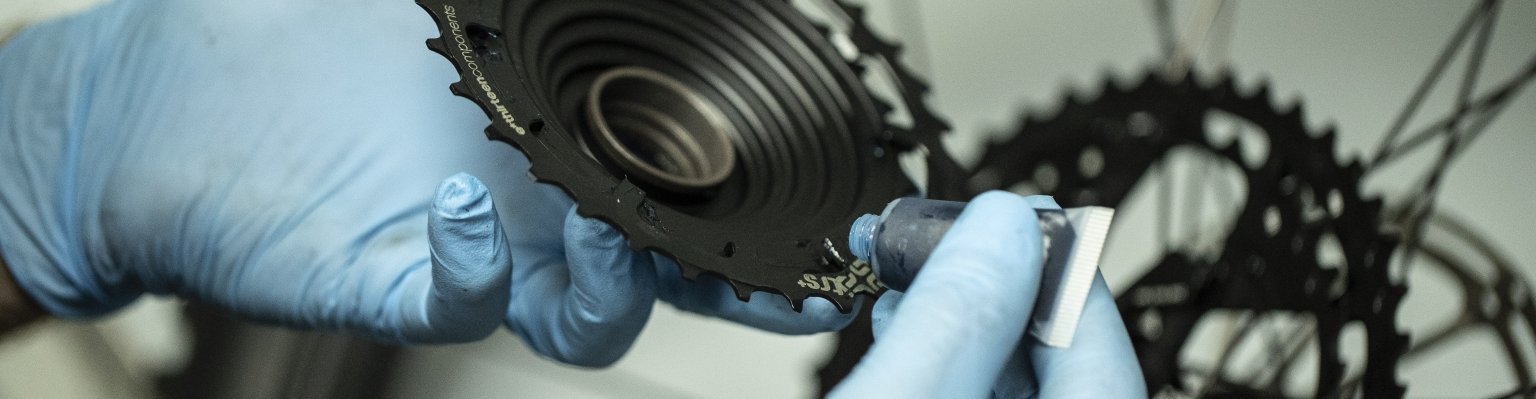
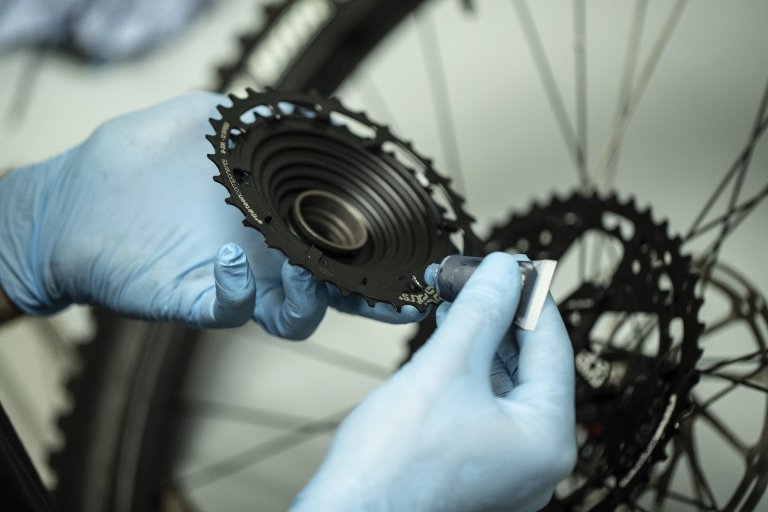
Greae the second sprocket cluster before installing.
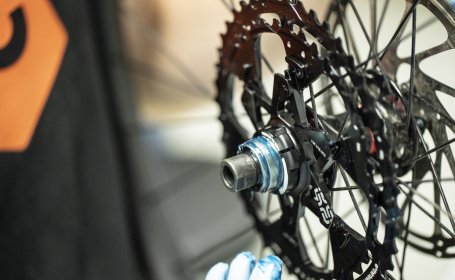
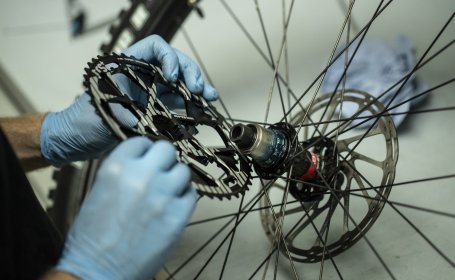
Also grease the freehub body.
Slide the second sprocket cluster over the freehub.
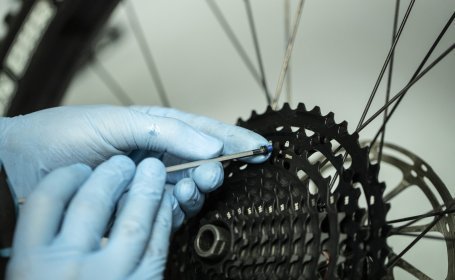
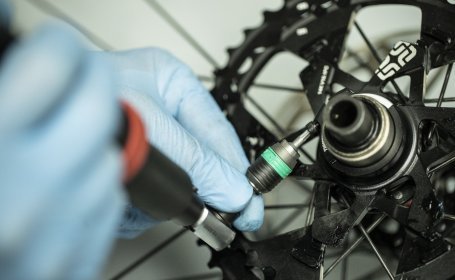
Tighten the last bolt to 3 Nm.
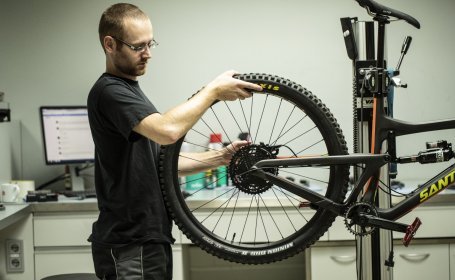
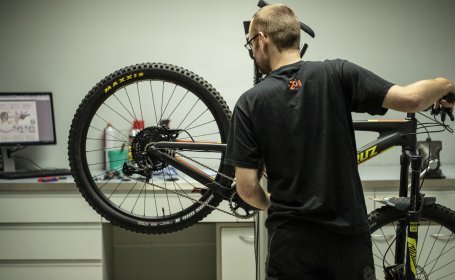
Replace the rear wheel.
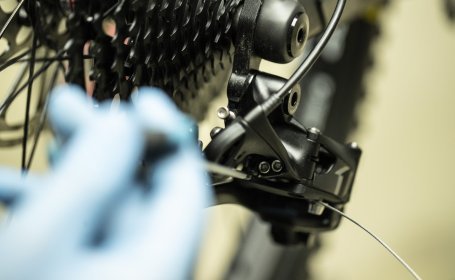
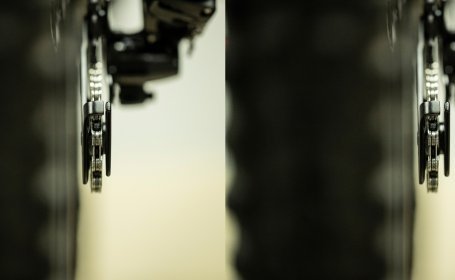
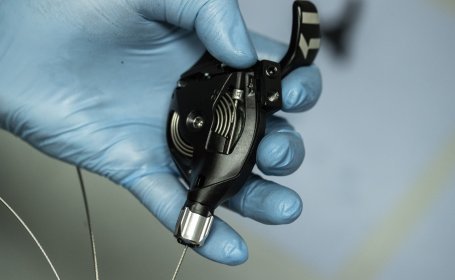
Adjust the derailleur.
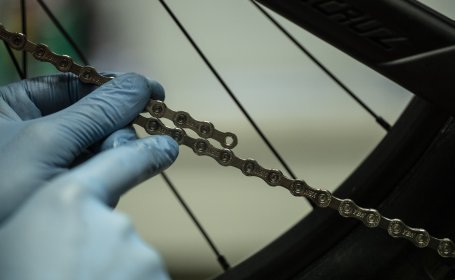
Check the chain length before installing.
Make the final adjustments and then you can ride!
More posts
Katrin and Herbert took on the 360 km at the Traka Gravel Race. Check out their packing list and the video with their tips in the article!

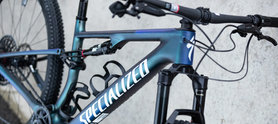
Specialized Turbo Levo 4 in the bc comparison test: Our colleague Berno got to extensively test ride the Turbo Levo 4. Here are his findings!
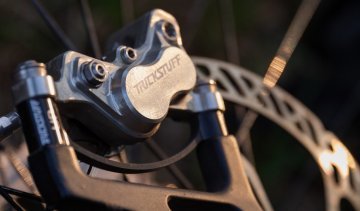
Here you'll learn how to best bed-in your brake pads and why it's a smart move.
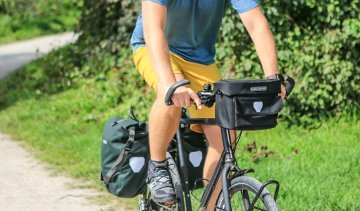
A handlebar bag is pretty much the handbag for biking. "Ultimate" is Ortlieb's solution. Is it true?


Send your unused goods back within 100 days after purchase and get your money back!
See more