


Bicycle inner tubes for road bikes or MTBs: Wha...
Bicycle tube or tubeless tyre? Butyl, TPU or latex? Find out which system is best for you and your bike here.
There are several standards and measurements for bicycle bottom brackets. Which one fits? We’ll help you find the right one for your bike.
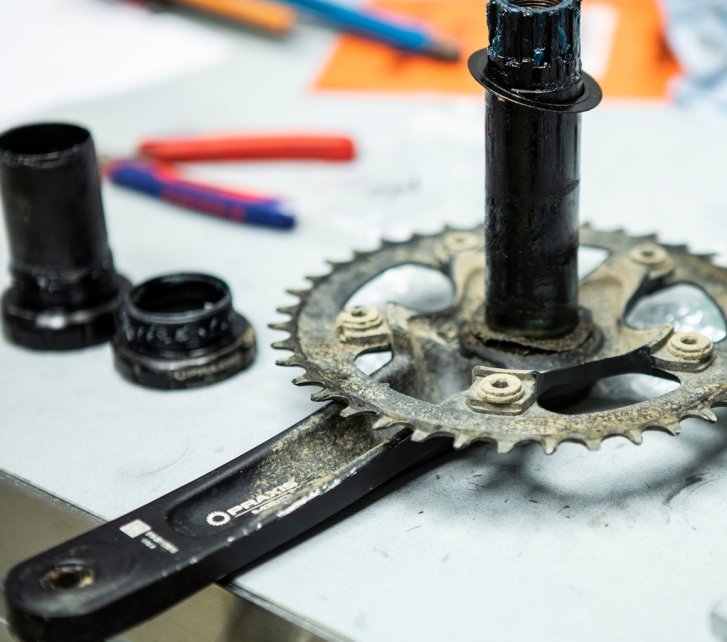
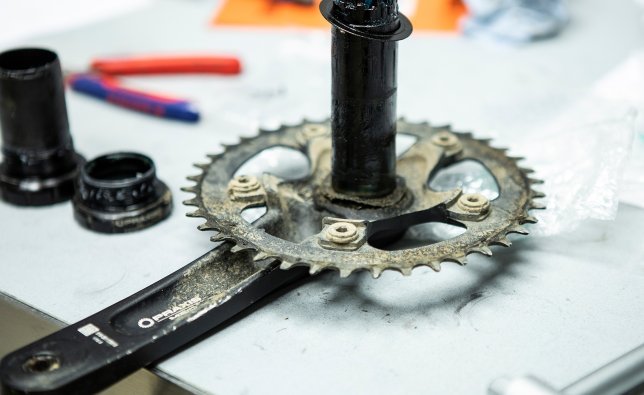
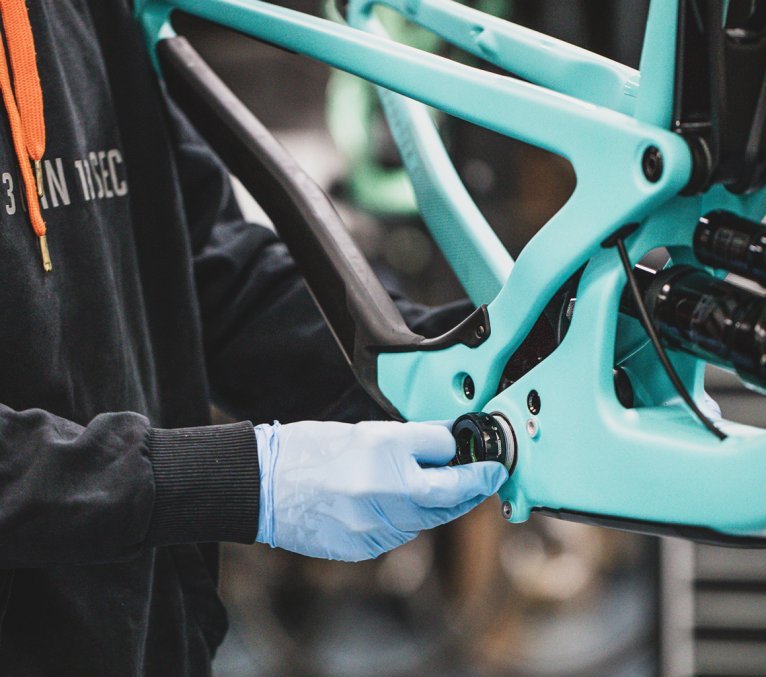
The bottom bracket – also called the crank bearing – is a central component on every bicycle. It serves as the interface between the crankset and the frame and ensures that you can pedal. The key factor is compatibility with both – the frame’s bottom bracket shell and the crank spindle. Both come in so many different standards and dimensions that things can quickly become confusing. But don’t worry! Whether you want to replace a worn bearing or build a new bike: our guide will help you find the right bottom bracket for your bike in just a few steps. Let’s get started!

The bottom bracket functions as a mediator between the frame and the crank.
The decisive parameters when it comes to finding the right bottom bracket for your bike:
Shell width, installation type & axle type
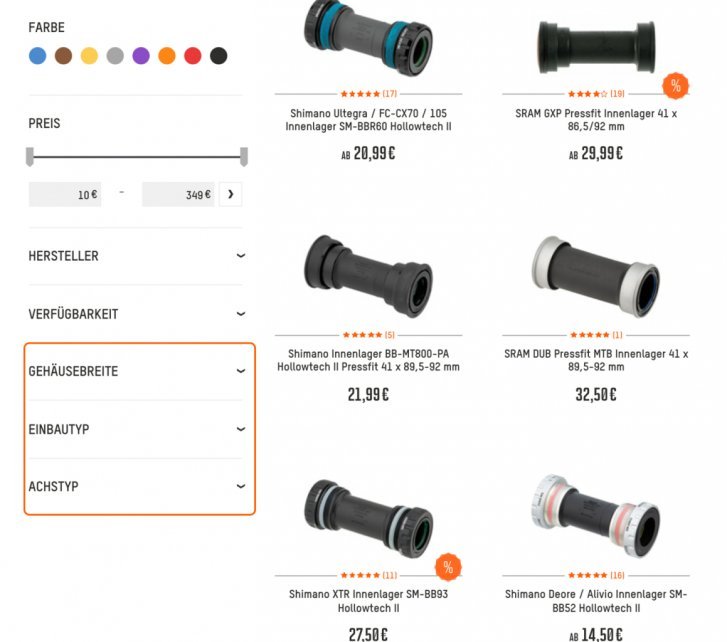
With the help of the filters in our online shop, you can gradually narrow down the selection of suitable bottom brackets. Four factors are decisive:
Whether you start by determining and filtering by the shell width and installation type on the frame or first select the crank spindle type (filter: axle type) is up to you. Regardless of the order, the suitable bottom brackets will be displayed in the end. In the following paragraphs, we explain what the individual filter options mean and how they lead you to the right bottom bracket. It helps to have a caliper or a ruler at hand to measure the bottom bracket shell on your frame. To measure all relevant interfaces, no bottom bracket should be installed in the frame. If you have a data sheet from the frame manufacturer, you will most likely find information about the correct bottom bracket there and won’t need to measure it yourself.
Advanced filter options will help you when searching for a suitable bottom bracket in our shop. © bc GmbH
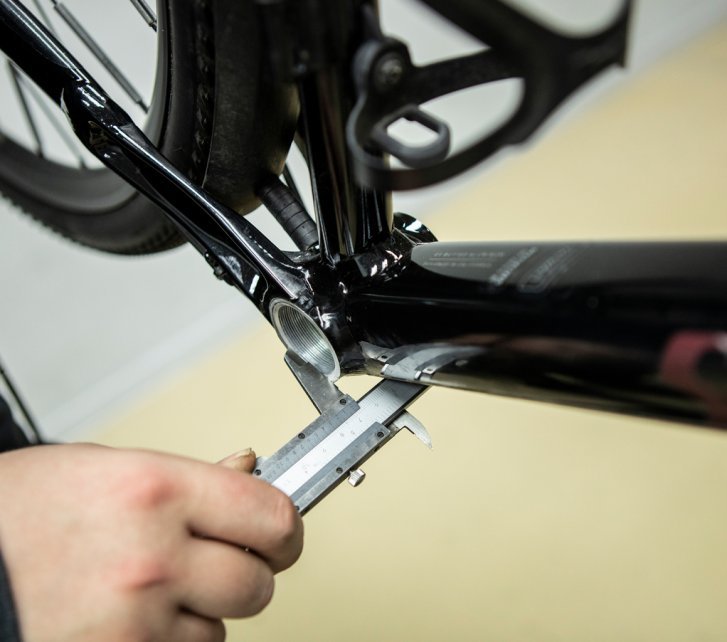
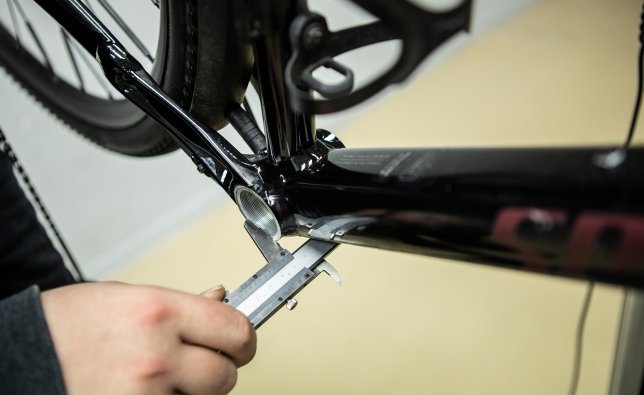
The bottom bracket shell – the part of your frame in which the bearing is installed – has a specific width. It is easy to measure, even if a bottom bracket is installed. Measure only the total width of the shell on the frame itself, WITHOUT the bearing cups and any spacers. Once you know the shell width, you can narrow down the search results using the filter function.
The bottom bracket shell width can be determined quickly with the help of a caliper gauge. © bc GmbH
In addition to shell width, bottom bracket shells on bicycle frames differ in other aspects that you can narrow down using the “installation type” filter. Since manufacturers have introduced new installation standards with their own names over the years, there is unfortunately no consistent naming convention. The letters are usually abbreviations. In some cases, the numbers refer to the inner diameter of the frame, in others to the outer diameter of the crank spindle, and in yet others to the width of the bottom bracket shell. To reliably match the frame with the crankset, all parameters must be correct.
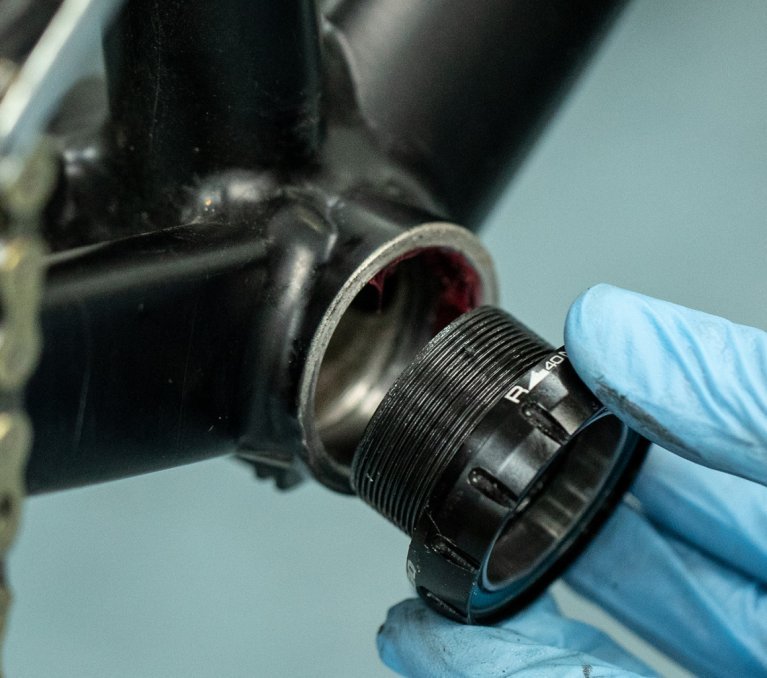
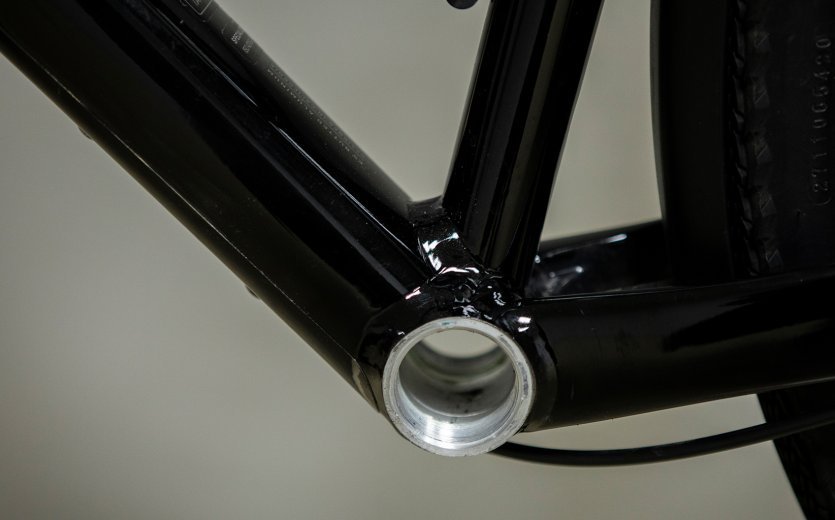
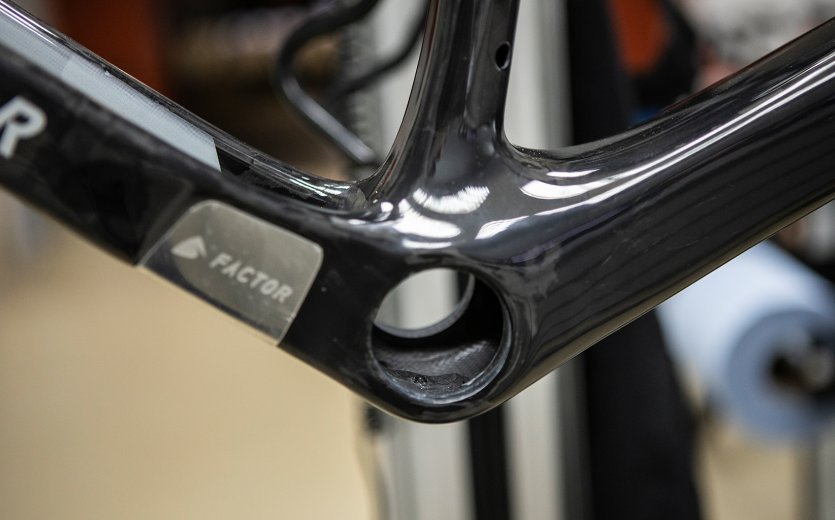
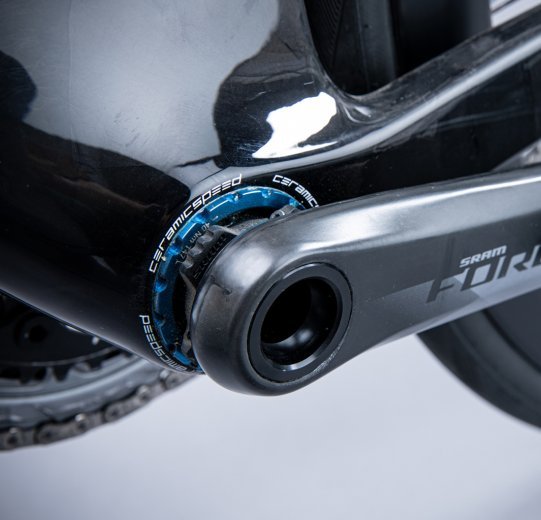
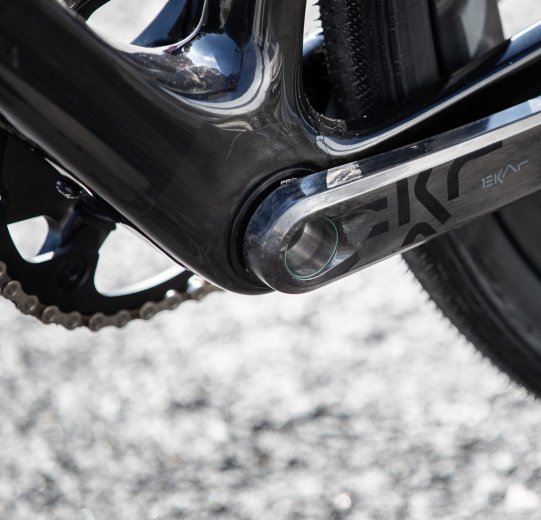
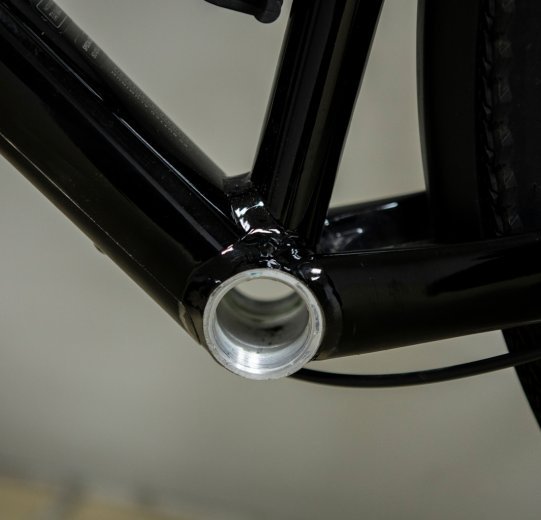
The first and most important distinction is whether the bottom bracket is threaded or press-fit. On a frame without an installed bottom bracket, you can directly see whether the inside of the shell has threads or not.
When it comes to the type of mount, a distinction is made between bottom brackets that are screwed in…
... and bottom brackets that have to be pressed in (Press Fit).
You can recognize a threaded bottom bracket in its installed state by the tool interface on the bearing cups, usually a spline pattern running around the outside of the cup. The following variants currently exist, which you can distinguish on removed bottom brackets by the inner diameter of the bottom bracket shell and the direction of the threads:
| Installation type (shop filter: bottom bracket standard) | Inner diameter | Thread direction |
| BSA | approx. 34 mm | Left-hand thread on the drive side, |
| ITA | approx. 35 mm | Right-hand thread on both sides (less common than BSA) |
| T45 | approx. 44 mm | Left-hand thread on the drive side, |
| T47 | approx. 46 mm | Left-hand thread on the drive side, |
| T47A (asymmetrical) | same threads and diameter as T47, |
BSA and ITA bottom brackets look very similar, which makes it difficult to tell them apart by visual inspection alone. However, modern frames with an ITA bottom bracket shell are quite rare. If you have a frame from an Italian manufacturer, you should take a closer look. Otherwise, BSA is very likely.
Bottom brackets with a T designation (T45, T47 and T47A) are visibly larger than BSA and ITA. Here, the details matter — you can check them in the table.
With threadless bottom bracket shells, the bearings are pressed directly into the frame or installed with aluminum or plastic bearing cups. The principle is similar to that of headsets. In this context, the term “press-fit” or the abbreviation “PF” is often used. You can distinguish the shell types by their inner diameter and width. It’s best to measure the diameter directly on the frame with a caliper after removing the bottom bracket. You can then assign the following inner diameters to the corresponding installation types:
| Inner diameter | Installation type (shop filter: bottom bracket standard) |
| 37 mm | BB90, BB95 |
| 41 mm | Pressfit BB86, BB92, BB104,5, BB107, BB121 |
| 42 mm | BB30, BB30A |
| 46 mm | Pressfit PF30, BB386 Evo, BBright |
| 42 und 46 mm | OSBB is available in 42 and 46 mm – please check the datasheet and product description |
The different installation types with the same diameter differ in shell width. If you filter by width first, the selection of bottom bracket standards is automatically reduced.
Using the “axle type” filter, you can narrow down the selection of bottom brackets based on compatibility with your crank. Strictly speaking, “axle” is not the correct term for a crank, since a rotating component that transmits torque is called a “spindle.” However, in cycling terminology, both “crank spindle” and “crank axle” are commonly used, which is why we use both terms here.
You can either measure your crank axle (or spindle) yourself or find the relevant specifications in the data sheet or product description. We can divide axle types into two groups: systems where the spindle is part of the crank and permanently attached to one of the crank arms, and systems where the crank spindle is part of the bottom bracket. Unfortunately, there is not a compatible bottom bracket for every crank and frame combination. With some frames, this limits your choice of cranks.
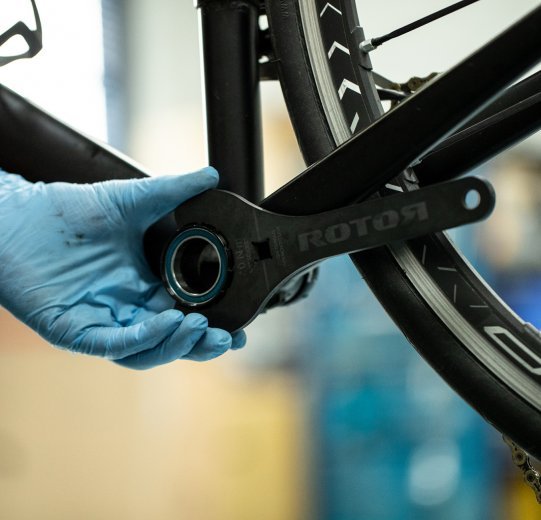
On most cranksets found on high-quality bikes, the crank spindle is permanently attached to one crank arm. The measurements listed in the shop filters (axle type) and in the data sheet usually refer to the outer diameter of the crank spindle, which you can measure with calipers at the point where it would sit inside the bearing. Alternatively, you can measure the inner diameter of the bearing — in other words, the hole through which the crank spindle is inserted. The following systems are currently available:
| Axle type | System |
| 19 mm | FSA MegaExo |
| 24 mm | Shimano Hollowtech II and compatible products from other manufacturers |
| 24 / 22 mm | the crank spindle on GXP cranksets from SRAM measures 24 mm on the drive side and 22 mm on the non-drive side |
| 25 mm | Campagnolo Ultra-Torque and Power-Torque |
| 28,99 mm | SRAM DUB, also Truvativ |
| 30 mm | various manufacturers |
| 30 / 28 mm | Praxis Works M30, the crank spindle measures 30 mm on the drive side and 28 mm on the non-drive side |
The length of the crank spindle can also vary. Narrow road bike cranksets, for example, usually have a shorter spindle than MTB cranksets. In most cases, you don’t need to measure anything here. If you’re only replacing the bottom bracket and your crank and frame have already worked together successfully, you don’t need to worry about it. If you want to install a new crankset, it’s important that the crank spindle matches the frame’s bottom bracket shell width. You’ll always find this information in the crank details on our product pages.
When choosing a bottom bracket, the inner diameter of the bearing and the crankshaft diameter must be matched. © bc GmbH
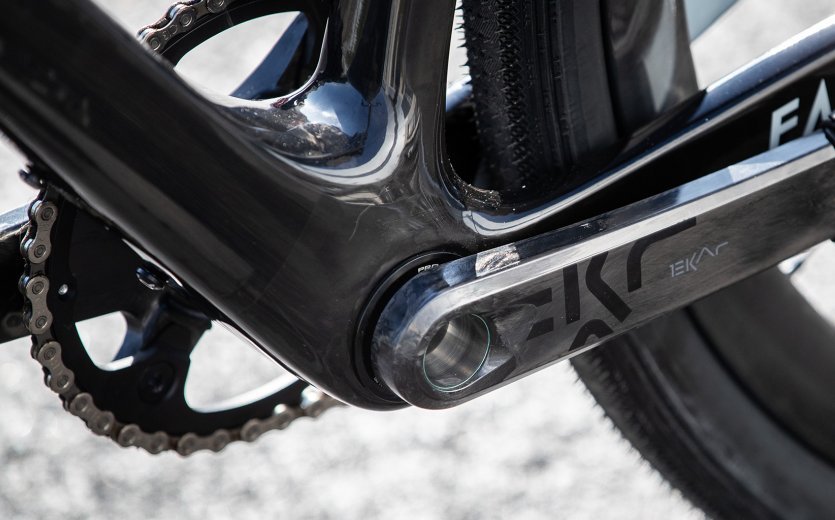
On older or more affordable bikes, you’ll often find systems where the crank spindle is part of the bottom bracket. These are usually so-called cartridge bottom brackets — sealed units that almost completely disappear inside the frame. The crank spindle protrudes on both sides. The two crank arms are bolted individually onto the spindle. To transmit power, the interface between crank arm and spindle is either a tapered square interface or a splined interface. The common systems are:
• Square taper (JIS) – mainly used by Asian manufacturers (e.g. Shimano)
• Square taper (ISO) – mainly used by European manufacturers
• Octalink MTB – eight-spline interface, longer spline than Octalink Road
• Octalink Road – eight-spline interface, shorter spline than Octalink MTB
• ISIS – ten-spline interface
• Power Spline – twelve-spline interface
The two square taper variants are not compatible with each other. Using the wrong bottom bracket can damage your crank. Since they are difficult to distinguish, you should check with your crank manufacturer to find out which square taper standard fits. With bottom brackets that have an integrated spindle, you must also select the correct overall spindle length in addition to the installation width. This determines the chainline, the Q-factor, and ensures that your crank does not collide with the chainstays. You can find the required spindle length for your crank in the manufacturer’s documentation. If such a bottom bracket is already installed, you can simply measure the spindle length with a caliper.
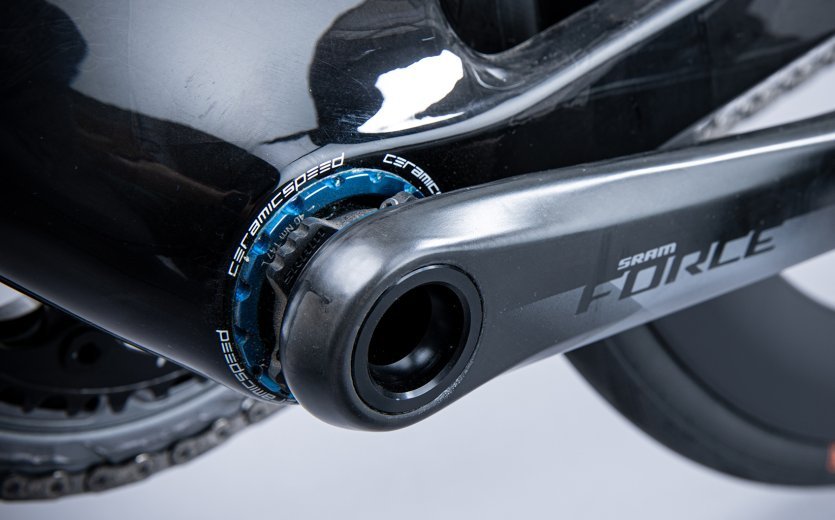
The different price categories of bottom brackets mainly differ in manufacturing quality and bearing type. Nowadays, sealed cartridge bearings — often referred to as industrial bearings — are most commonly used. They are made from either chrome steel, stainless steel, ceramic, or a combination of materials (e.g. hybrid bearings with ceramic balls and steel bearing races). While standard bearing steel is very durable when properly maintained, stainless steel has the advantage of being corrosion-resistant (i.e. rustproof). If you often ride in the rain or wash your bike frequently and don’t have time to regularly inspect and regrease your bearings, stainless steel is a good choice. Ceramic bearings are also corrosion-resistant and extremely durable thanks to their very hard material.
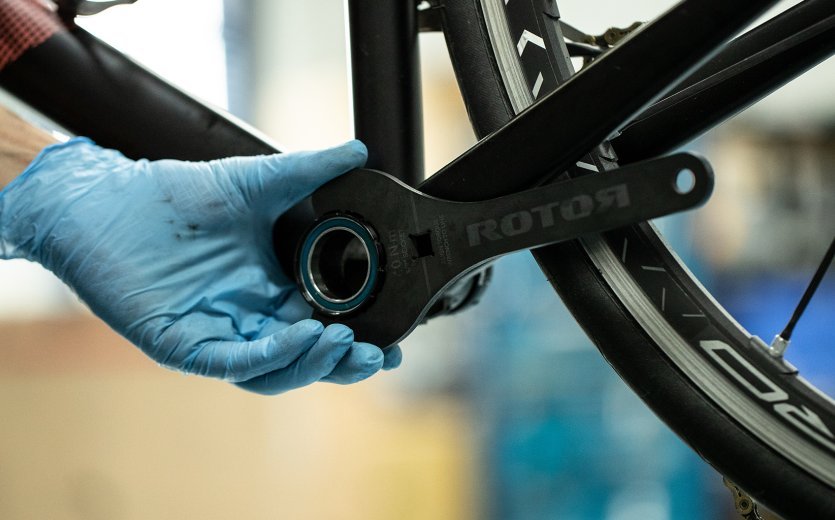
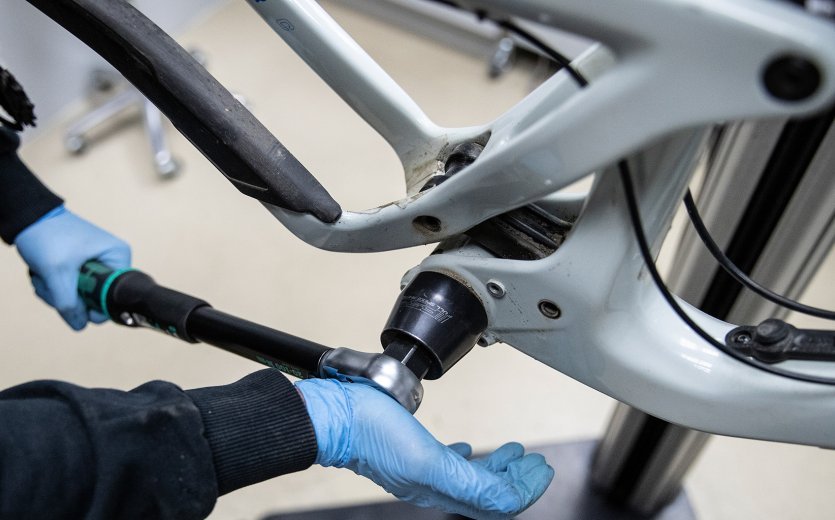
Depending on the bottom bracket, you will need different specialist tools for installing and removing.
In order not to damage the frame or bottom bracket, you should always pay attention to the torque specified by the manufacturer.
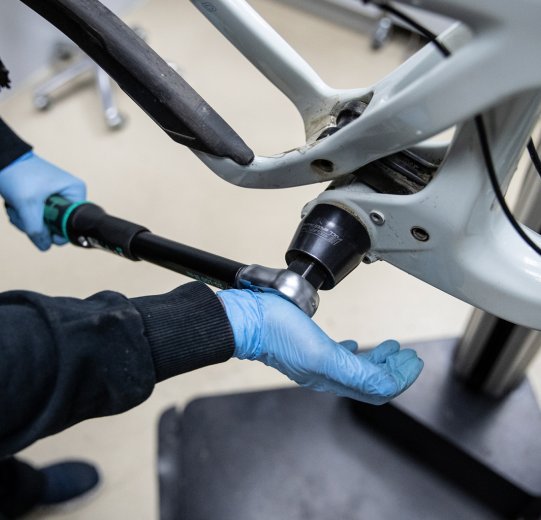
You will need specialized tools to install bottom brackets. For threaded bottom brackets, different tools are required depending on the system. For threadless bottom brackets, you will need a press-fit installation tool. To remove press-fit bearings, a removal tool (also called a drift or extractor) is required. A special case are bottom brackets for threadless bottom bracket shells where the two halves are screwed together. These do not require a press-fit tool, but instead a wrench similar to that used for threaded bottom brackets. The bottom bracket tightens itself inside the frame through the screw connection. In any case, we recommend checking before ordering which type of tool is compatible with your new bottom bracket. Many tools look similar at first glance. During installation, pay attention to thread direction and torque specifications, and be sure to use assembly grease. With a new frame, you should check whether the bearing seats are properly prepared. It may be necessary to face the shell or chase the threads.
With a new bottom bracket installed, your crank will spin smoothly, efficiently, and without play again. If you have any questions, feel free to contact our service team.
Bicycle tube or tubeless tyre? Butyl, TPU or latex? Find out which system is best for you and your bike here.
Which thru axle is the right one for your hub? We give you an overview of the common dimensions of hubs and axles on MTB, road bike and gravel bike.

Perhaps you’re familiar with the basics, but do you want to learn more about the physics behind a wheel? Allow us to give you an in-depth explanation.
Is it worth building a custom wheelset for a road bike when there are so many good system wheels available? Absolutely! Read on to learn more.
A hub dynamo provides power for lights and charging smartphones and GPS on the bike. We’ll show you what to look out for when building a dynamo wheel.
Looking for a new rim for your bike? We’ll show you what to look for when choosing the right rim for your MTB, road bike or gravel bike.

The question: system wheelset or build your own wheel? We explain the basics for picking out rims, spokes and hubs.
Have you ever thought about building your own MTB wheelset? We’ll give you ten reasons to build your own custom wheelset.

A gravel wheelset has to withstand a lot of hard use. Can't find the right one? Build it yourself! We’ve put together some tips to help you get started.
A creaking or clicking noise from the bottom bracket area doesn’t necessarily come from the bottom bracket itself. It could also be a pedal, a chainring, or the connection between the crank and crank spindle. Often it helps to clean all relevant bolts and retighten them to the correct torque. Our guide on creaking bikes goes into more detail: How To: Eliminate Bike Creaking
You can recognize a worn bottom bracket if it rotates with increased resistance and/or feels rough. To assess this more accurately, remove the chain from the chainring and rotate the crank to evaluate the bearing independently from the rest of the drivetrain. Wear can also show up as play in the bearings. If you can grab the cranks and move them side to side by hand, first check whether the cranks are properly tightened. If they are, the play likely comes from a worn bottom bracket.
BB30 and PF30 are bottom brackets for different frame standards. BB30 refers to bottom brackets where the bearings are pressed directly into a frame with a bottom bracket shell inner diameter of 42 mm. PF30 (also called PressFit30) bottom brackets are pressed into frames with an inner diameter of 46 mm using bearing cups. Both include “30” in the name because they were originally designed for cranks with 30 mm spindles. Later, variants for cranks with smaller spindle diameters were introduced, but the names remained.
Yes, it’s recommended to grease all contact surfaces between components during installation to prevent corrosion. This includes the threads and the inner area of the bottom bracket that contacts the crank spindle. The actual bearings are usually sealed and pre-greased. Some manufacturers of high-end bearings, such as Chris King, recommend regularly renewing the grease inside the bearings to maximize longevity.
The correct torque for tightening a bottom bracket varies by model. Always follow the manufacturer’s specifications and use a torque wrench! The recommended torque (and thread direction) is often marked directly on the bearing cups.
Yes, if you have the proper tools, you can replace a press-fit bottom bracket yourself. You will need a removal tool (drift) and a suitable press-fit installation tool.
Send your unused goods back within 100 days after purchase and get your money back!
See more