

How to go tubeless
If you have not tried tubeless yet, do it! Riding with or w/out a tube, both has its pros & cons, but at least give tubeless a shot. We show you how to mount a tyre tubeless.
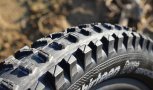
Running tubeless tyres has huge advantages, mainly more grip due to less tyre pressure and less punctures. This holds true for road and mountain bikes.
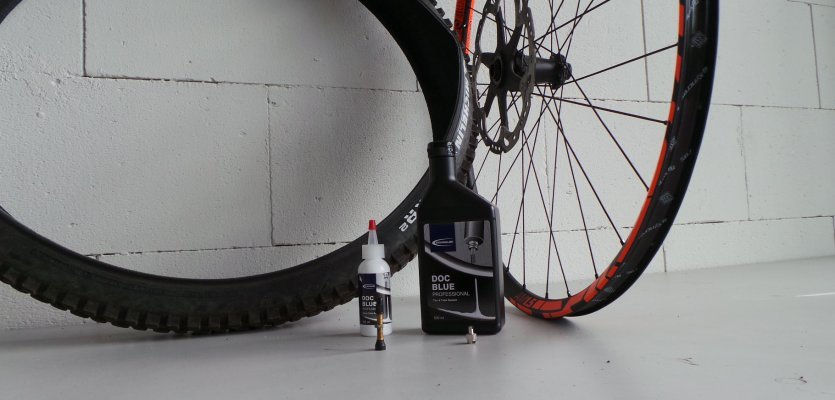
Before converting your bicycle’s wheels though, you need to check first, whether your rims and tyres can be ridden without a tube. Look for indications like “tubeless ready” or the UST logo (Uniform System Tubeless standard) on your tyres and rims. In regards to the rims, also check whether the nipple holes are already covered and sealed. If not, you can also easily cover these with rim tape as we explain below.
Conversion step-by-step
First, check your rim’s nipple holes. They need to be covered with tubeless rim tape. Before applying the tape, clean the rim bed, removing dirt, grease and grime with brake cleaner and a lint-free rag. Apply the tape slowly under light tension. Make sure it overlaps about 5 cm at the valve hole and use a knife to make a small insertion for the valve.
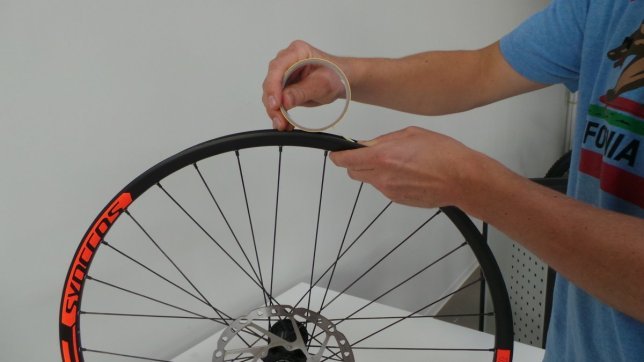
Applying the rim tape, using a little bit of tension.
Then stick the special tubeless valve through the hole and secure it with the valve nut.
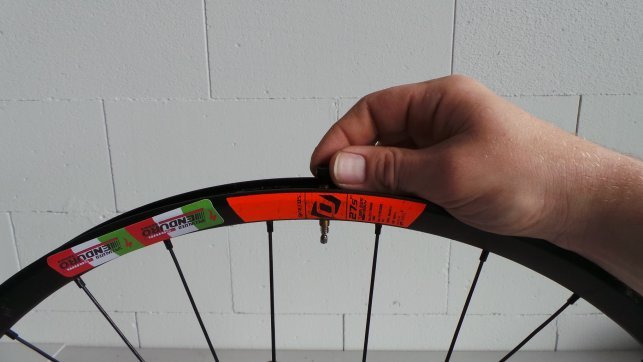
Inserting the tubeless valve.
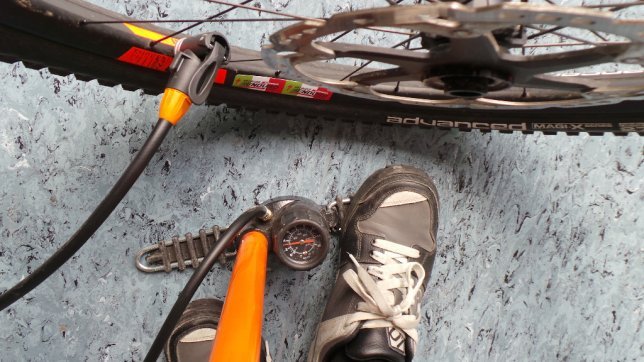
Now you can mount the tyre back onto the rim. Position the tyre beads towards the centre of the rim bed. Then inflate the tyre quickly without any sealant to at least 3 bar.
The bead should seat making loud sounds. You should be able to do it with a floor pump, but use a compressor in case you run into problems.
Let the tyre sit inflated for a little while and then deflate it again and remove the valve agian. Get the tyre sealant and shake it well before using it. Set the wheel upright on the floor, positioning the valve at the 5pm position. This way the sealant can flow easily into the tyre.
Inflate the tyre until the bead seats.
You will need about 60 to 90 ml for a MTB tyre and 30 to 45 ml for a road bike tyre. Check the indications of the sealant manufacturer before you start, it varies with each sealant brand and tyre manufacturer.
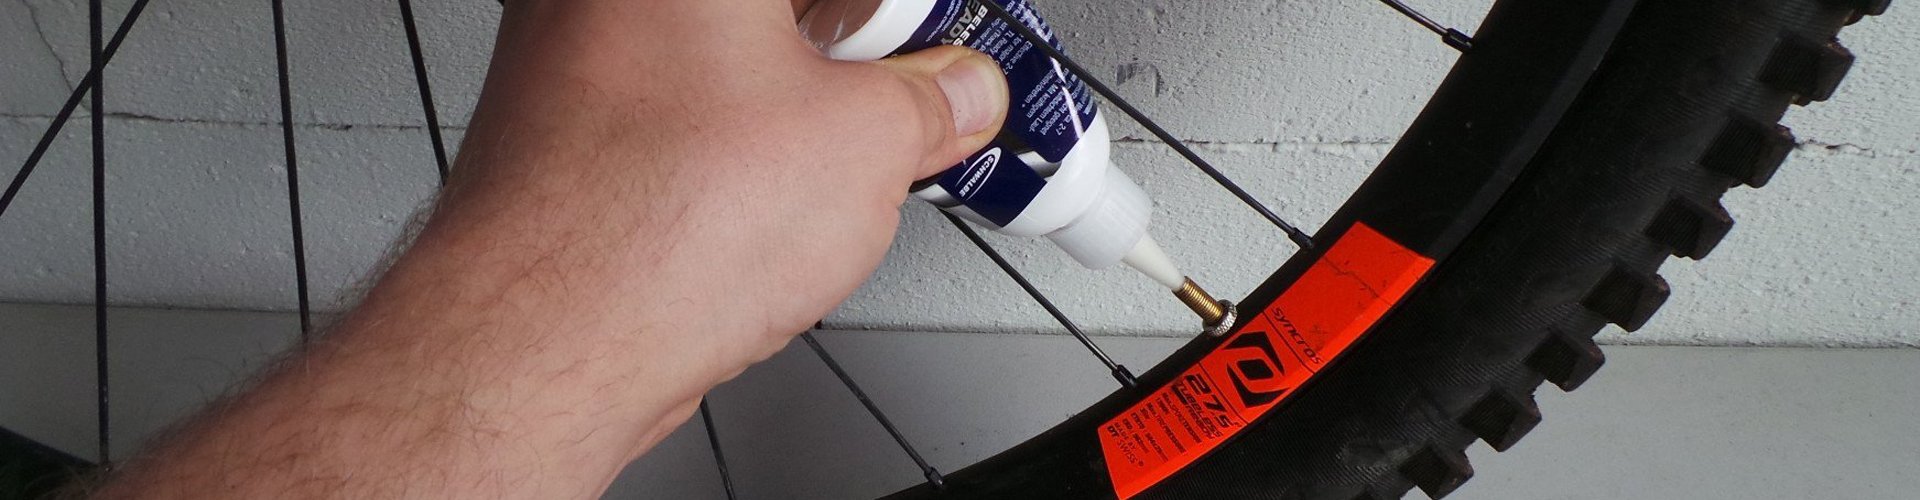
Now you pour the sealant through the valve hole. Once you have filled the tyre with sealant, screw the valve back in and secure it. Then inflate the tyre again quickly. After reaching the desired pressure, move and shake the wheel around so that the inside of the tyre carcass is completely covered with sealant.
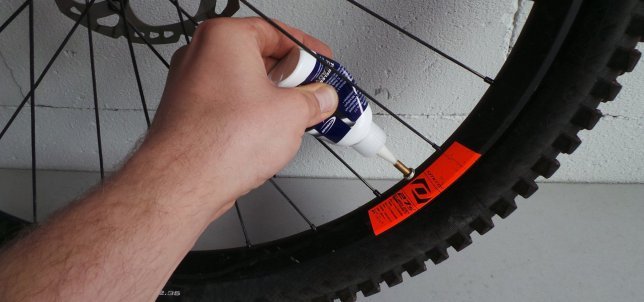
Inserting the sealant through the valve hole.
Now you are ready to go out and ride. Again, you can use less pressure and enjoy more grip.
One thing to remember
The sealant goes bad over time and loses its sealing qualities. You need to refill the tyre every few months or so. Again, look for the manufacturer’s indications for exact intervals and check your tyre pressure before every ride.