
How to mount Schwalbe’s Procore System
Schwalbe’s Procore System is a proven way to get more grip out of your tyres. But how do you mount it. Read on to find out more.
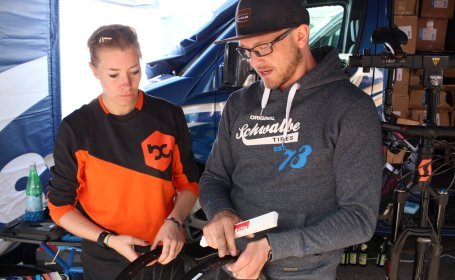
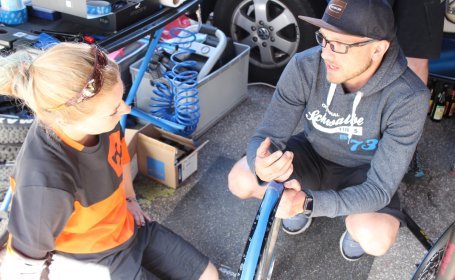
Schwalbe’s Procore tyre system has already proven itself on the market. But how does one install it? I had a chance to answer this question during Bosch’s eMTB Challenge in Riva, Italy where I outfitted my E-bike with it. Read on for the full report.
The Procore System
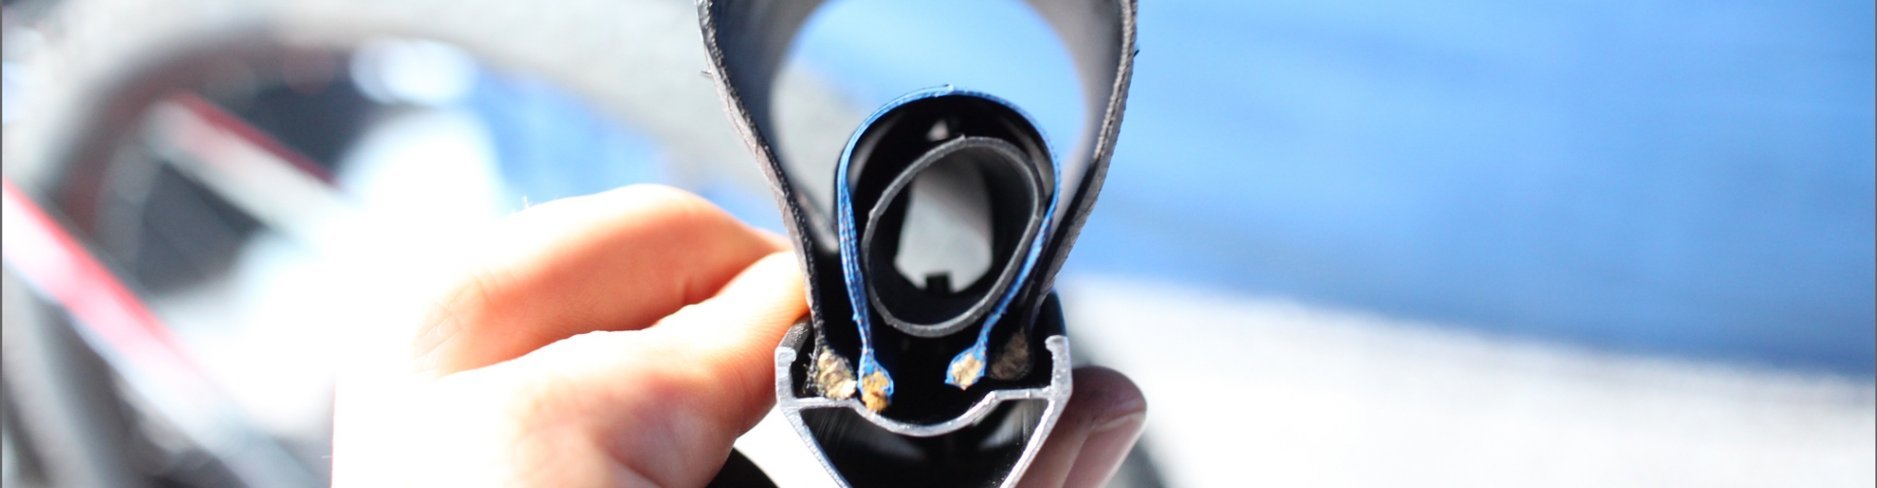
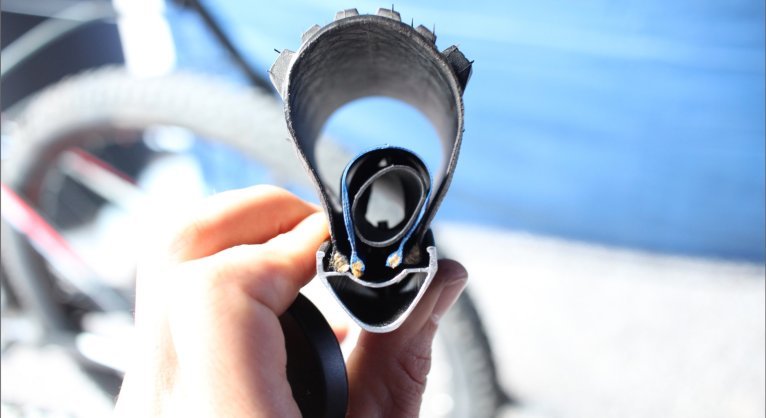
Schwalbe’s Procore is based on two chambers that are both set to different pressures. The inner chamber sits directly on the rim and can be pumped up between 4 and 6 bars. This high pressure holds the tyre’s bead to the rim and protects both. This means that the outer air chamber (the tyre) can be ridden with very low pressures between 0.8-1.5 bars. Procore is compatible with all tubeless tyres with 2.25” widths or larger and tubeless rims with at least a 23 mm inner rim width.
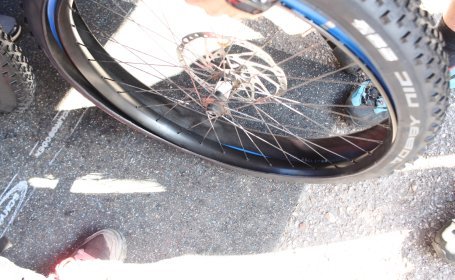
Step 1: Prepping the rim


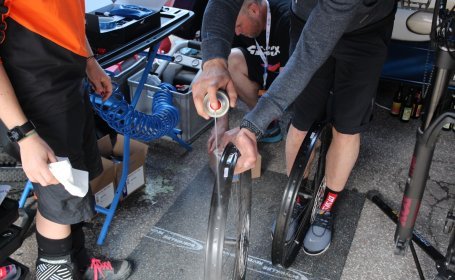
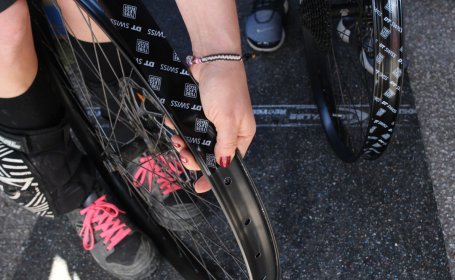
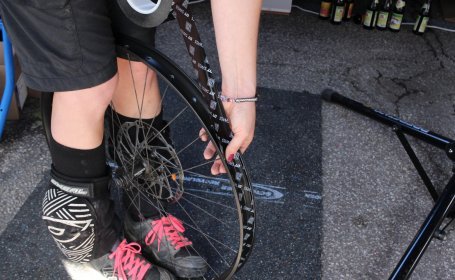
Removing the rim tape and cleaning the rim.
Checking the rim width just to be sure.
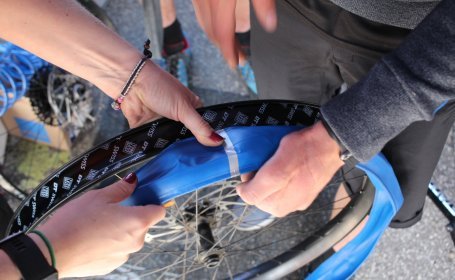
Wrapping the rim tape requires tension.
Be sure to place the rim tape evenly throughout.
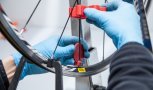
Step 2: Mounting the Procore System


Put a small hole in the rim tape where the valve hole is.
Mounting one side of the inner tyre.
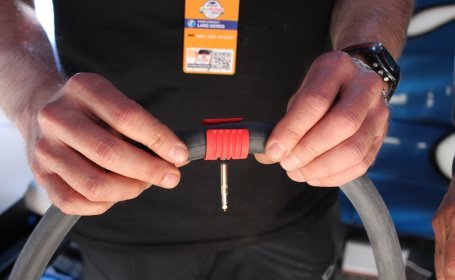
The Procore tube with Airguide.
Pull the rest of the inner tyre onto the rim.
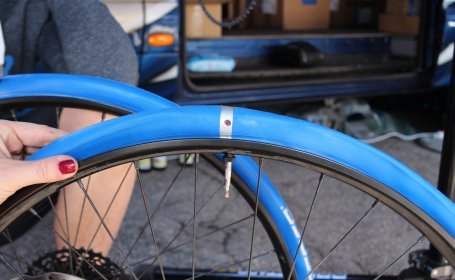
Make sure everything is lined up.
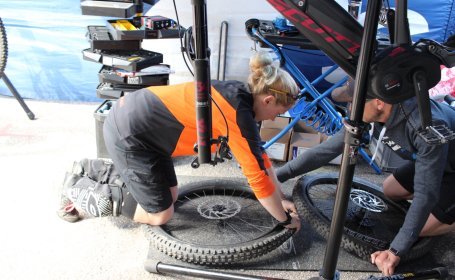
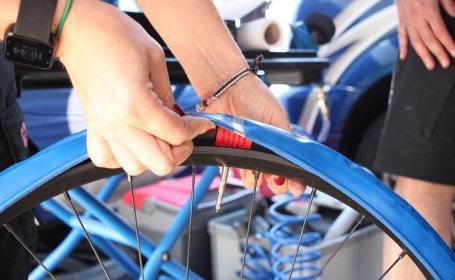
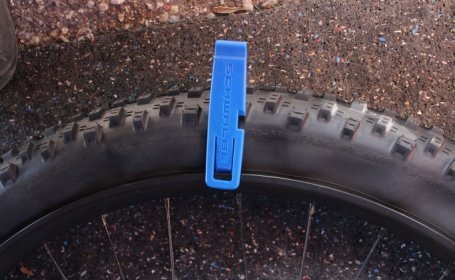
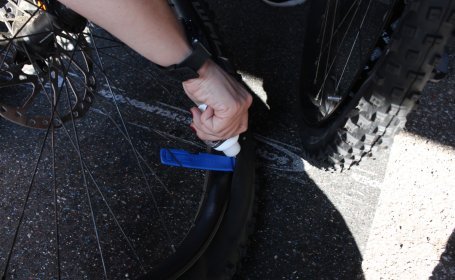
Step 3: Mounting the tyre


Mounting the actual tyre.
Tyre levers can help to mount the tyre.
Fill with Doc Blue Sealant.
Now the tyre is installed.
Step 4: Pump it up


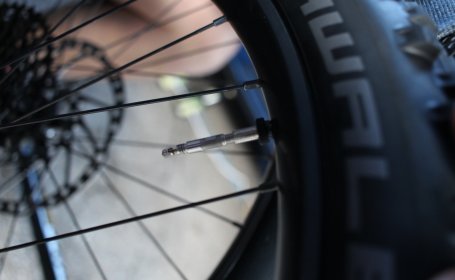
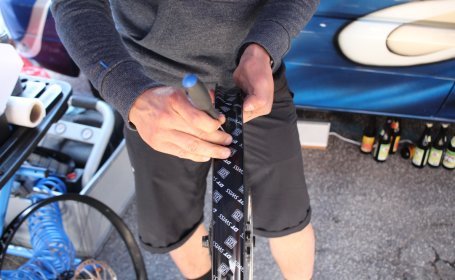
The special Procore valve.
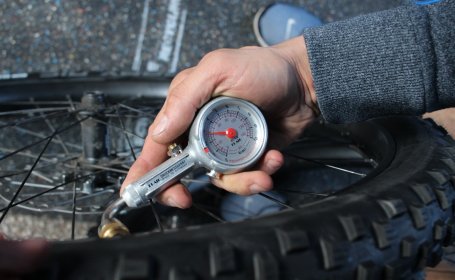
Make sure to pump to the right pressures.
Pros
- Even when going hard, lighter weight tyres can be used.
- More grip due to the lower outer chamber pressures without tyre folding over.
- Increased puncture protection and burping becomes non-existent.
Cons
- Takes longer to mount.
- Increased weight.
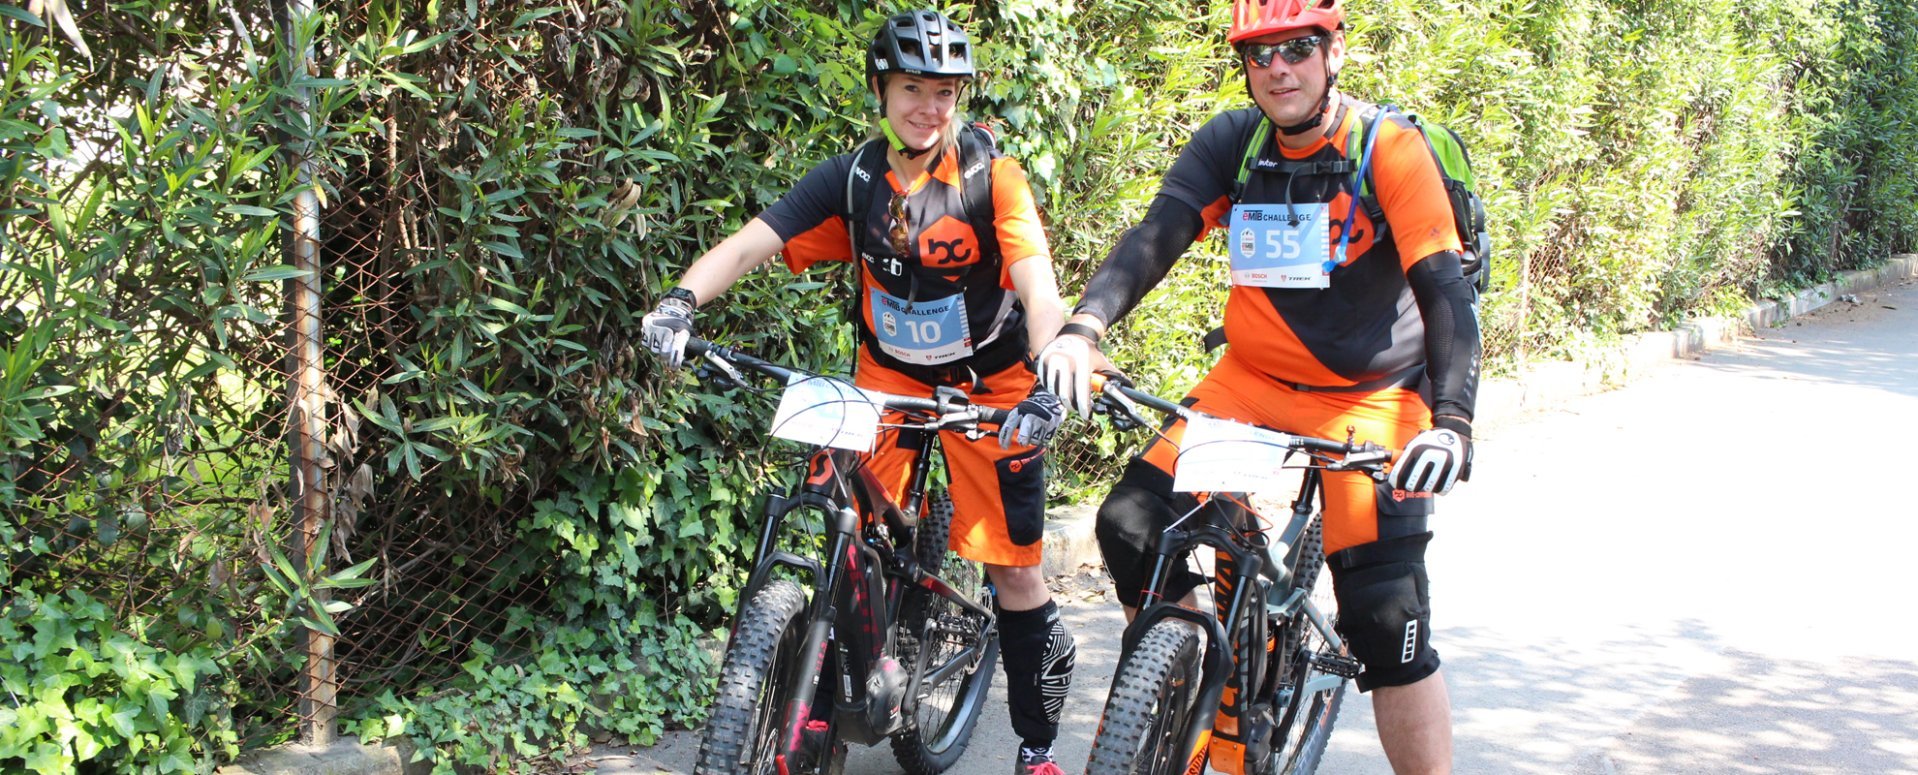
Time to test the Procore System!
On the Trail
Of course, once the Procore System was mounted I had a chance to ride it with the following bike setup:
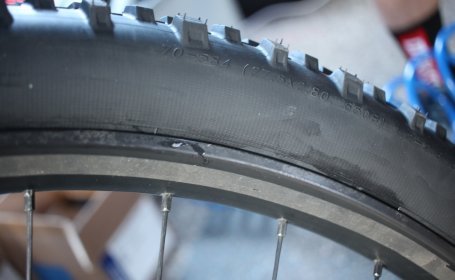
- E-Bike: SCOTT E-Contessa Genius 720 Plus
- Tyres: Schwalbe Nobby Nic
- Air Pressure: Inner chamber 6 bars, outer chamber F = 0.97 bars, R = 1.2 bars
- Where: Riva with ca. 33 km and 1200 m of altitude gain
It was easy to notice the advantages of Procore right from the start.
It was easy to notice the advantages of Procore right from the start. The bike feels more at home on the trail, both up and down hill. Especially when things get rocky or full of roots, the tyres offer more comfort and grip.
Even after choosing some bad lines, which is easy to do in Riva, I didn’t get a flat. The increased weight of Procore goes unnoticed on an E-bike as well. Sharp corners and small jumps were also easy to take. Everything about Procore made my riding experience better. Though mounting took some time, it was straight forward and I can only recommend it.