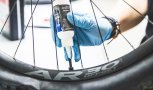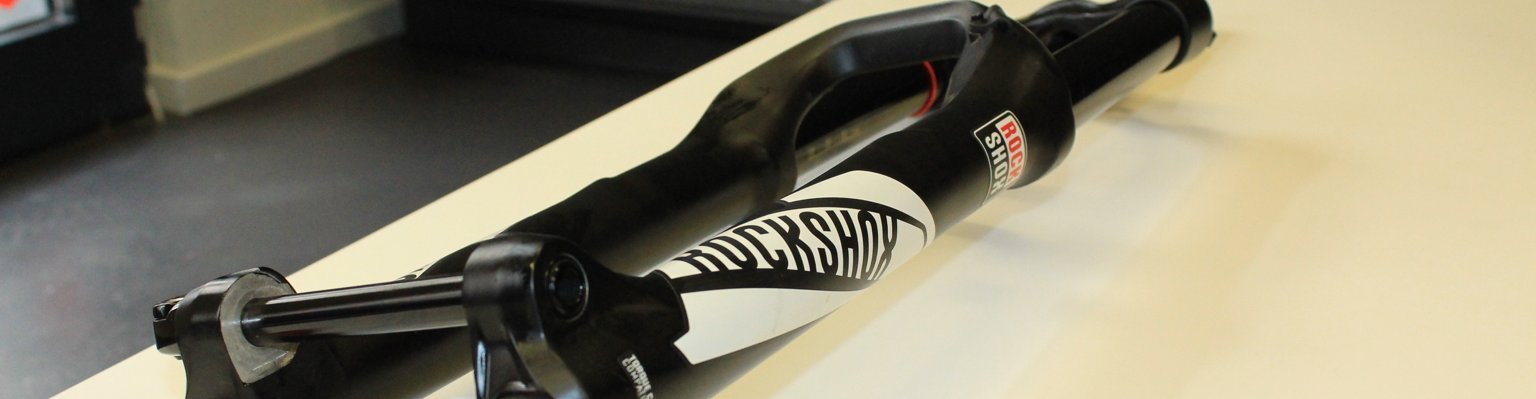
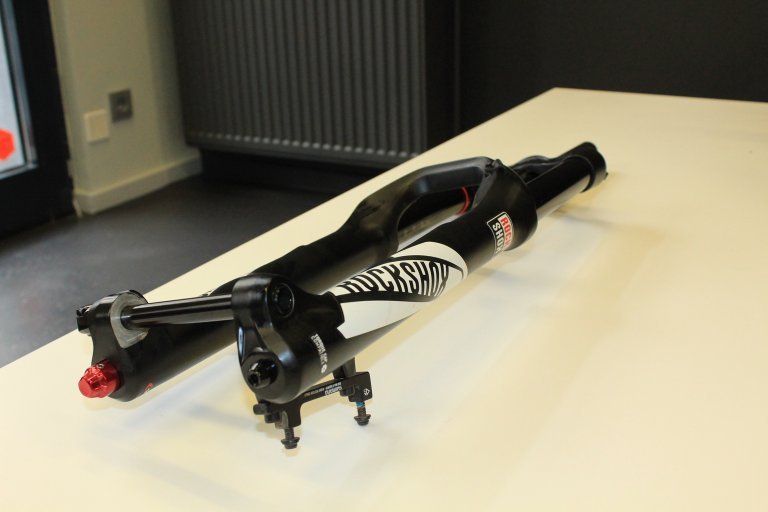

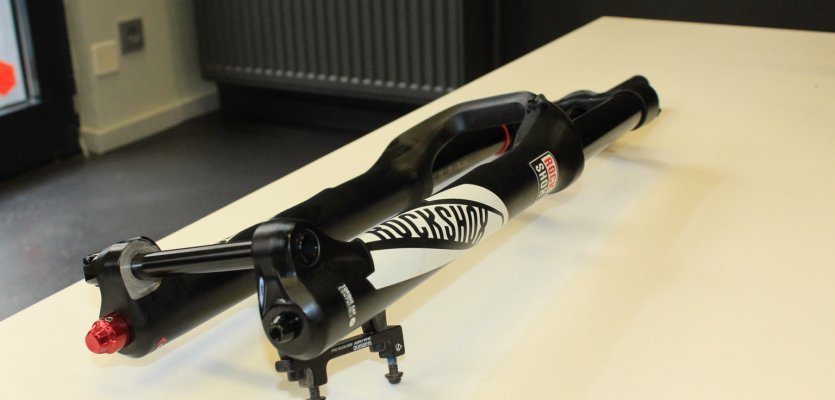
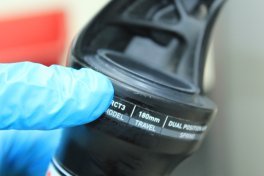
Service your 2016 RockShox Lyrik suspension fork
Next to the frame, your suspension fork is often the most expensive part of your bicycle. For this reason, you should take good care of your fork.
Next to the frame, your suspension fork is often the most expensive part of your bicycle. For this reason alone, you should service and care for your fork regularly. Besides that, a fork with new, clean oil, foam rings, and dust seals just works better. Servicing at the proper intervals increases the lifespan of your fork as well. A good indication that it is time to service you fork is when your drivetrain starts to wear. So if it is time for a new cassette and chain, it is time to take a look at your fork.
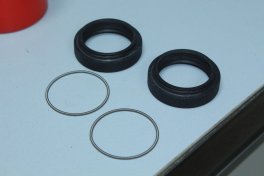
For this service, we are replacing the dust seals, foam rings, SAG rings and seals that sit at the bottom of the lower tubes.
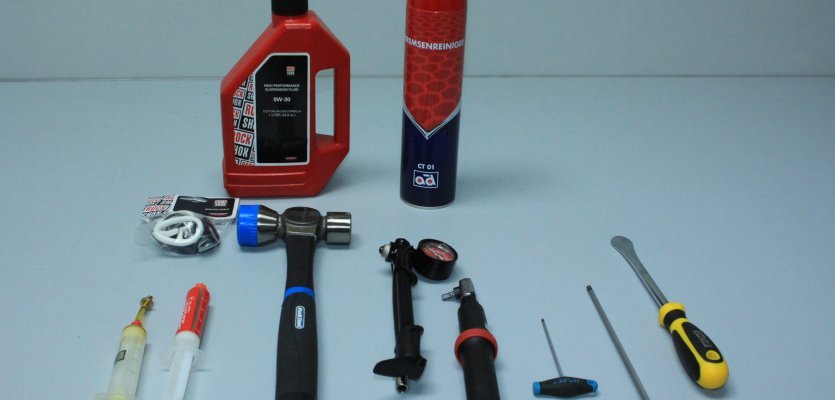
This blog post is meant to give you the proper instructions to service your fork yourself so you do not have to send it in to a shop. Before we get started, below you will find a list of all the required tools and parts you will need to complete the service.
Parts
| Product | bc Order No. |
|---|---|
| RockShox Suspension Oil 0-W30 viscosity | 36590 |
| RockShox Service Kit for Lyrik RCT3 Dual Position Air | 44728 |
Required tools
| Product | bc Order No. |
|---|---|
| RockShox Dust / Oil Seal Installation Tool | 29312 |
| SRAM Butter | 42017 |
| Syringe | 16758 |
| Brake Cleaner | 12922 |
| Plastic Hammer | 26506 |
| RockShox Suspension Fork Pump | 24179 |
| Torque Wrench | 37291 |
| Allen Wrenches (2/5) | 30546 |
| Tyre Lever | 6977 |
Preparation
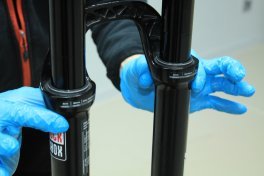
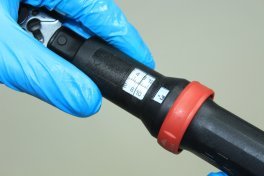
First, the fork needs to be depressurised and tension-free. That means letting all the air out of the spring and resetting the rebound. Check the psi before releasing the air so that you can set the fork back up to its previous settings. To release the rebound, turn the red knob under the right side of the fork all the way out. Count the amount of clicks for easier setup later.
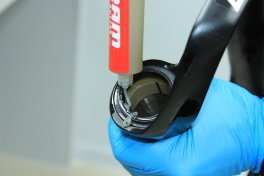
Casting removal
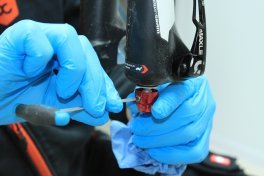
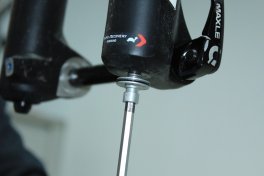
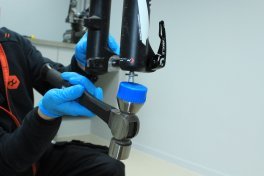
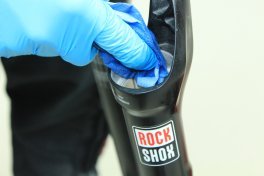
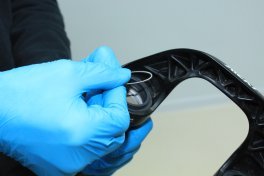
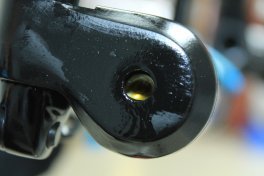
- Unscrew the valve cap on the top left side of the fork and release the air from the AV valve. Hold a rag over the valve in case liquid is sprayed.
...
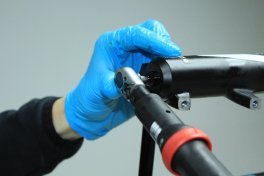
- Now, unscrew the rebound knob. Make sure to count the clicks so you can find the original settings later.
- Unscrew the set screw 2-3 times and remove the knob by pulling down.
...
...
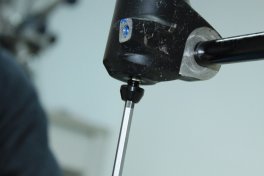
- To remove the air cartridges from both sides of the fork, use a 5 mm Allen wrench. Do not unscrew the bolts completely, instead only 3-4 revolutions.
...
...
Caution: Now it gets oily, so place an oil pan below the fork.
- Lightly tap the cartridges with the plastic side of the hammer. The cartridges are loose when you can move the bolts
...
...
- The bolts can now be completely removed.
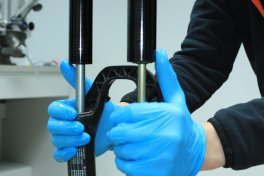
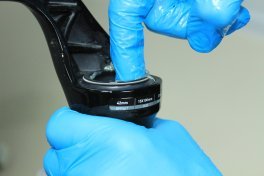
- After, the casting can be removed. Carefully pull the casting down because it is easy to jam.

...
...
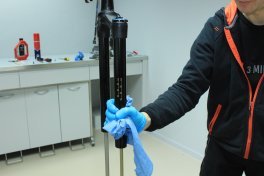
- Now clean the piston rods and stanchion tubes with a rag and brake cleaner.
...
...
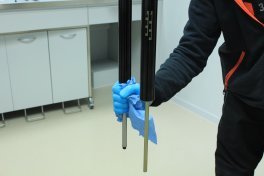
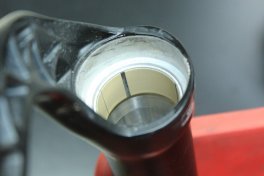
- After everything is clean, check for any damage done to the stanchion tubes.
-
If you see damage that is not wear and tear related, you should send the fork to the manufacturer. This way you can get feedback on whether or not the fork will function properly.

...
Replacing the dust seals and foam rings
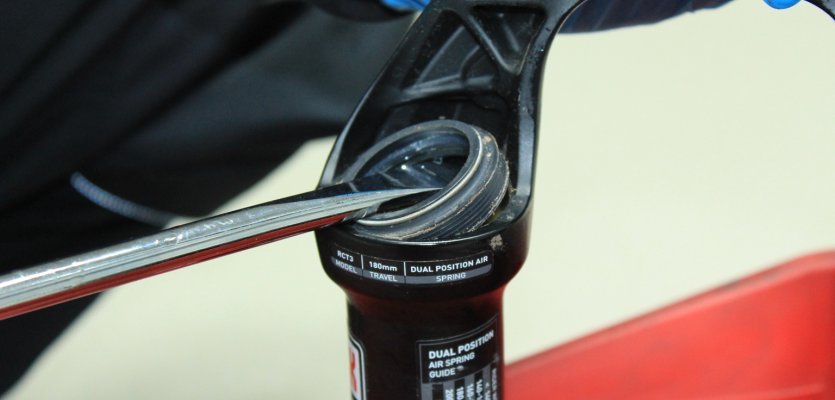
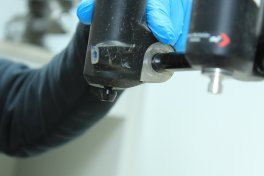
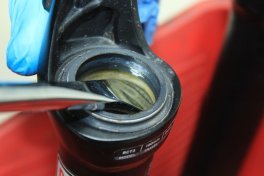
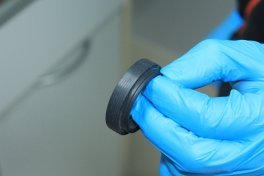
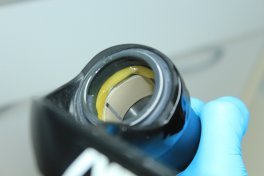
- First, push the foam ring to the side with the tyre lever. Now you can get under the dust seal and remove it.
- Remove the dust seal carefully.
...

...
- Now, remove the foam rings.
- You should see Teflon bushings on the inside of the stanchion tubes. Check these for damage. If one is damaged you should send the fork to the manufacturer. They can be replaced at home, but that requires quite a bit of experience.

...
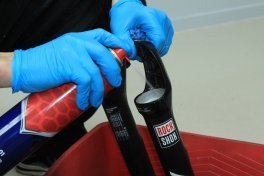
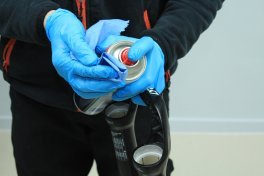
- If everything is undamaged, the casting can be cleaned. Use brake cleaner and a rag to remove any grease or oil.

...
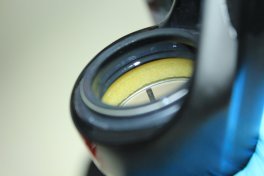
- The dust seal and foam ring contact areas should be cleaned with brake cleaner before the new ones are installed. The areas need to be free of any grease or oil.
...
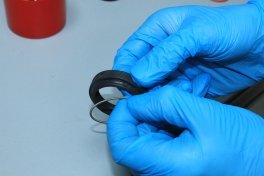
- Before pressing the dust seals, the foam rings need to be soaked in suspension fork oil so they have time to completely absorb it. You can soak the foam rings in the brake cleaner cap in case you do not have anything else.
...
- Remove the spring washer before pressing the dust seals into the fork. Do not dispose of these. They will be used later.
...
...
- The dust seals need to be pressed into the fork completely dry. Do not allow any grease or oil to make contact with the outer side of the seals.
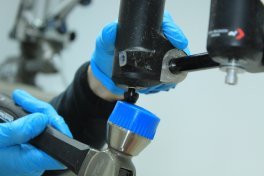
- Use your hand to press the dust seal to the installation tool.
- Carefully use the hammer to tap the dust seal into the fork. Best, is to place the fork on a rubber mat or similar surface.
...
...
...
- After pressing the dust seals they need to be flush with the edge of the casting.
- Now, the spring washers need to be replaced.
...
- Once the dust seals are in place, the greased foam rings can be installed. Be sure that they do not twist.
Incorrectly installed / correctly installed
...
...
- Before reinstalling the casting, SRAM Butter needs to be used. The dust seals have a U-shaped channel that needs to be filled with Butter. Smooth out everything with your finger.
...
...
Casting reinstallation
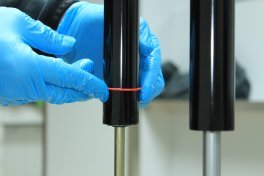
- Now the SAG rings and the casting can be reinstalled. Be careful and install slowly while keeping the casting level.
- It should be easy to move with two fingers. If it is more difficult, remove the casting and reinstall.
...
...
...

...
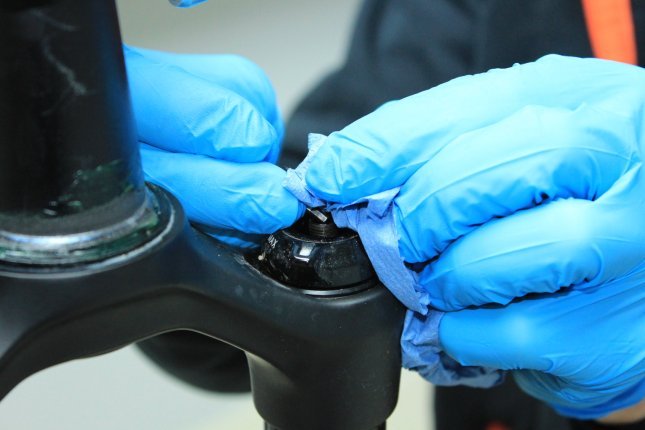
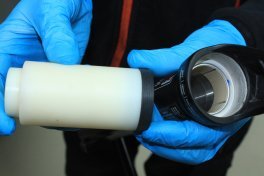
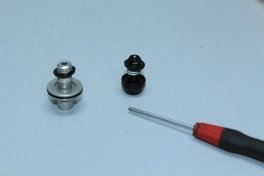
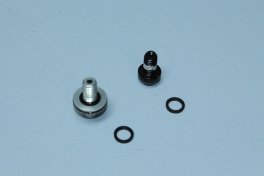
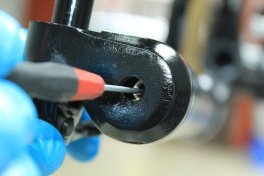
- Before filling the casting with oil you want to change the seals on the cartridge bolts. Use a small flat head screwdriver to help you remove the old seals.
...
...
-
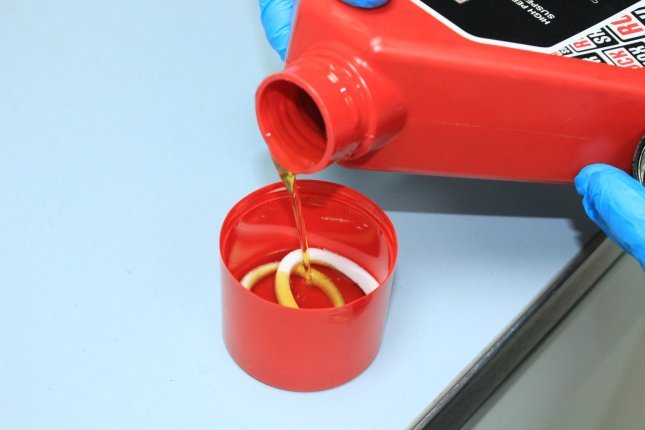
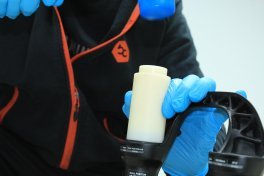
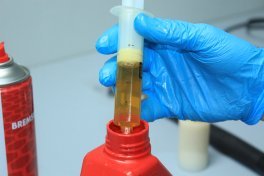
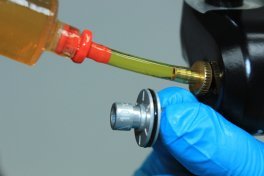
Now you can fill your fork with new oil. Either hang the fork vertically or lay it down horizontally. The amount you need for the rebound (right) side is located on the rebound bolt for models as of 2015. In our case, we needed 10 cc (10 ml). The amount of oil you need for the left side can be found on the SRAM website under “Service”. 2016 Lyrik forks need 15 ml on the air (left) side.
The following link will tell you how much oil your fork needs:
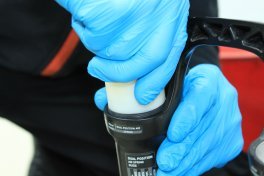
- After finding the correct amount, fill the syringe and fill the fork legs.
...
...
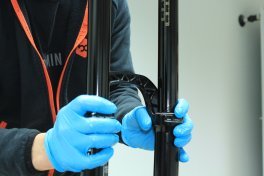
- Now the casting can be bolted. Be careful not to tighten the bolts all the way.
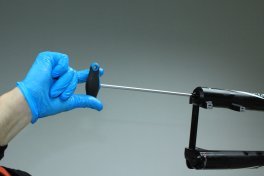
- Sometimes, after bolting the casting, the piston rods are out of line. Use a small screwdriver to fix this.
...
...

...
...
-
When both bolts are fastened and the rods are aligned, use a torque wrench to tighten the bolts completely. The required torque for our fork was 7.3 Nm for each side. You can find other forks torque requirements below:
...
...
- Afterwards, reattach the rebound knob and tighten the set screw. Note: only up to 1 Nm.
- Now fill the fork with air.
- Clean one final time and you are done.
...

...
You can find all the tools and items you need to perform this service in our shop.