How to service your Shimano disc brakes
Brakes are some of the most important parts on your bike, basically a lifeline to a safe stop. This post will show you how to perform a full brake service in a few easy steps.
Brakes are some of the most important parts on your bike, basically a lifeline to a safe stop. Therefore they require special and frequent attention when it comes to their maintenance.
I will simply take it for granted that you check the brake pads for wear on a regular basis. However, there is so much more to servicing your brakes. What do you do in case your brake starts fading or when a piston gets stuck in the calliper? We have put together a manual using a Shimano brake to show you how to bleed your brakes correctly and how to get that piston unstuck. Please keep in mind that service requirements differ slightly by manufacturer and check whether to use DOT or mineral oil.
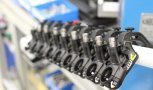
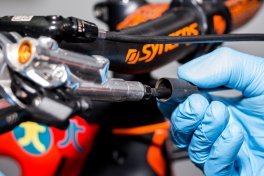
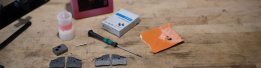
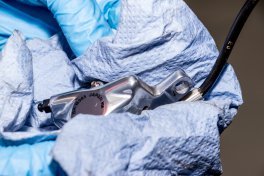
Here is a list of all the tools you will need. Get them together so that you do not have to go looking for them after you have started:
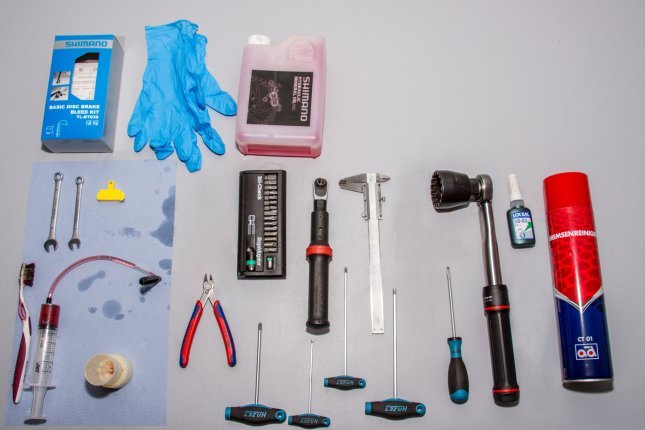
The required tools... © bc GmbH
| Item Name | bc Item-Nr. |
|---|---|
| Shimano Bleeding Kit | 43002 |
| Shimano Mineral Oil/ Brake Fluid | 21348 |
| Bleed Block | 39049 |
| Wrenches (7 or 8 mm) | 31050 |
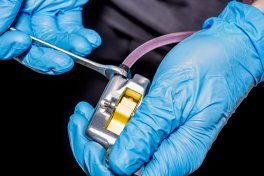
| Electronic Super Knips® INOX Plier | 43595 |
| Nitril Gloves | 36497 |
| Bit Set | 41855 |
| Torque Wrnech 1-25 Nm | 45105 |
| Torque Wrnech 10-80 Nm | 1946 |
| Bottom Bracket Tool | 36133 |
| Allen Wrnech | 35326 |
| Torx-Tool | 41860 |
| Screwdriver-Set | 30422 |
| Brake Cleaner | 12922 |
| Calliper | 38827 |
| Loctide | 15720 |
| Toothbrush |
Step 1: Remove the wheels and check the brake lines
- First, remove the wheels.
- Then check the brake line connections for fluid leaks. Don’t forget to look under the dust caps at the brake calliper and at the brake lever.
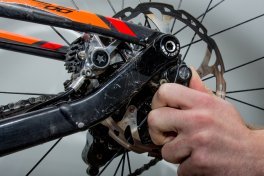
When removing the wheel, loosen the disc brake fastening to safely take the rear wheel out of the frame.
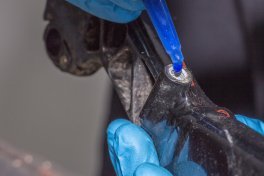
Inspect all line connections on the brake calliper thoroughly for possible leaks, including checking under the dust caps of the bleed port.
Also check the line connection at the brake lever by sliding back the rubber boot and inspecting the fitting for any traces of oil.
Now carefully lift the rubber caps on the bleed port to reveal any possible oil traces or leaks.
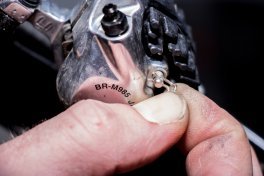
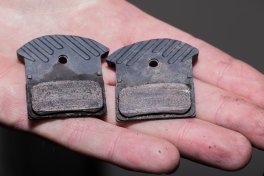
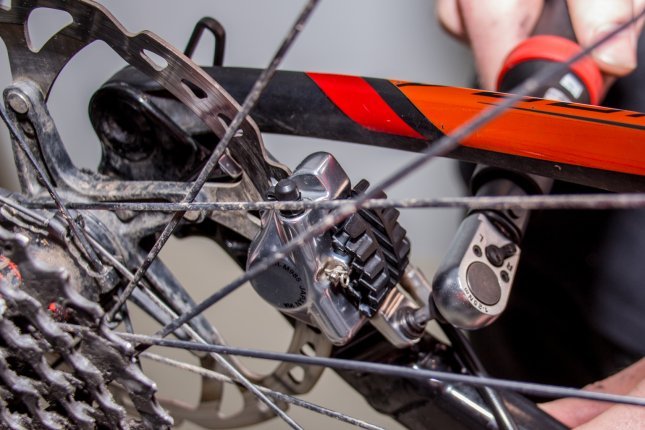
Step 2: Rotor Check
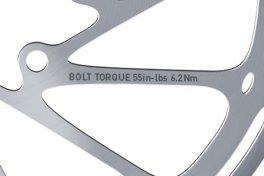
- To check the wear on the rotor, measure the thickness of the disc. Usually, the manufacturer indicates the required minimum thickness on the rotor itself.
- Now you can check the rotor for uneven wear. Put the rotor between the two jaws of the calliper and move them together. If the jaws don’t touch the braking surface evenly, the brake calliper position needs adjustment to avoid more damage or brake failure.
- Rotor wear as shown in the picture is certainly OK though.

First measure the thickness of the brake rotor with a precise calliper and compare the value with the minimum thickness indicated on the rotor. If the value is at or below the wear limit, the rotor must be replaced.
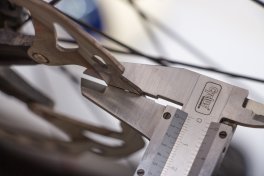
Measure the rotor thickness with a caliper.
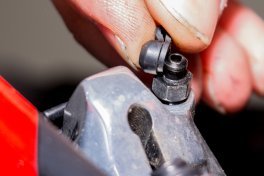
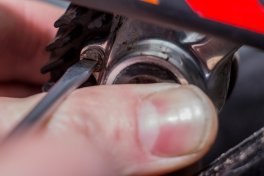
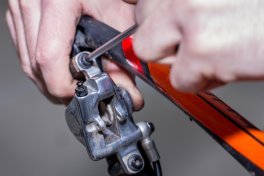
- Finally, we check the bolts on the rotor. Please tighten them according to the recommended torque, often stated right on the rotor or to be found in the manufacturer’s manual.
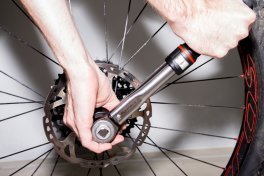
Tighten the lockring with a torque wrench.
...
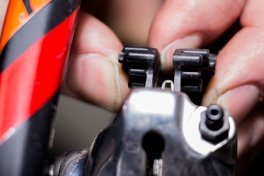
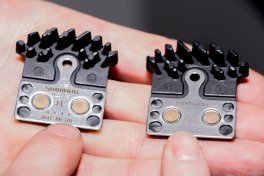
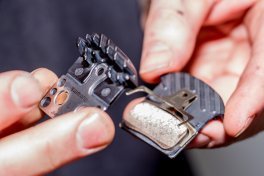
Step 3: Removing the old brake pads
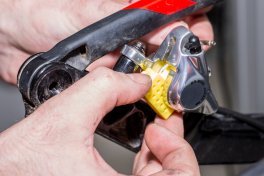
- To remove the old pads, you have to remove the pad retaining bolt clip
- Unscrew the bolt itself and take it out.
- Squeeze the pads together and pull them out of the calliper body.
- The brake pads should not show any traces of old brake fluid, if otherwise, start looking for a leak.
- Once the pads are removed, you can inspect the pistons and the callipers for leaks as well.
Slide the retaining pin of the pad retaining screw into place.
Loosen the pad retaining screw.
Press the brake pads together.
And you can now pull the brake pads out of the brake calliper.
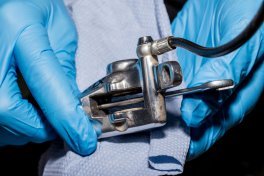
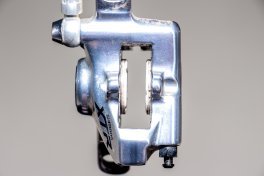
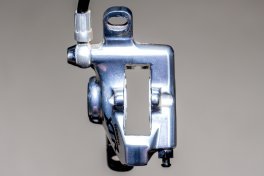
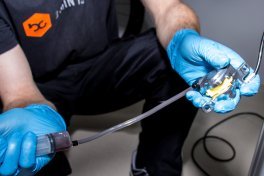
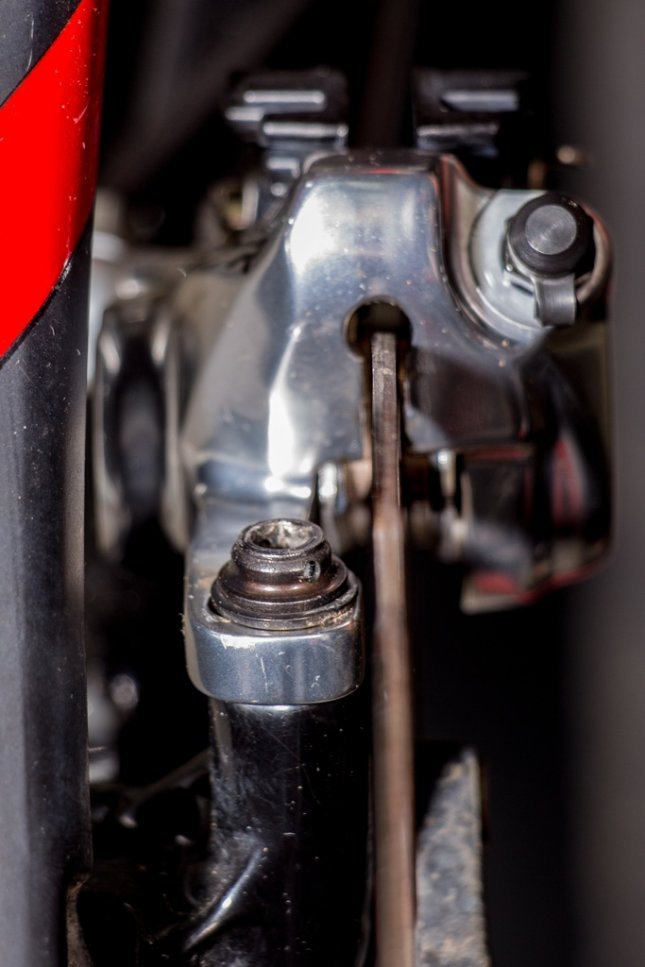
Step 4: Unbolting the calliper
- As air tends to rise, it’s far easier to bleed the brake line when the brake calliper is at the lowest point of the bike. This is especially true for the rear brake. The front brake position usually does not make removal necessary.
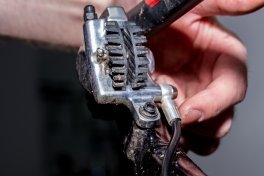
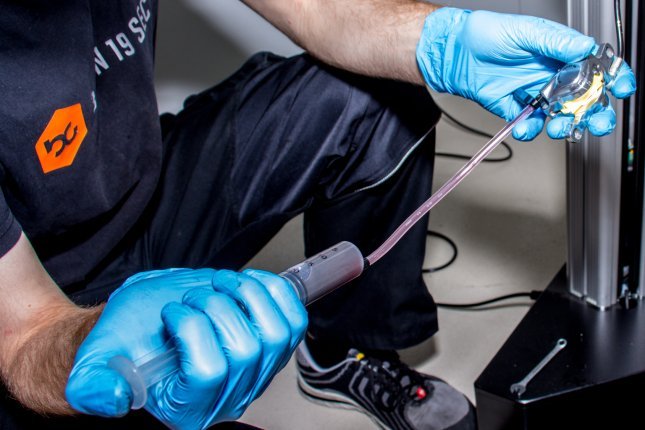
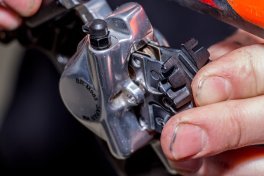
Step 5: Piston Cleaning
- To clean the sidewalls of the pistons, push them out of the calliper with a couple of pulls on the brake lever. They should protrude from the calliper by at least 1.5 mm.
- When pushing out the pistons, also observe whether they move simultaneously.
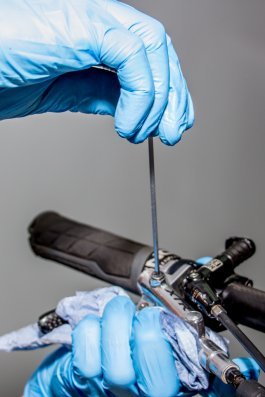
- Since the movement is hard to spot, use a wrench as a reference by holding it next to the piston and calliper body.

To clean the contact surfaces, the pistons need to be slightly extended. © bc GmbH
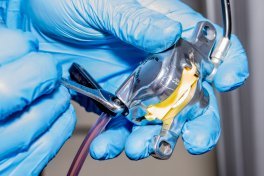
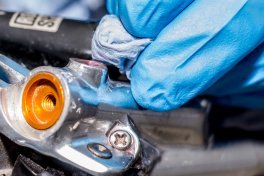
- Now you can clean the pistons. Use a toothbrush and a good amount of brake cleaner.
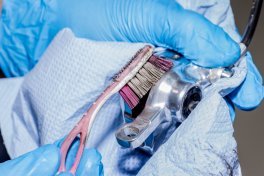
Clean the surfaces with a toothbrush or cotton swab. © bc GmbH
Spray off the loosened dirt.
- Use a drop of Shimano mineral oil to grease the pistons before pushing them back into the calliper.
- Never push the pistons back into the calliper body when they are still dirty.
- When pushing back the pistons, do so carefully, applying force evenly to avoid jamming the them.
- After pushing them back in, they should be flush with the calliper body.
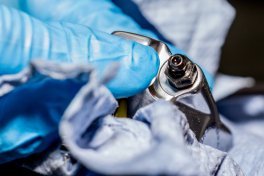
Brake calliper before pushing the pistons back
Brake calliper after pushing the pistons back
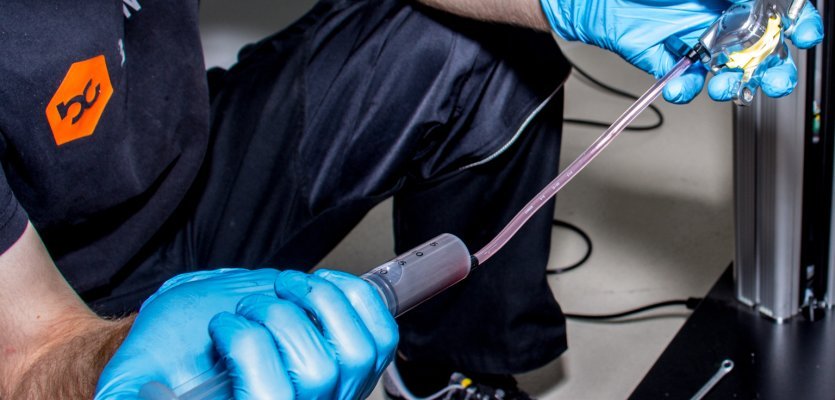
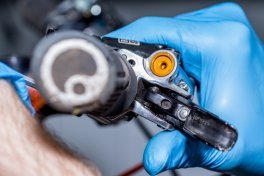
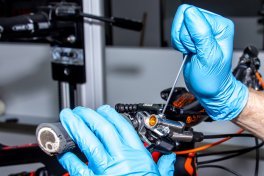
Step 6: Bleeding
- First, move the brake lever to a 45-degree angle on the handlebars and tighten the bolt.
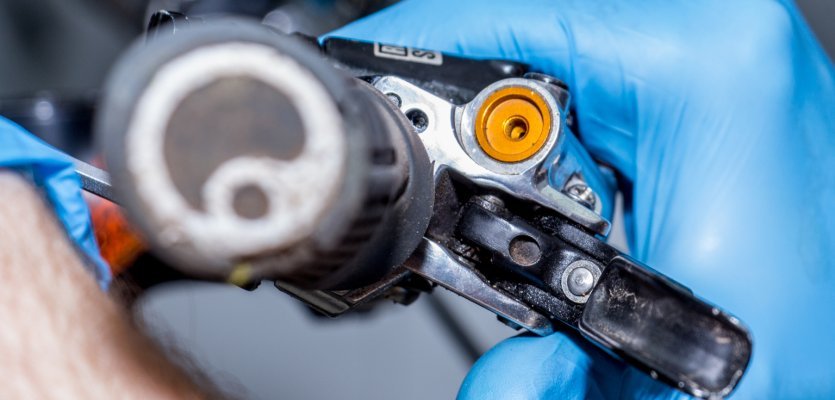
- Now you can open and remove the bleed screw. Also check the rubber washer for defects.
...
Unscrew the bleed screw
Check the seal. Sometimes it gets stuck in the bleed port!
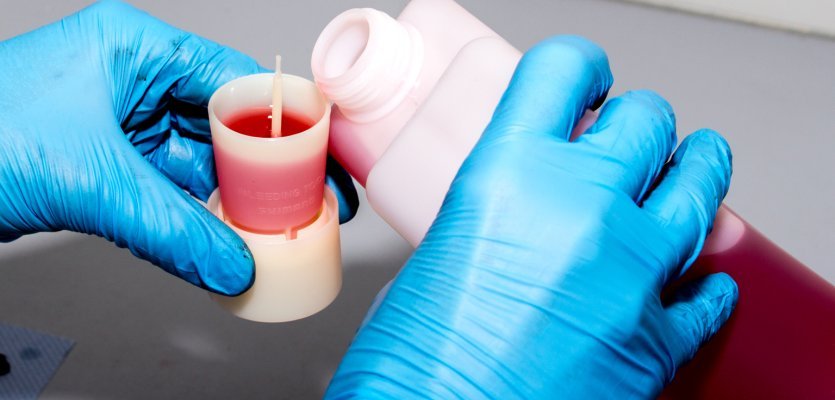
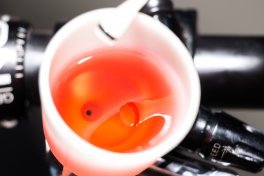
- Now take the funnel from the bleed kit, fill it with brake fluid and screw it onto the brake lever. Be careful to seal the funnel well with the provided lid.

...
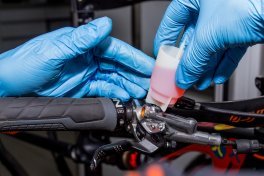
Unscrewing the funnel with stopper from the brake lever
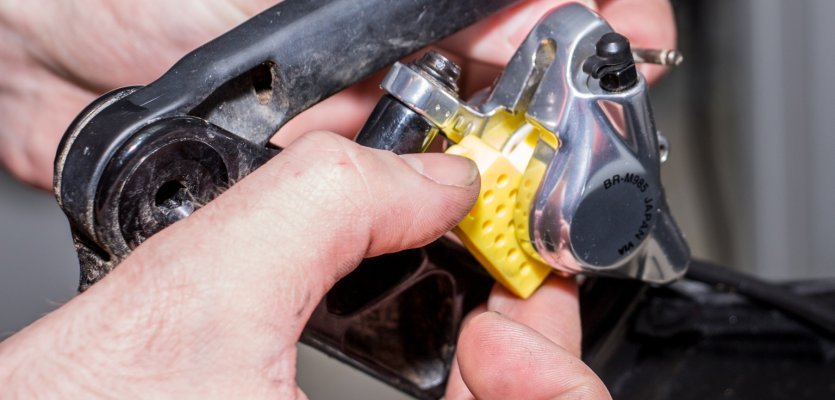
- Now place the bleed block between the pistons and secure it with the pad retaining bolt.
- Attach the empty syringe onto the bleed nipple at the calliper.
- A quarter turn with a 7 mm wrench opens the bleed nipple.
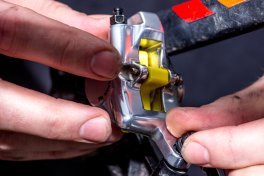
Installation of the bleed block
A 1/4 turn opens the fill port
- Remove the lid from the funnel
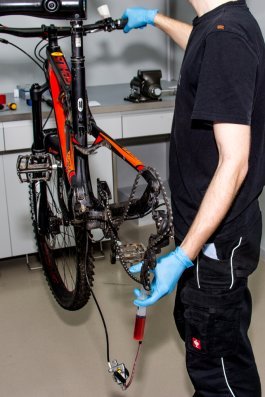
- Pull on the syringe to remove the old fluid from the tubing.
- The new fluid drains from the funnel into the system. Be careful that the funnel does not run dry as new air would enter the tubes.
- You can tell from the colour of the fluid when all has been replaced.
The syringe holds the used fluid, the tube already contains the new fluid. The bleeding is complete.
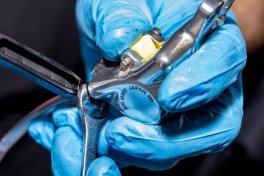
- Once all the fluid has been replaced, you can close the bleed nipple on the calliper with the 7 mm wrench.
- Dispose of the used oil from the syringe. Please adhere to the proper recycling rules.
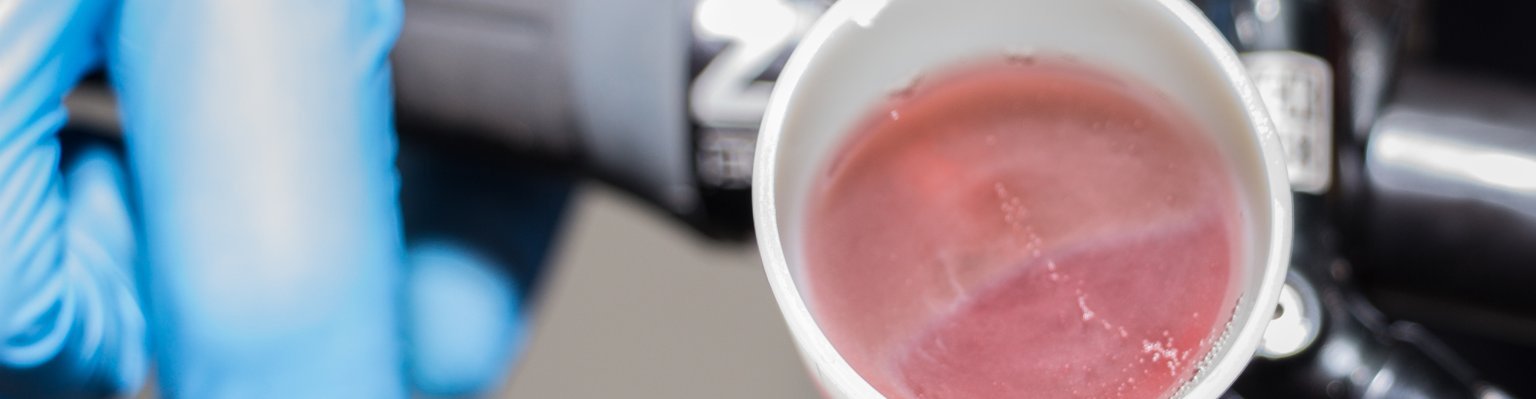
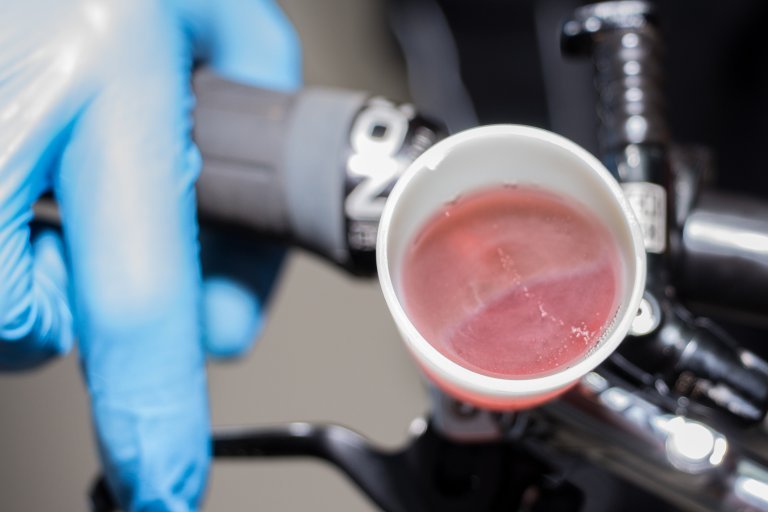
- Now fill the syringe with new fluid. The funnel should also hold a little bit of new fluid.
Bleeding funnel filled with mineral oil
- Put the syringe back on the bleed nipple.
- Now push the fluid slowly through the brake line back up to the funnel. The syringe itself should be pointing to the floor. This way the air bubbles rise to the top of the syringe.
- While the fluid rises through the tubing up toward the funnel, squeeze the lever several times and release it quickly. Alternate how much you pull the lever each time.
- This way the air exits the brake line and collects in the funnel.
- Now pull the syringe out again. You have to move the fluid back and forth with the syringe until all the remaining air bubbles you can see in the tubing are removed.
- Once new air bubbles rise through the tubing, the bleed nipple can be closed.
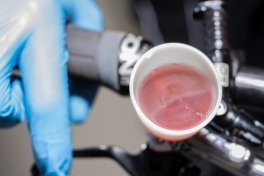
Oil is pushed from bottom to top with the syringe

Air bubbles rising in the syringe hose from the line
Air bubbles rising in the funnel from the line
- Close the funnel with the lid and unscrew it.
- Before screwing the bleed screw back into the lever unit, clean off all the surplus fluid to avoid it spilling.
- Also make sure the washer on the bleed screw and the surface around the hole is wiped clean from dirt particles to avoid fluid leakage.
- Now you can remove the syringe from the bleed nipple on the calliper.
Close the fill port (1/4 turn clockwise)
Tightening the bleed screw
- The nozzle holds a little bit of fluid. Remove this to avoid spillage onto the rotor and the pads. Use twisted paper towel to soak it up.
- Clean the calliper body one more time and don’t forget to reattach the dust cover on the bleed nipple.

Step 7: Mounting the calliper body and installing the brake pads
- First add a drop of lock tight to the threads of the brake mount.
- Attach the calliper body loosely to the mount.
- Remove the bleed block to make room for the new brake pads.
- Make sure that you insert the brake pads in the right direction following the indicators.
...
The side is always specified in the direction of travel. Correct assignment is essential.
- Place the return spring between the pads, push the pair together and insert them into the calliper body.
- Now align the pads and secure them with the pad retaining bolt and clip.
Before installation, you should already assemble the whole set.
The brake pads together with the spring are then inserted into the brake calliper.
Loosen the pad retaining screw.
Slide the retaining pin of the pad retaining screw into place.
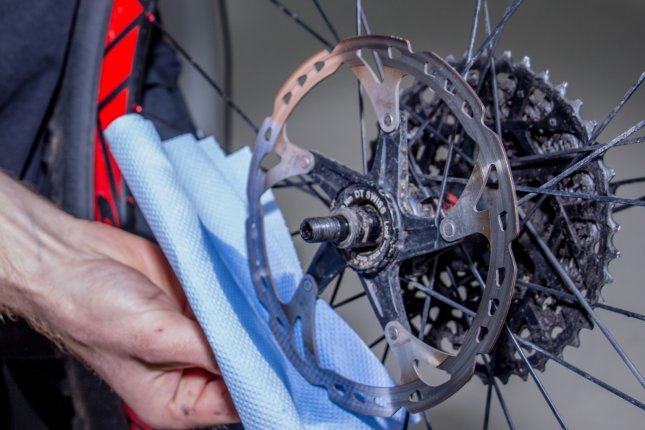
- To avoid damaging the new brake pads with spilled fluid, wipe the rotors down with a clean rag soaked in brake cleaner.
- You might also want to grease the axle before putting the wheel back in.
Step 8: Calliper Alignment
- When aligning the calliper, you have to make sure that the calliper body is parallel to the rotor and also, that the rotor is centred between the pads.
- This was hard to capture on camera, as you can see below:
- Tighten the calliper mounting bolts once the calliper body is aligned and centred. Adhere to the stated torque.
Step 9: Increasing pressure by squeezing the lever
Now you have bled and remounted the brake. But what happened to the contact point? When we pushed the pistons back into the calliper body, we have created a lot of space between the pads and the rotor. The automatic pad adjustment will help us fix this. Squeeze the lever several times and you will see that the pads move closer to the rotor as the fluid from the bladder in the reservoir flows back. After three to five squeezes you should note a change. Once you are happy with the contact point, hold the lever for 5 seconds. If the contact point has not moved afterward, you are all set.
Pull the brake lever several times to establish the pressure point.
Step 10: Braking in the new pads
By wearing off surface glaze and other micro particles that create unevenness on the disc and the brake pads, your disc brake will reach their full potential. Find a descent and roll at about 30 km/h or 20 mph before executing a hard stop with either the front or the rear brake. Repeat several times for each brake. You should note a clear improvement in braking performance. Be careful, your brakes should heat up, but not overheat in the process as the pads could glaze over.