


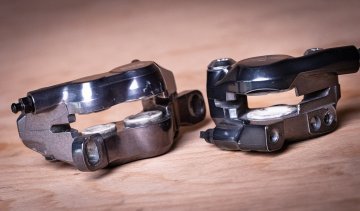
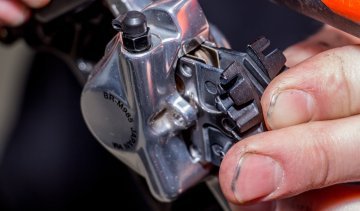
2 or 4-piston brake?
Disc brakes are now standard on most bikes and e-bikes. Here’s how to decide whether a 2- or 4-piston brake is right for you.
If you tinker with your bike yourself, you need a good repair stand. Find out which types are out there and which one suits you best right here.
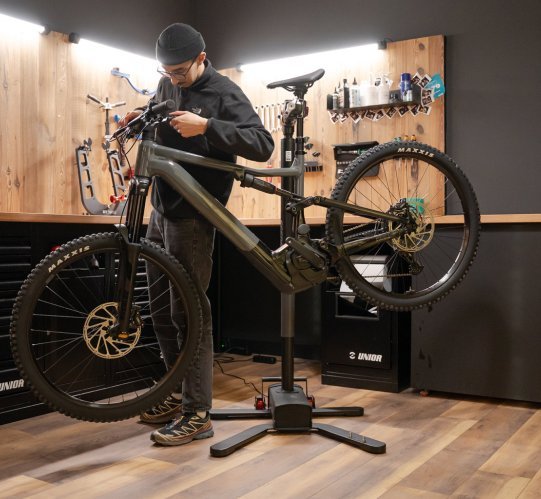
From simple tasks like changing brake pads or adjusting the gears to more complex assembly work: You can do a lot yourself in your home workshop. Besides good tools, investing in a repair stand is worth it. It keeps the bike secure and ensures you can comfortably work on it with both hands. The variety of repair stands is as vast as the price range – making the decision not easy. We're here to help!
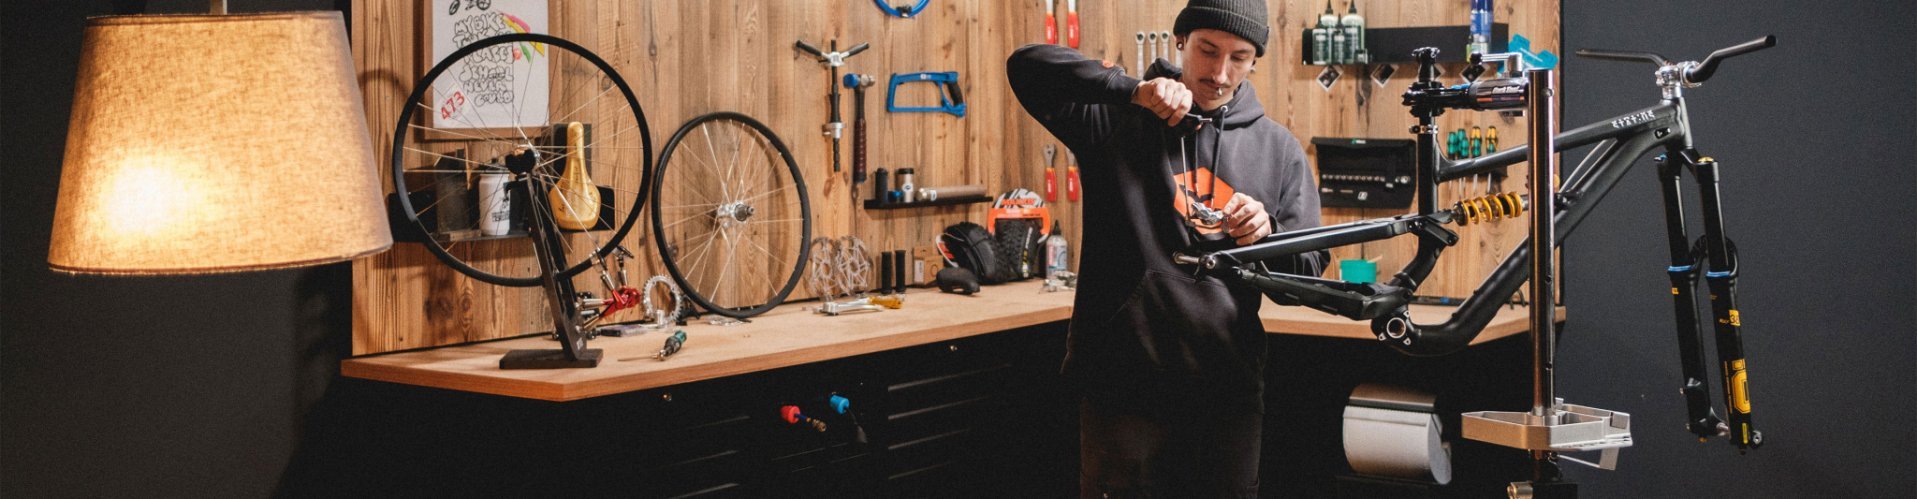
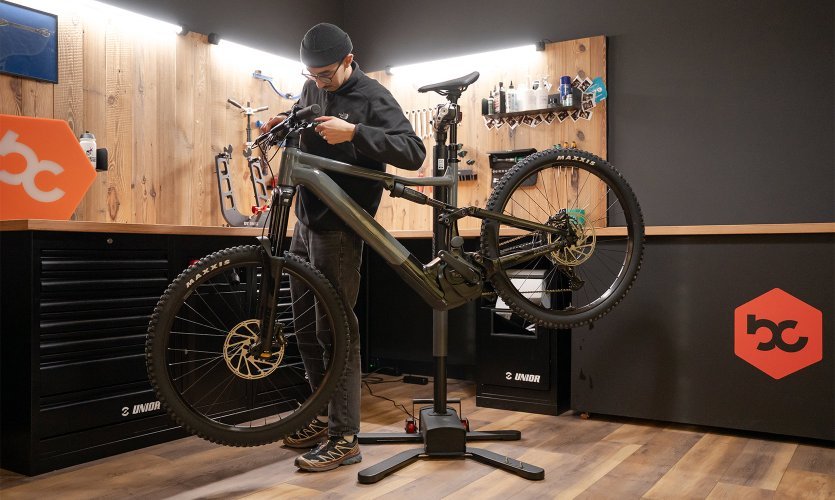
From the bare frame to the ready-to-ride bike: with the right assembly stand, the entire process of building an MTB becomes efficient and easy on the back. © bc GmbH
To find the right repair stand, you should have a rough idea of where, how often, and for what types of bikes you'll be using the stand. Consider the following questions:
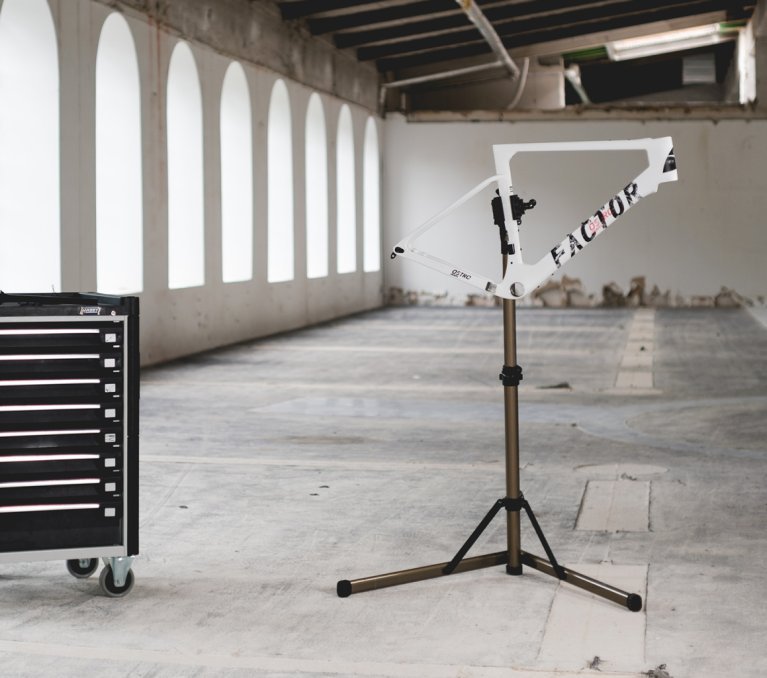
Repair stands generally differ by the type of their attachment point. The most common system is a repair stand with a clamp head, where you clamp the seat post (in exceptional cases the frame). In professional road cycling, however, repair stands often feature an attachment point at the bottom bracket with a fixture at the front or rear dropout. Which system is best for your needs depends on your bike type, specifically: the shape of the seat post and frame.
If you have a particularly heavy bike, for example, an e-bike, you should definitely pay attention to the maximum support load of the stand.
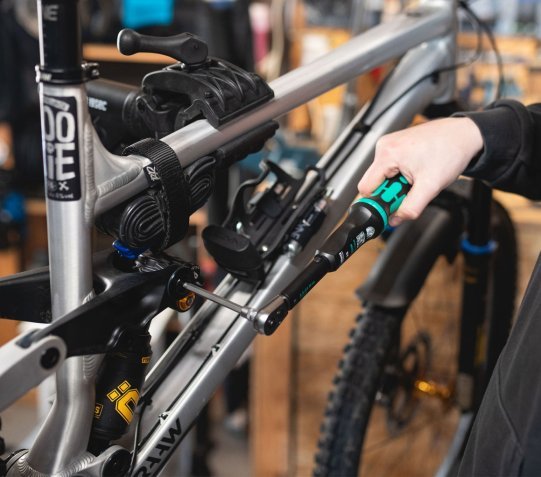
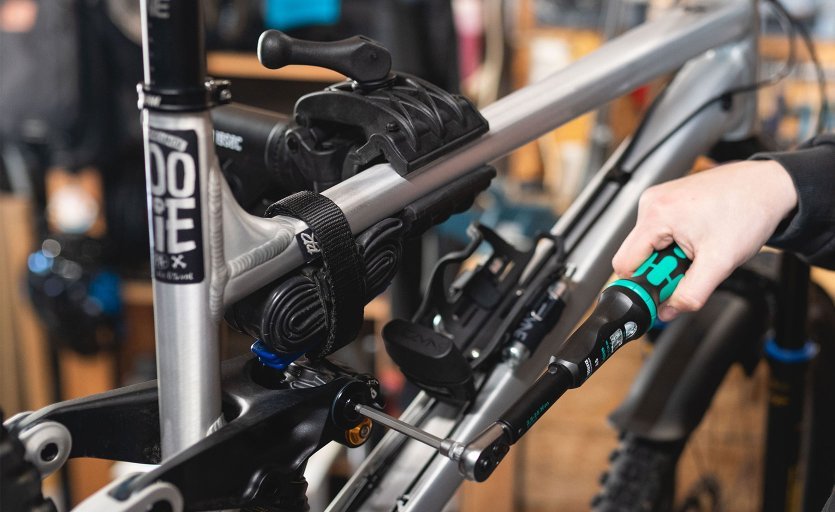
The 3min19sec assembly stand holds bikes securely on the top tube – it's easy thanks to the padded clamp. © bc GmbH
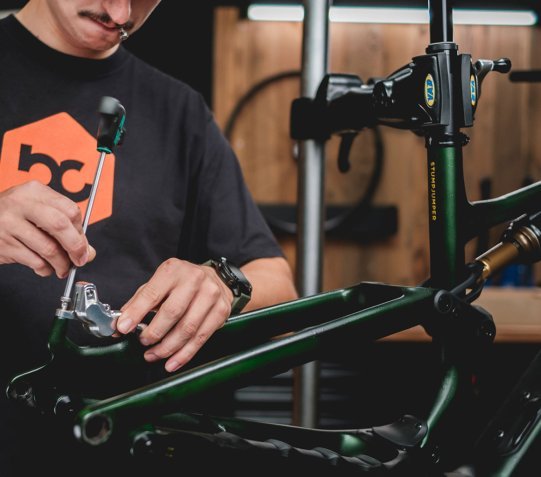
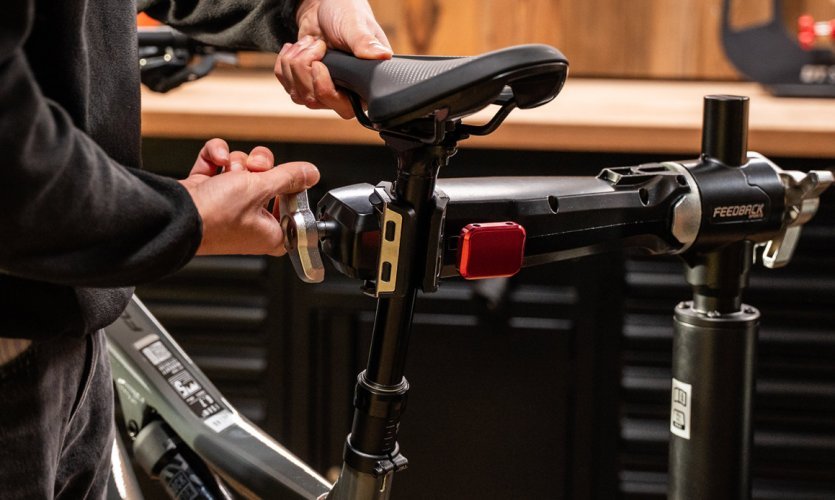
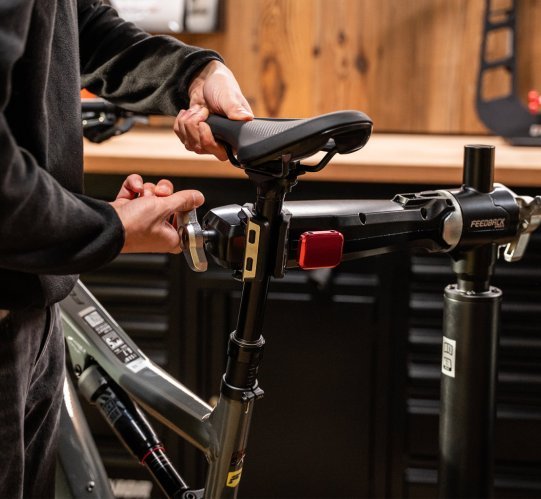
Ideal for carbon frames and full-suspension bikes with limited clamping surface: attachment to the seat post. © bc GmbH
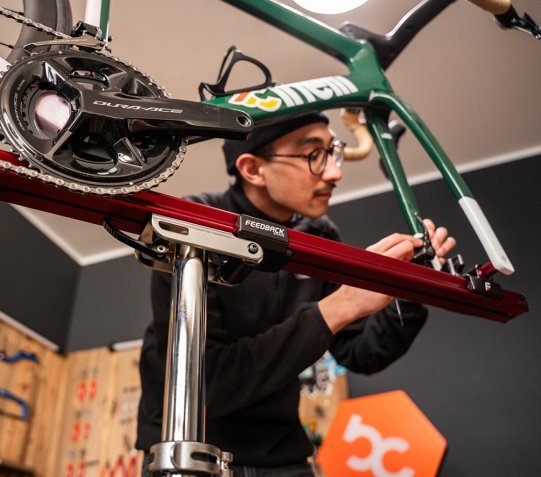
For aero seat posts and sensitive carbon frames, assembly stands with fork or bottom bracket fixation are ideal. © bc GmbH
If your bike has a round seat post, this system is your first choice: You can clamp your bike as it is, because both wheels remain on. Repair stands with an attachment point at the seat post allow you to perform just about any task on the bike. Only when something requires you to apply a lot of force to the bike, for example, if you're trying to loosen a tight bottom bracket, you might want to set the bike down on the ground instead. Usually, this gives you better leverage and no force is exerted on the seat post and frame.
If you have a damage-prone dropper post, specially shaped or ultra-light carbon post, pay attention to the manufacturer's instructions for use with repair stands. If the manufacturer gives the go-ahead, then make sure of the following: If your bike has a dropper post, clamp it below the telescopic portion if possible. If you're clamping in the telescopic area, ensure the clamping jaws don't scratch the post: Just wrap a piece of foam or a soft cloth around the post. If your bike has an aero post, you need to see if the clamp head fits the shape of the post – this isn’t always the case. When in doubt, it's better to opt for a repair stand with an attachment point at the bottom bracket.
With repair stands that use a clamp head, only in exceptional cases, namely with a very sturdy frame with round tubes, should the frame be clamped. With carbon or lightweight aluminum frames, we advise against it, as the risk of damaging the frame is too high.
Some entry-level models offer instead of a clamp head, two arms between which you can hang the saddle. This works for simple bike maintenance tasks that don't require the bike to be firmly clamped.
Tip: Repair stands with a clamp head can also be used for work on other parts. For example, if you clamp your (removed) suspension fork by the shaft in the repair stand, servicing the fork becomes much easier.
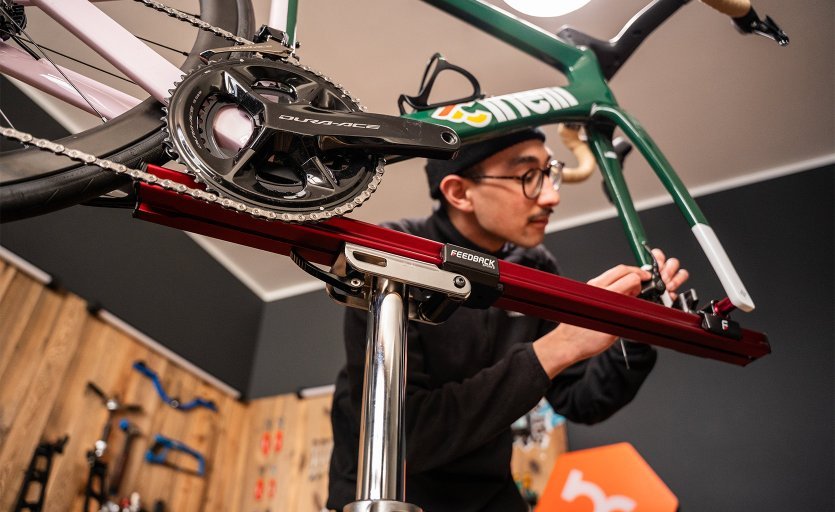
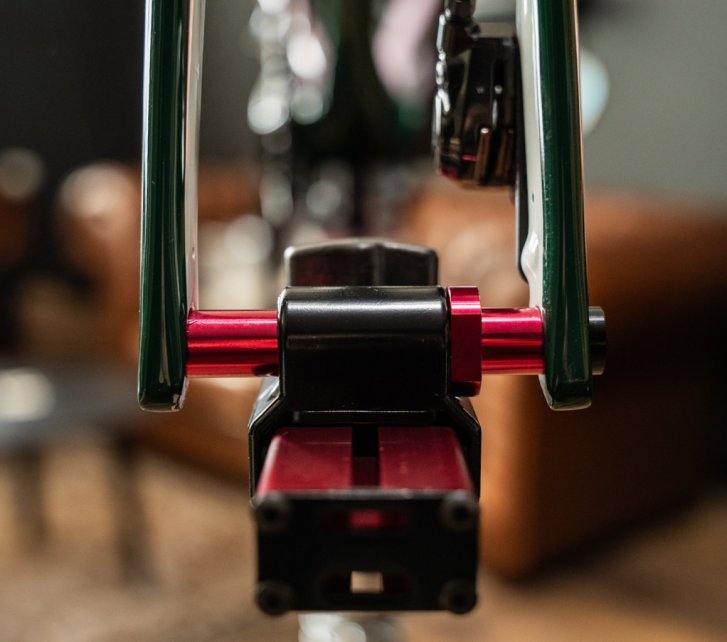
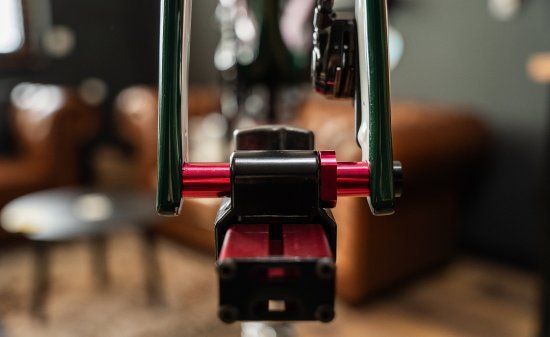
Repair stands with an attachment point at the bottom bracket are very suitable if you have a bike with an integrated or an aero seat post: The shape of the post doesn't matter and absolutely no pressure is put on the post or frame. Plus, you can access the bike from both sides without having to reposition it. All reasons why this type of repair stand is the first choice of road teams. However, you have to either remove the front or the rear wheel, since the bike is clamped at the front or rear dropout – it only rests on the bottom bracket. Therefore, you should ensure that the repair stand is compatible with your axle standard or that suitable adapters are included or offered separately. If your bike has an especially long wheelbase, check if the repair stand is suitable for it.
Occasionally, there are repair stands with an attachment point at the bottom bracket, where you fix the down tube instead of the dropout. Here, the wheels can stay on. However, you need to make sure that the down tube isn't too thick for the holder – this can often happen with current mountain bikes.
The fork mount is individually adjustable and suitable for all axle standards thanks to a wide range of adapters. © bc GmbH
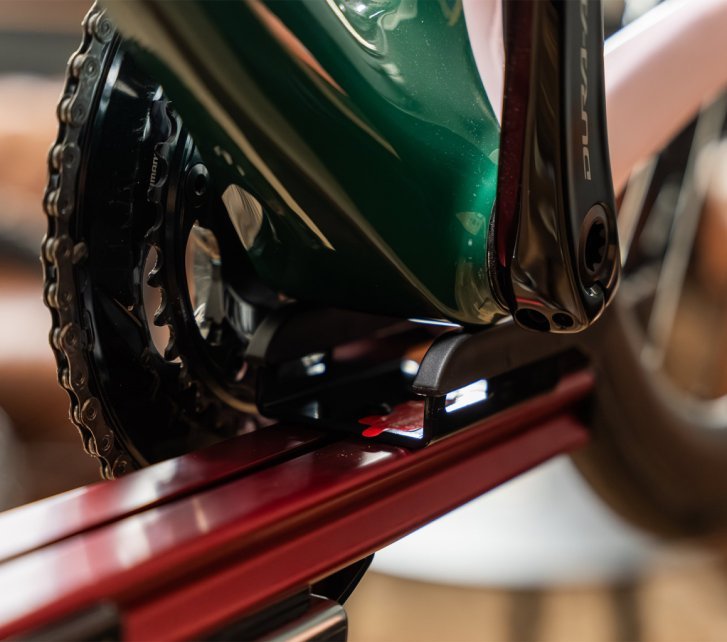
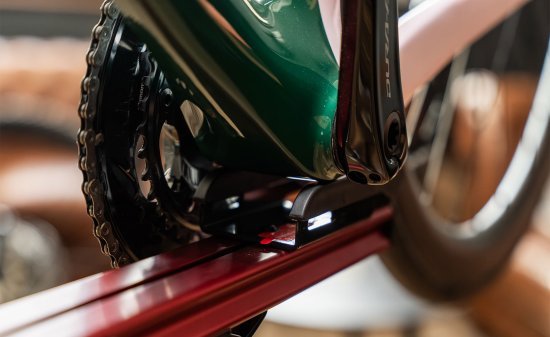
The frame is additionally supported by the bottom bracket housing resting on a special plate. Perfect for sensitive carbon frames and aero seat posts. © bc GmbH
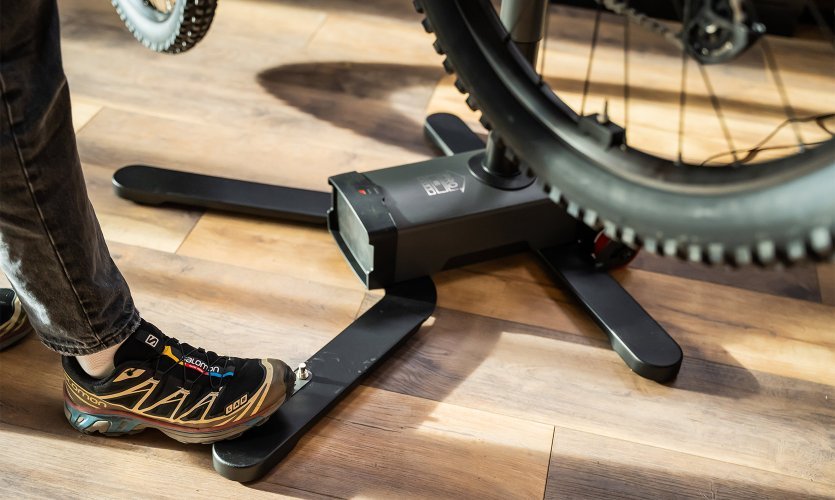
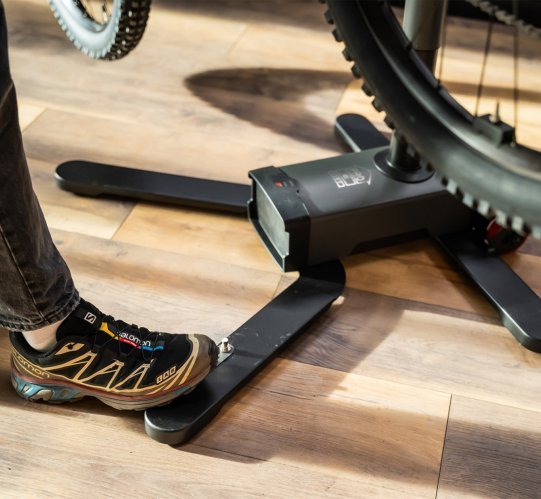
If you're planning to use your new work stand for electric bikes, make sure to pay attention to the maximum load capacity of the stand. It's also important that it stands really stable, meaning the feet should be spread far apart. Especially for e-bikes, a clamp mechanism that is easy and quick to use is recommended. That's because the bike can get pretty heavy if you have to hold it with one hand for a few seconds while tightening the clamp with the other hand. If you often tinker with e-bikes, an electric work stand might also be a good idea.
The retaining claw on the 360° rotating head allows you to secure and service your bicycle in any position imaginable. © bc GmbH
With the Pro E Lift, the height can be adjusted continuously between 908 and 1854 mm using a foot switch. © bc GmbH
The Feedback Sports Pro E Lift can lift bikes weighing up to 45 kg. © bc GmbH
Fixed work stands are especially suitable if you do regular work in your workshop, shed, or hobby room and have enough space for a permanent stand. They are very stable as they are either screwed directly into the ground or attached via a base plate. This way, they don't have feet that you could trip over. A good and space-saving alternative is a mounting arm fixed to the wall or workbench. Just keep in mind that mounting arms are usually not height-adjustable. If you want (or need) to stay flexible or can't drill into the floor or wall, there are also portable work stands that are very stable. Some are foldable, while others require tools for assembly and disassembly. If it's only about moving the work stand a few inches forward, backward, left, or right, the ease of assembly and disassembly doesn’t matter – the main thing is the work stand is stable.
If you don't want the work stand to permanently take up space at your tinkering spot, but would rather store it away compactly in a corner after use, then make sure it's quick and easy to fold. If the work stand is going to be your travel companion now and then, a low weight, small packing size, and a suitable transport bag make taking it in the trunk easier. Also, remember: On uneven ground, a tripod work stand is more secure.
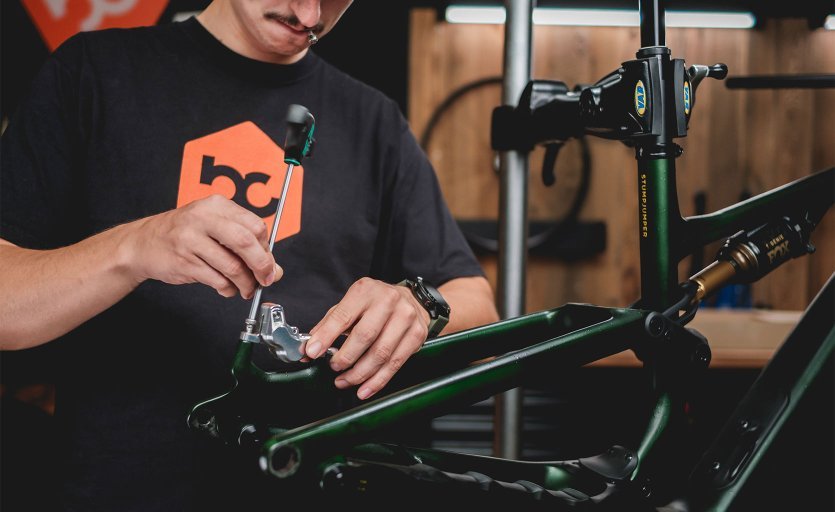
If you regularly and passionately tinker with your bike, it's worth investing in a heavier, more robust work stand. Less plastic and a stable base – ideally fixed to the ground or wall – make carrying out difficult and force-intensive tasks easier. A clamp mechanism that is quick and precise to operate also makes your life easier. High-quality products often feature a micro-adjustable quick release. Many work stands offer the option to change the angle – ideally quickly, easily, and continuously. This can be very helpful when bleeding brakes or working on the normally hard-to-reach underside of the bike. Height adjustment is usually standard, but the range of adjustment is not always sufficient. Therefore, pay attention, especially if you are tall, to ensure that the work stand allows a sufficient working height. Some work stands come directly with helpful accessories like tool trays or holders, and some can be retrofitted, even with a truing stand attachment.
Of course, everything has its price, so as a beginner, you don't have to go straight for the high-end heavy-duty work stand, but can look for a good price-performance ratio. That usually means a bit more plastic, which makes the stand lighter. Nonetheless, ensure a sufficiently stable stand and an easy-to-operate clamp – especially if you plan to tinker with an e-bike or downhill bike.
3 in 1: Cleaning, maintaining, storing. If you don't have much space and are looking for a practical solution for simple maintenance tasks, you can also use a rear triangle holder. You mount the bike using the chain and seat stays and get started. The rear wheel and crank can usually be rotated freely. Afterwards, the bike can safely stay in it until the next ride comes around.
Disc brakes are now standard on most bikes and e-bikes. Here’s how to decide whether a 2- or 4-piston brake is right for you.
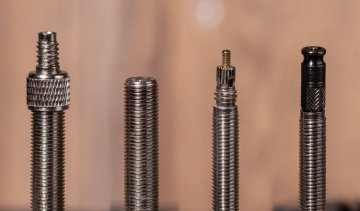
Our guide explains the main bicycle valve types and their differences – from classic Presta to the innovative Schwalbe Clik Valve.
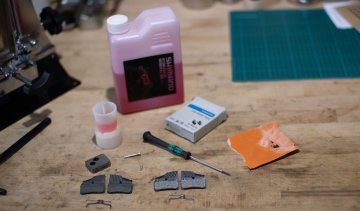
Brakes are one of the most critical safety component on your bike, so you should pay close attention to them during maintenance.

Ready for the season? We’ll show you how to prepare your bike for the upcoming season and which parts require special attention.
Is the chain on your MTB worn out? Do you want to fit a new one? No worries. We’ll explain how you can replace your chain on your bike.
Changing brake pads on bicycle disc brakes? Easy. Take out the old pads and put in the new ones. But is it really that simple?
Send your unused goods back within 100 days after purchase and get your money back!
See more