


SRAM Transmission: Mechanical vs Electronic
Torn between the new mechanical and the proven electronic SRAM Eagle Transmission? Our guide highlights all the pros and cons.
Is the chain on your MTB worn out? Do you want to fit a new one? No worries. We’ll explain how you can replace your chain on your bike.
Replacing a chain is one of the bike jobs that you can do relatively easily yourself. Apart from replacing tyres and brake pads, chain replacement is pretty much routine for experienced mechanics. Replacing the chain is necessary if the old chain on your mountain bike or e-MTB is worn out or if you’re switching to a different groupset. Before you roll your bike to the workshop, you need to find the right new chain. First and foremost, it must fit your drivetrain: the number of sprockets on the rear wheel determines how narrow the chain links have to be. If you order a master link separately, you should also make sure that it matches the width of the chain. Since it’s difficult to predict exactly when a replacement will be due, we recommend that you keep a reserve chain at home just in case. We’ll go over in detail when, why and how you can replace the chain on your mountain bike in just five steps.
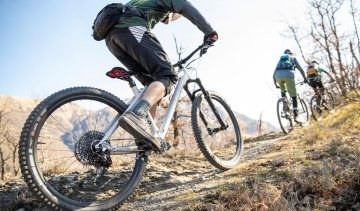
If you spend a lot of time on your bike, sooner or later it will be time for a new chain.

We’ll show you step-by-step how to replace the chain on your mountain bike.
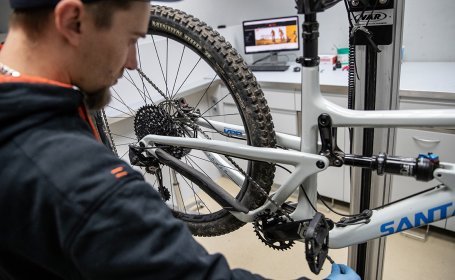
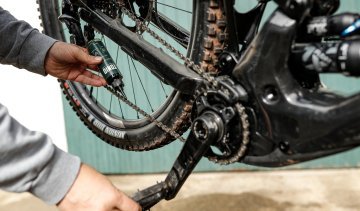
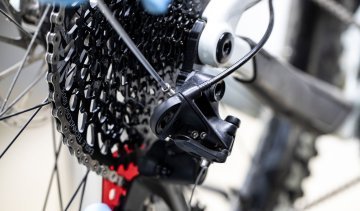
Even with the best care and lubrication, the chain on the bike eventually wears out – especially when you’re mountain biking, where excess dirt and moisture are a given. When the chain wears out, this is referred to as "stretch": friction between the individual parts of the chain creates and increases play in the links over time, which stretches the chain as a whole. Replacing the chain in a timely manner protects the environment as well as your bank account: if you keep an eye on the wear and replace the chain at the right time, you can use your chainring and cassette for longer. After reaching a certain amount of stretch, the worn chain wears down the cassette and chainring so much that a new chain would no longer work on them. This leads to the other (more expensive) components needing to be replaced. Often, when you ask how often the chain should be swapped out, you’re usually given an estimate in kilometres. However, there are too many external influences that have an impact on the wear of the chain, so this number is not always firm. A chain wear indicator will be much more useful for seizing on the right moment. You can use it to check the condition of your chain quickly and easily at any time. Repeatedly replacing the chain doesn't work forever, though. The cassette should also be eventually replaced – you can learn more about when and how to replace it in the article linked below. Replacing the chain is also necessary if your chain has been damaged off-road, for example by hard impacts with rocks. Twisted or bent chain links could eventually become a safety hazard. If you are building a new bike, you can start at step two to fit the new chain.
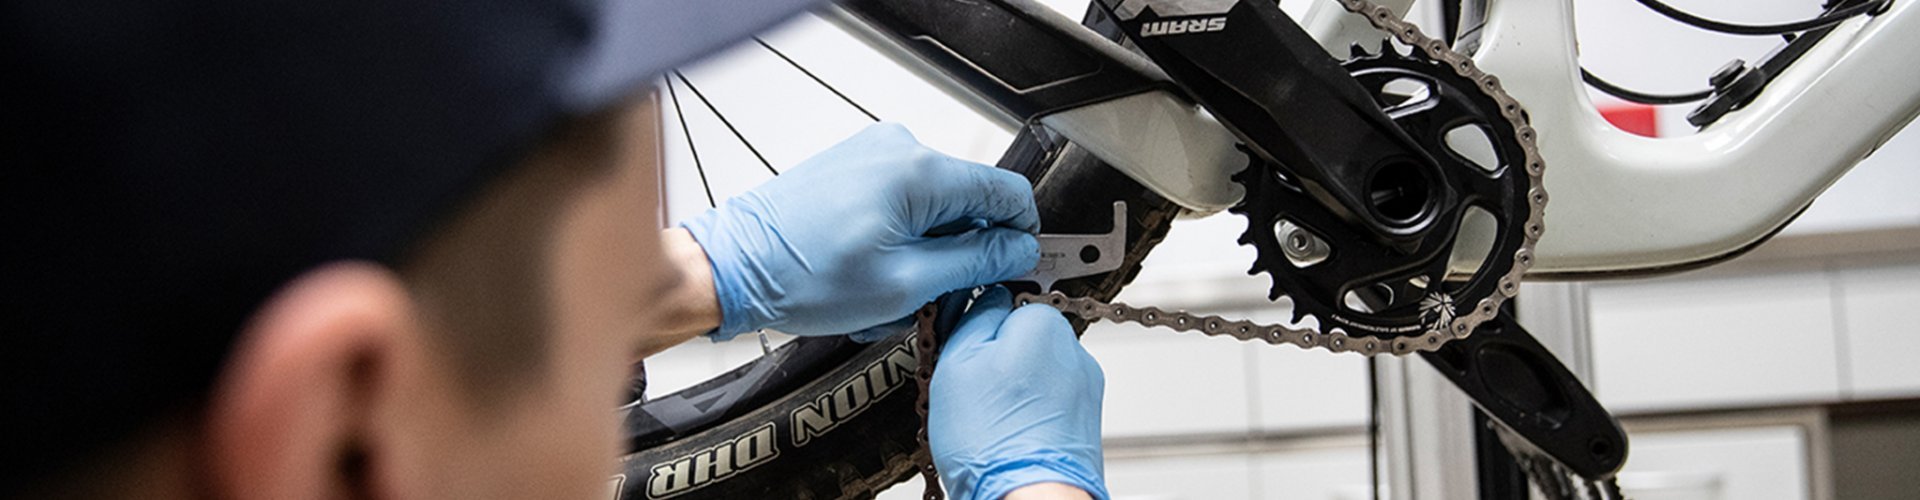
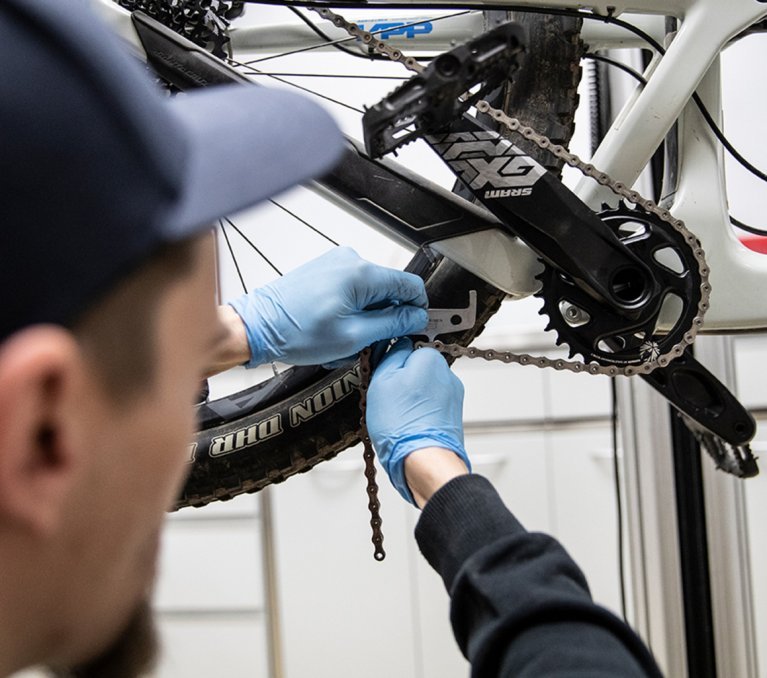
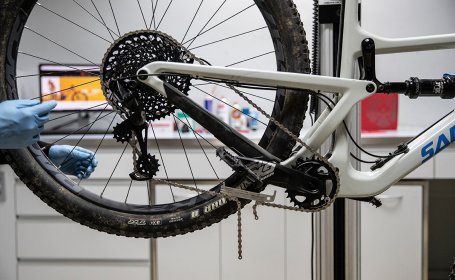
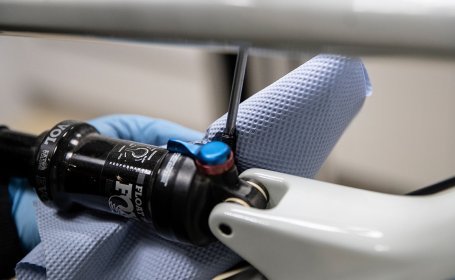
Before you start working, you should have the right tools ready. We already mentioned the chain wear indicator in the previous paragraph. Does your old chain have a master link? The easiest way to remove it is with a set of master link pliers. You also need a chain tool to shorten the new chain to the right length. For chains without a master link, it is also needed for breaking and riveting. Make sure that the chain tool fits the chain! Modern twelve-speed chains are very narrow and can only be riveted with chain tools designed for this purpose. By the way, many multi-tools include a chain tool. Apart from tool kit suggestions, we also recommend that you keep a cleaning cloth handy. As with almost all work on mountain bike drivetrains, the chain replacement process can be a bit messy. If you do not have your own workshop at home, you should replace the chain in an area where the floor can get dirty or is easy to clean. A large mat can be a good accessory to have in this case. A repair stand is always recommended for working on your bike, which you can use to hang your bike and work on it from a comfortable position.
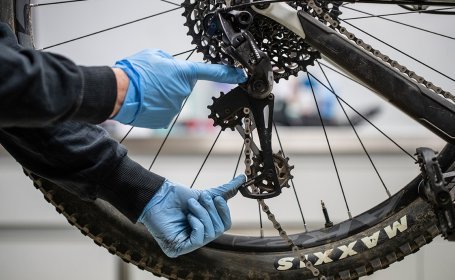
Release the chain tension. The Cage Lock function helps you do this for SRAM derailleurs.
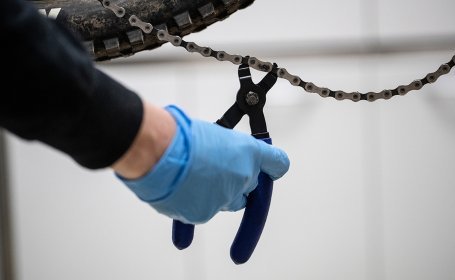
You open the chain either with master link pliers, a chain tool or (the hard way) with bolt cutters.
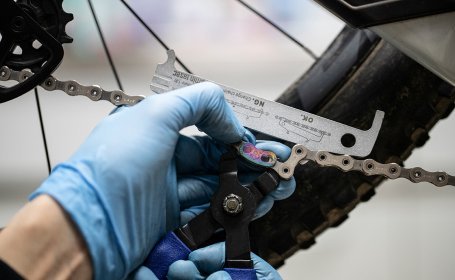
If the rear derailleur is almost completely extended when the chain is on the largest sprocket, you have found the correct chain length.
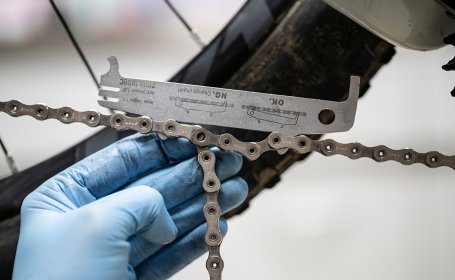
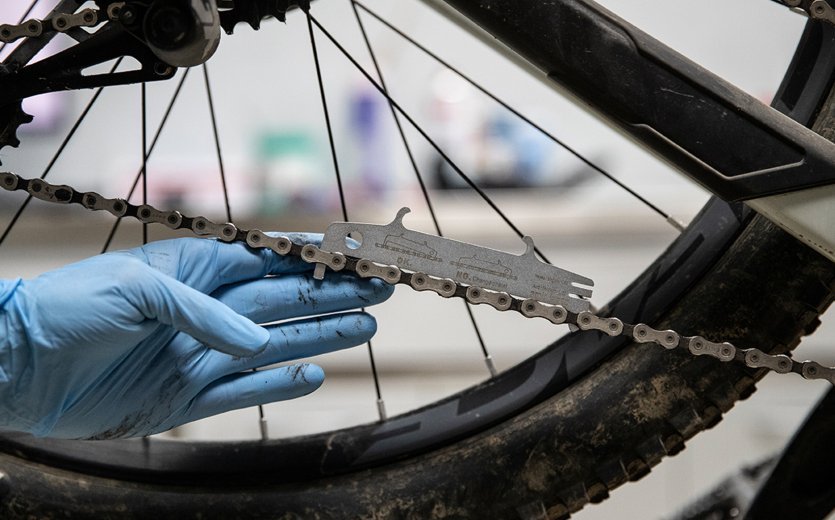
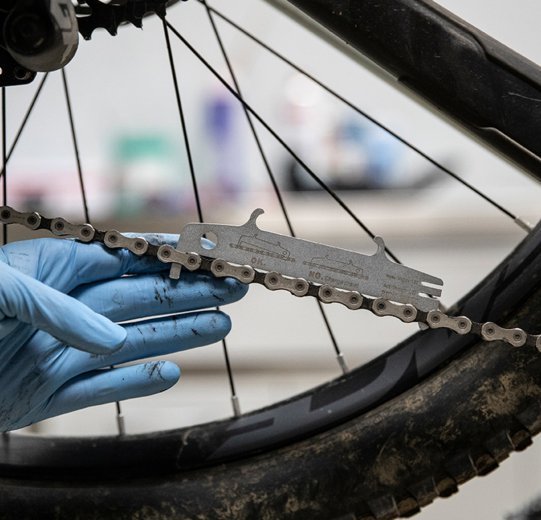
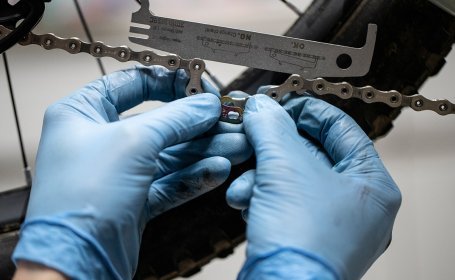
A chain wear indicator keeps your chain taut. This way you have one hand free to mark the pin where you want to shorten the chain.
Tip: Include the setting of your shock when determining the chain length.
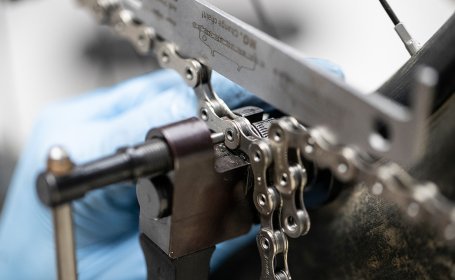
Chain pin or master link? When shortening, make sure that both ends of the chain fit together.
After you have put on the chain...
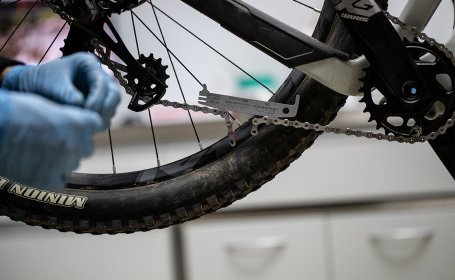
...you can hold it with a chain wear gauge, for example, so that you have free hands to close the master link.
Hook the two halves of the master link together and...
...push the two adjacent chain links apart until the master link engages.
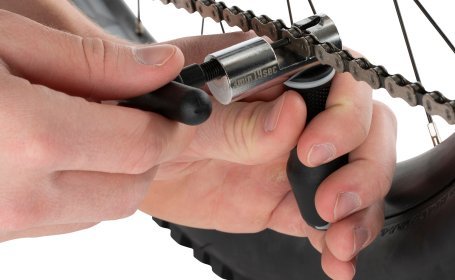
Push the chain pin in until it is flush with the chain link plates.
Torn between the new mechanical and the proven electronic SRAM Eagle Transmission? Our guide highlights all the pros and cons.
Well-greased chains are smooth, quiet, and shift with precision. But which lubricant is the best? Here are some tips for proper chain care.
XTR, XX1, X01, Deore, etc. – The choice of shifters & derailleurs for MTBs is huge. Find out which is the right one for you here.

Choosing the right chainring for your single-speed setup is crucial. We'll show you what's important so you can pedal efficiently.

With the right tools, replacing the cassette on your MTB is a quick and easy task. We’ll show you how it’s done.
Whether you ride a Shimano or SRAM drivetrain, properly adjusting the derailleur on your MTB or e-MTB should be part of every rider’s basic maintenance.
Send your unused goods back within 100 days after purchase and get your money back!
See more


