
An ergonomic bike fitting from seatpost to stem
Last year, at Eurobike, I met Dr. Kim Tofaute, the owner of Fitting Expert and consultant for Ergon. Read about our bike fitting!
Last year, at Eurobike, I met Dr. Kim Tofaute, the owner of Fitting Expert and consultant for Ergon. After finding out about his excellent reputation in bike fitting and ergonomics, I knew I wanted to take my mountain bike and get it set up just right. So I headed to Koblenz, Germany, where Dr. Tofaute has his shop right across from the Ergon headquarters.
As a hobby Enduro racer, I’m either riding up a mountain or bombing down it. And more often than not, this happens multiple times during the same ride. With a dropper post at hand, one thinks they have complete control of the correct saddle height whether climbing or descending. But are these heights always ergonomic?
Personally, my dropper post has two set heights: all the way up or down. When I visited Kim Tofaute, I learned that I’m 2 cm larger than I thought I was and that my Reverb was 2.5 cm two low when fully extended.
| Parameters | Before | After |
|---|---|---|
| Frame height | 47.5 cm | --- |
| Length | 57.5 / 61 cm (horizontal sloping) | --- |
| Saddle slope | 0.5 cm | --- |
| Head tube | 13 cm | --- |
| Spacer | 5 mm | 25 mm |
| Stem length | 6 cm | 8 cm |
| Stem angle | neutral 0° | positive (upwards) |
| Handlebar width | 780 mm | --- |
| Handlebar type | Syncros AM 10 | less rise |
| Brakes | --- | brakes 5 mm inward |
| Saddle | ||
| Manufacturer / version | Ergon SME-M | --- |
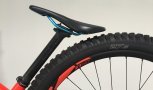
| Height | 76cm | 78.5 cm |
| Position | 4.2 cm (back from clamp) | --- |
| Angle | 0° | --- |
| Saddle to stem/grips | 52.7 / 61 cm (stem/grips) | 54 / 62 cm |
| Shoes | ||
| Size | 44 | --- |
| Type | 5Ten | --- |
| Insole | 5Ten | Pedag mid (custom) |
| Pedals | ||
| Type | flat | --- |
| Crankarm Length | 175 mm | --- |
Now to the expert
Kim Tofaute has made bike fitting into his career. When fitting, Kim focuses on the anatomic characteristics of your body and makes adjustments to the bike so everything matches up. He starts with the saddle height, moves to the pedal cleats, and ends by adjusting the cockpit. But Kim doesn’t stop there, he also crafts insoles to ensure that the foot has enough support.
In Kim’s words: “I focus on ergonomic fitting, and not performance fitting.” Watching Kim work, it is clear what he means. He prevents problems like incorrect body posture from affecting your ride.
For those looking to get a bike fitting done, there are two options. You could use the Erogon “Do it yourself” kit or go to Kim yourself.
...
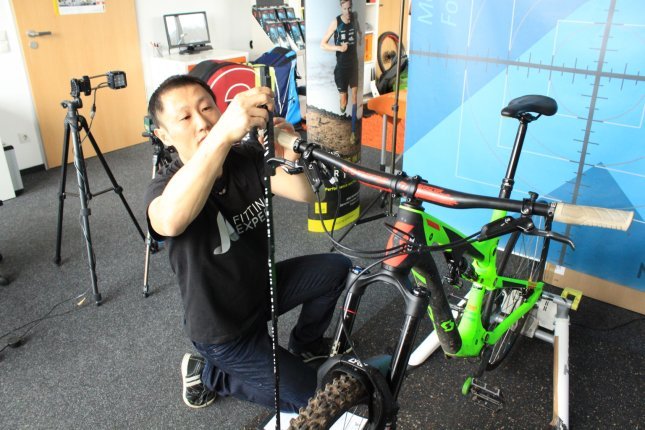
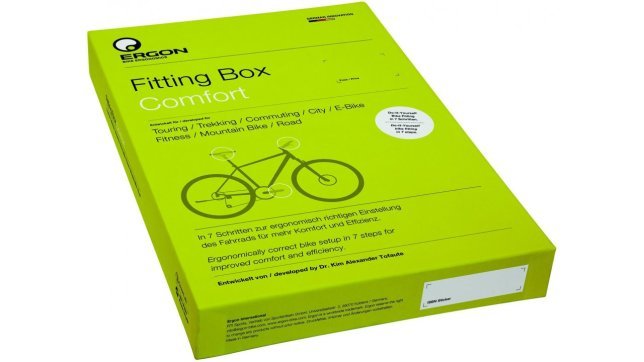
Kim is a specialist when it comes to saddle ergonomics and has been working for Ergon for over 10 years. He developed the Ergon Fitting Box which is perfect for getting your bike setup right. Step by step the kit guides you through the adjustments you need to make. A template, plumb line, and level are all included to make this process even more exact.
The fitting
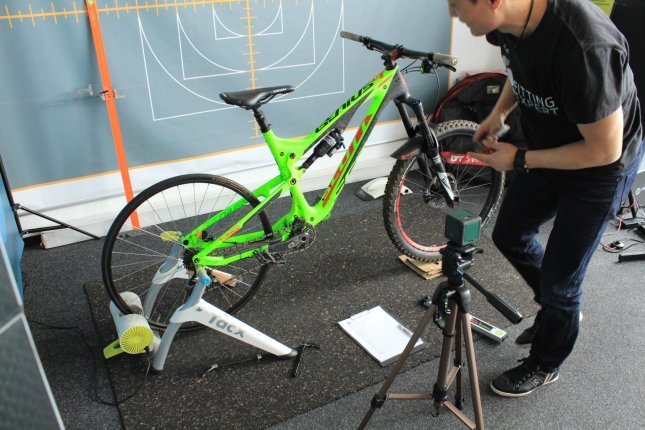
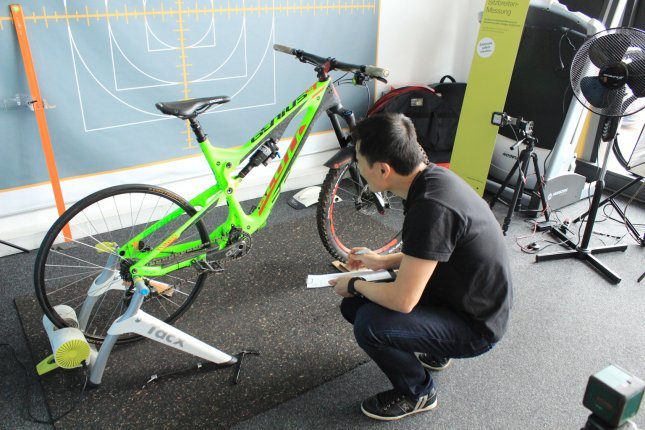
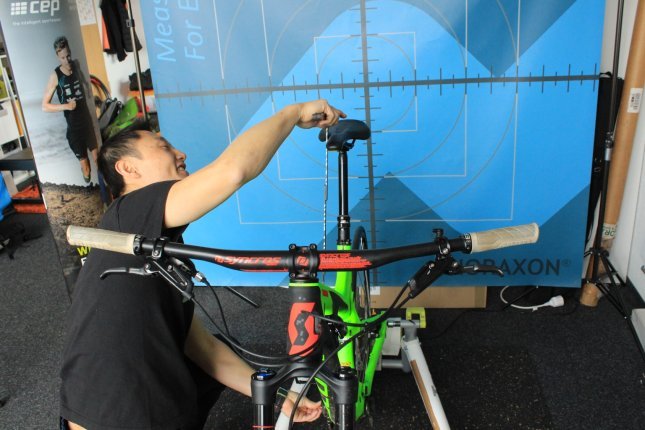
Step 1 - the initial setup
First, my bike and I are measured to have a record of where the bike was before any adjustments are made. This includes the saddle height, slope, saddle angle, spacers, stem length, stem angle, handlebar width and grips.
...
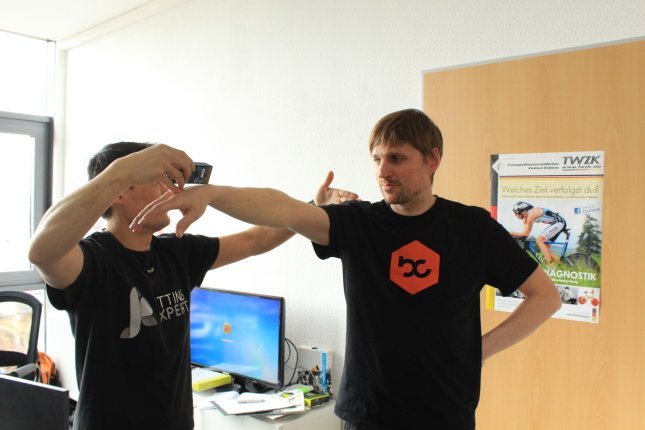
Regarding my personal measurements, which include my height, inseam, arm length and shoulder width, it became clear that I made a few mistakes when I was first setting up the bike. I incorrectly measured my inseam by not putting the measuring tape far enough up my leg. Kim has the perfect solution for this problem. He had me straddle a pipe that is raised by pumping a floor pump. As he pumps the pipe, it pushes closer and closer to my pelvis so that he can make a more exact measurement. This accurately simulates how you sit on a bike. The other mistake I made, was incorrectly measuring my height. I am two centimetres taller than I thought. When taking these measurements yourself, it is much easier when you have the help of another person and using a wall or door frame to align yourself vertically.
Why does as this need to be so exact? Because the measurements will later be used to set up the bike. For those who set up their own bike with the Ergon Fitting Box, the included tables help immensely.
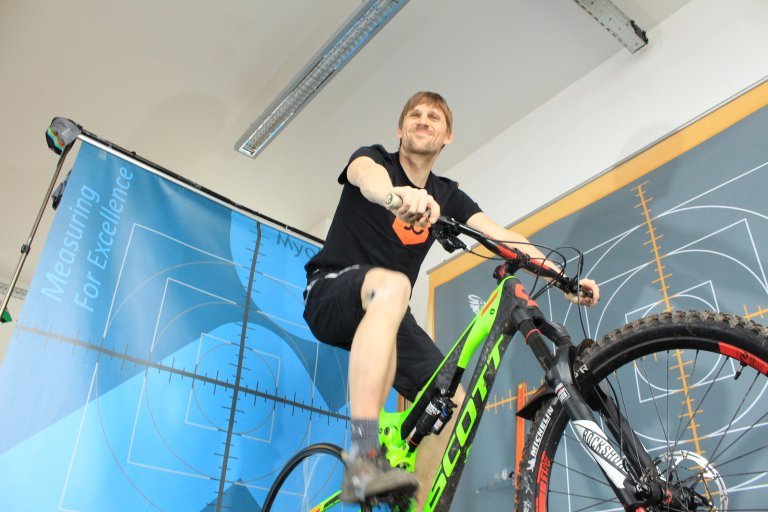
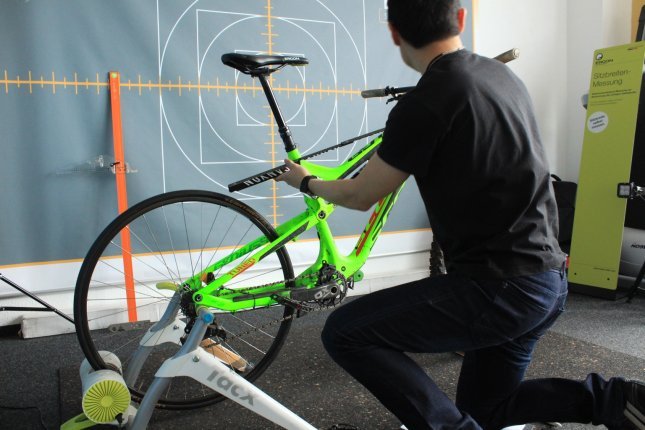
Step 2 - time to adjust
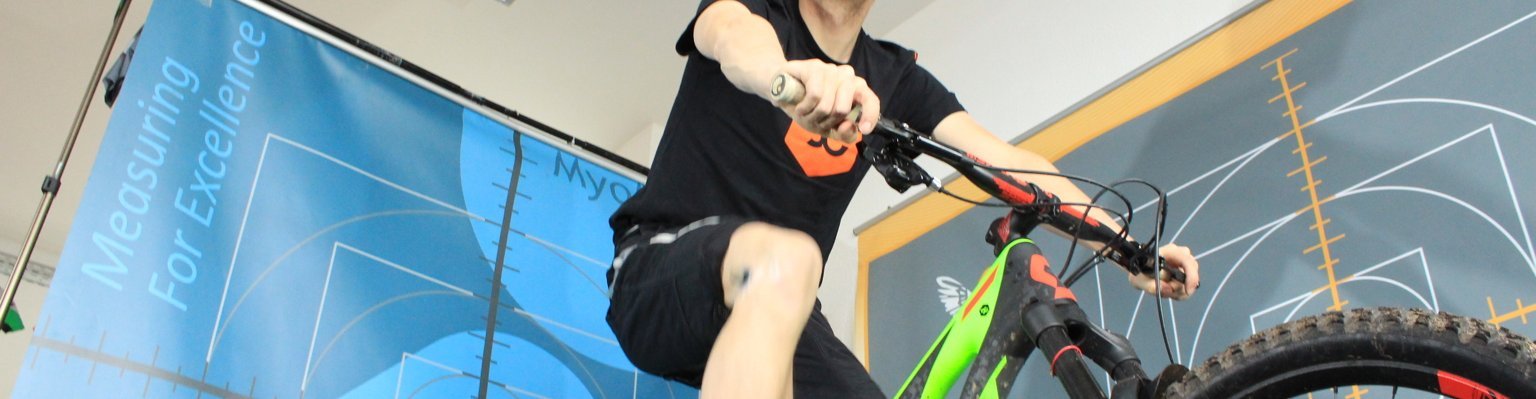
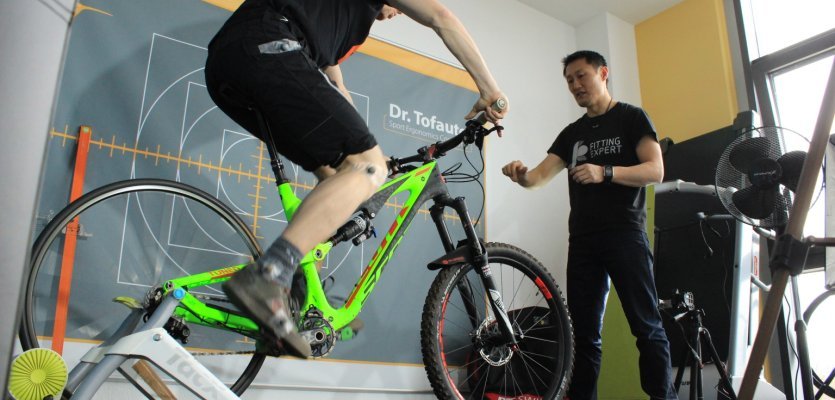
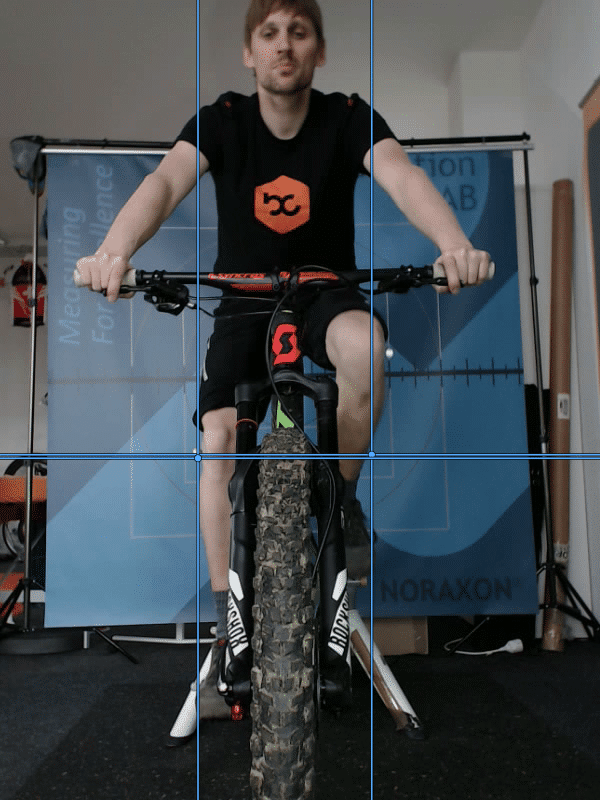
After Kim put the bike in the trainer, he placed reflectors on my joints so that when he films he can later see the exact angles of my legs at any given pedal position.
I started out by pedalling for 10 min, and Kim focused on filming my hips, knees, and ankle/feet. In general, when I ride everything feels good, but on longer alpine descents the palm of my right hand often goes numb.

From the lateral view (side-view), Kim marked my leg joints to check when my knee bends and how my foot extends.
From the front, he can see whether or not I pedal straight up and down like a sewing machine or if I move my knees in a circular motion.
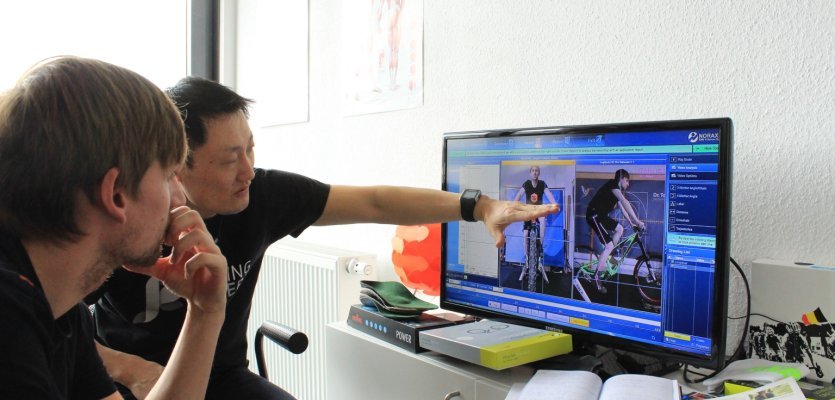
Step 3 - analysis
After the first round, two things became apparent. When my leg was fully extended, it had an angle of 138° which is too small. This indicates that my seatpost is set too low.
From Kim’s analysis: “When using a dropper post, you can set the height much higher, which will relieve pressure on the knees and increase the level of power transfer.
The frontal view showed your legs moving in a circular fashion which in not unusual for mountain bikers.”
Next, Kim dealt with my hand positioning and explained the process:
“The knees move somewhat outward while pedalling. Making sure that your feet are placed flat on the pedals and that your position your knees closer to the frame both relive pressure. Again, actively thinking about pedal stroke and foot placement make riding more comfortable.”

When it came to my knees Kim had a few pointers:
“The knees move somewhat outward while pedalling. Making sure that your feet are placed flat on the pedals and that your position your knees closer to the frame both relive pressure. Again, actively thinking about pedal stroke and foot placement make riding more comfortable.”
Kim gave me a few recommendations that I needed to try out myself. Enduro riding is a mixture of touring and bombing down trails. When riding uphill you want an All Mountain setup and when heading down it is better to have a flat handlebar angle and increased pressure on the front wheel. The saddle also needs to be set low enough to give you enough room to get behind it. All of this, makes it difficult for Kim to tell you exactly what kind of saddle positioning is best because it all comes down to personal preference. However, he still recommended that I use a 20 mm higher spacer, a 20 mm longer stem and 25 mm riser handlebars. At this point, I am still in the process of deciding. My focus is on the trail and I am very happy with the amount of pressure I put on the front wheel. It is now just a matter of trying out his recommendations and finding what is best for me.
My final impressions
Those who are unsure whether or not they are sitting on their MTB correctly, or those who already have complaints should consider a bike fitting. At first, it doesn’t matter if you choose to work with the Ergon Fitting Box or with Kim Tofaute, the main thing is to get the bike set up right. If you want a professional level fitting, Kim offers one for all riding styles and bikes. There are various performance packages available staring at 160.00€ depending on how detailed the fitting should be. You need to bring your bike, clothing and shoes you ride with. The whole process lasts between 1 and 3 hours.
Small adjustments in the saddle height or handlebar angle are sometimes all your need to make your bike that much more comfortable.