
How to replace MTB chainrings
Use this easy to follow, photo-aided step-by-step guide to replace your chainrings before shifting performance deteriorates and your chain starts to slip.
Worn chainrings don’t just influence drivetrain and shifting performance, they can even make riding outright dangerous as the chain can slip in crucial moments. Before that happens, it’s time to replace the chainrings. Here we will show you how.
Note
This post provides you with a general indications that should help you with your specific drivetrain. Certain steps in this guide may differ from the ones necessary in your particular case. Different models and makes and the variety of standards on the market make it hard to cover everything.
Assessing chainring wear and tear
Apart from deteriorating shifting performance due to a badly carried chain, the wear and tear check on the chainrings and the teeth’s profile is used to determine the moment when to replace them. This is done by examining the shape of the individual teeth. The image below shows the different indicators.
1. Flattened edges
2. Round tips
3. Curved edges
Compare this to the perfect shape of the teeth of a new chainring in the upper part of the picture.

Old vs. new.
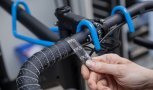
Removing the chain
First you have to remove the chain. Normally, one tends to also replace it when replacing the chainrings. If so, you can simply use a strong pair of bolt cutters to open it. Otherwise, simply use your chain tool. Before removing the chain, make sure it sits on the smallest ring in the front and the smallest cog in the back. This way it experiences the least amount of tension. Most new derailleurs also have a lock function to decrease chain tension and make removal easier. Either way, be careful when the chain snaps open.
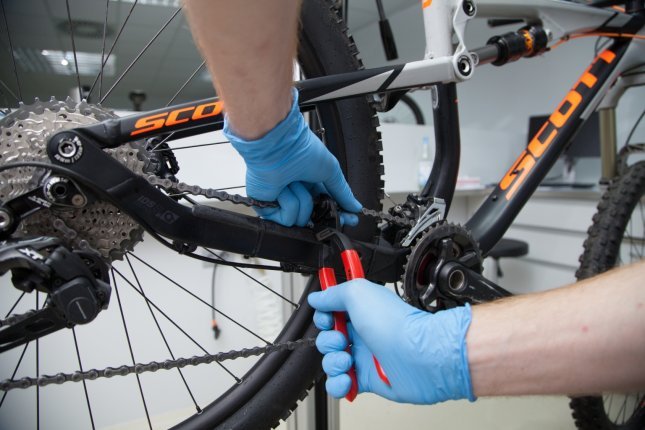
Removing the chain with a bolt cutter.
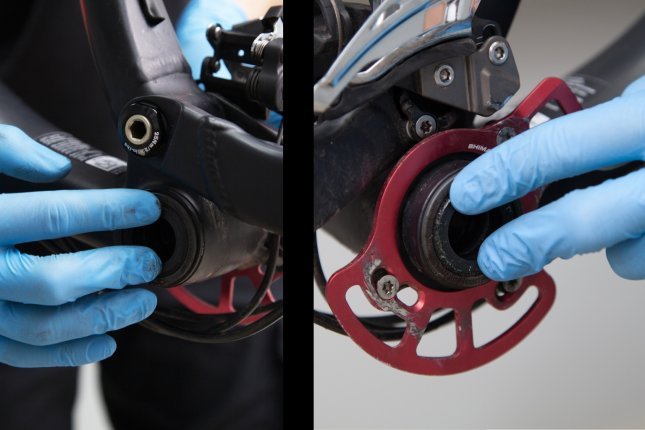
Checking the bottom bracket
Without the chain, the cranks of your bicycle turn freely. Spin the crankarm with one finger and feel for irregular resistance in the bottom bracket bearings. Anything but a smooth turn deserves more attention once you have removed the cranks. Also pay attention to the sounds, a metallic noise indicates dry bearings and at least a need for grease, if not replacement.
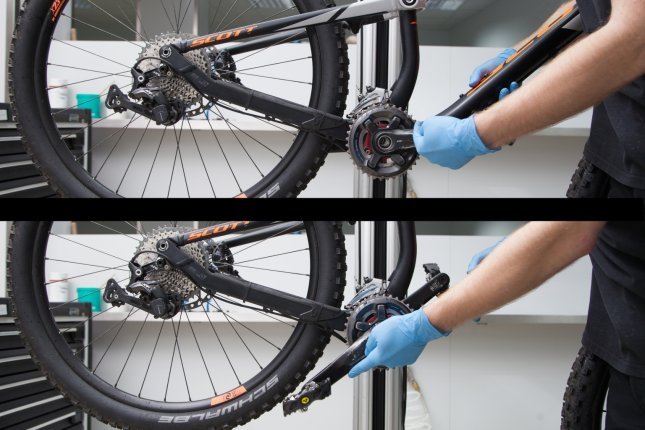
Checking the bottom bracket bearings.
Also check the bottom bracket for play by steadying the frame with one hand and wiggling a crankarm horizontally and vertically. Any play is too much play and indicates a worn out bottom bracket.
Be careful, not to grab the pedal, as the pedal bearing could also have play.
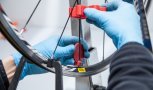
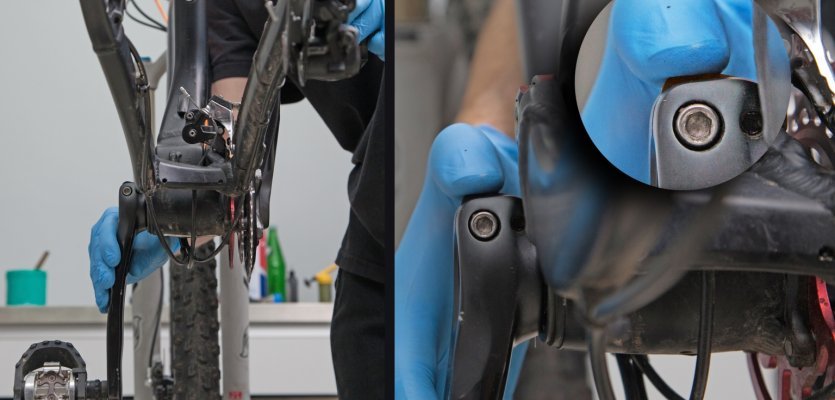
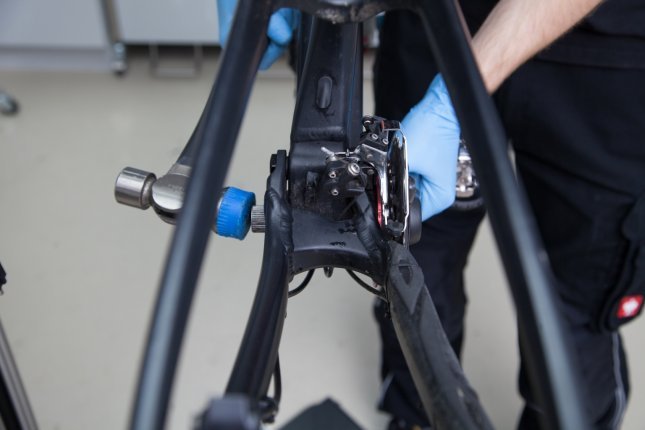
Removing the crankset
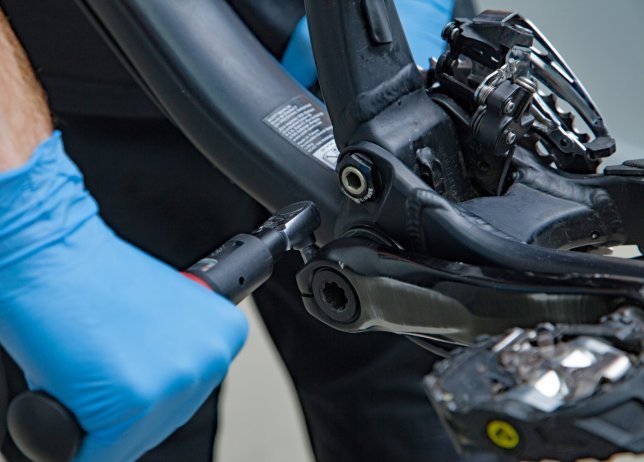
To remove the cranks, begin by loosening the 5mm Allen bolt on the crankarm on the non-drive side.
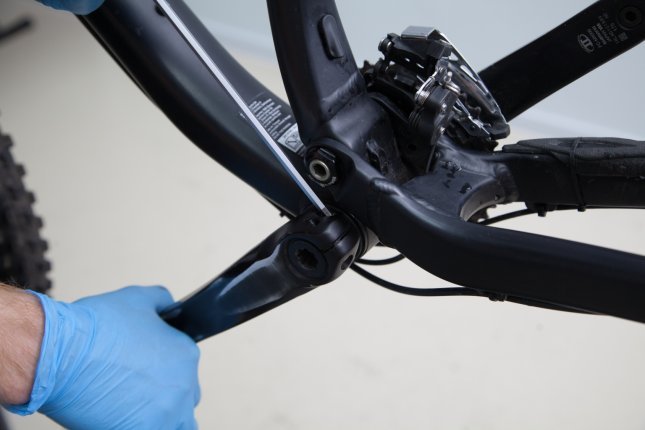
Loosening the pinch bolt.
Now you can remove the crank bolt with a special crank tool. In this case product-no: 28705, but make sure you use the one compatible with your crankset.
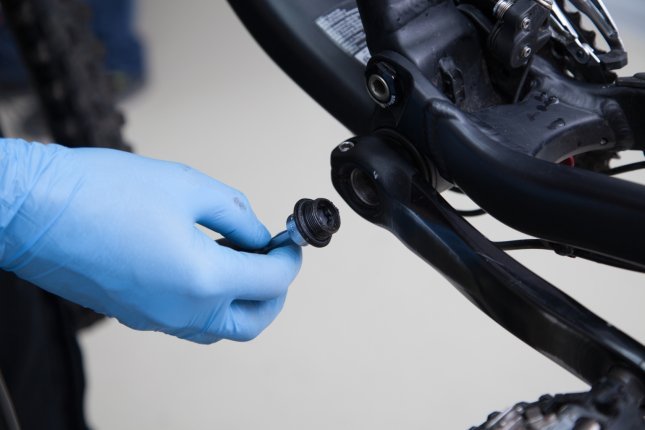
Remove the crank bolt.
Don’t forget to remove the safety plate. (Shimano)
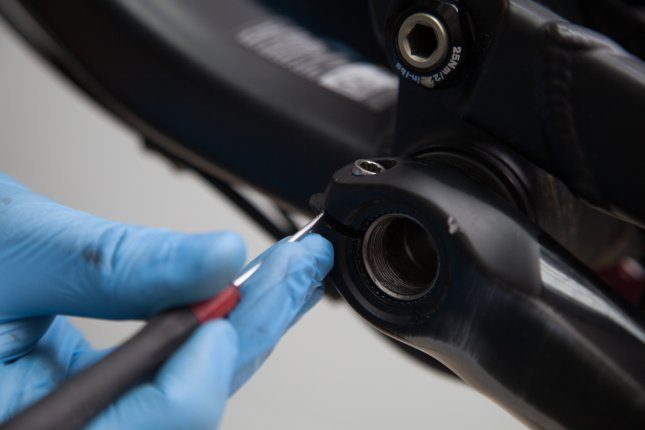
Don’t forget to remove the safety plate. (Shimano).
Take off the crankarm and remove the washer that sits behind it. It’s usually pretty greasy and tends to stick to either the crankarm or the frame / bottom bracket. It gets lost very easily.
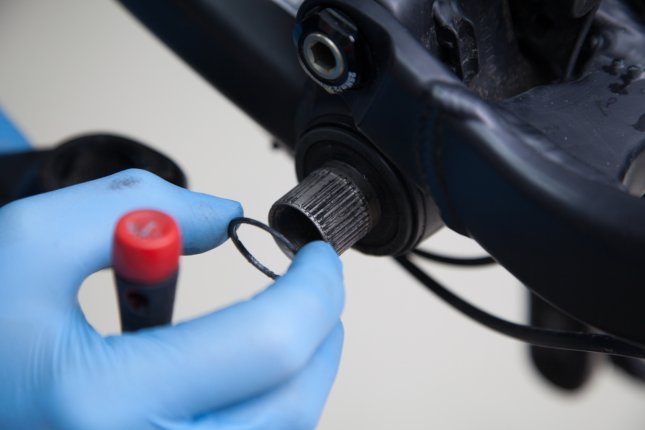
There is a washer between crankarm and bottom bracket.
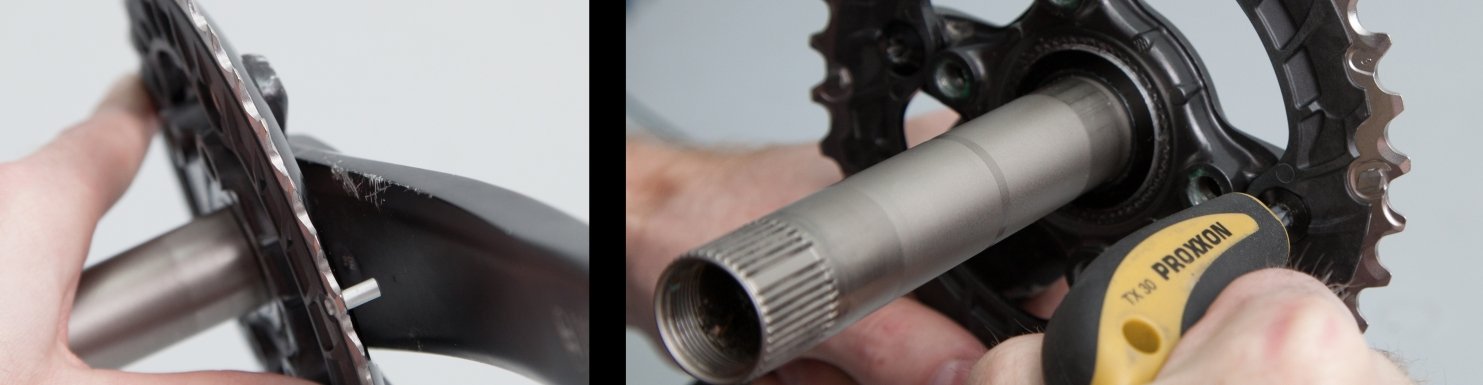
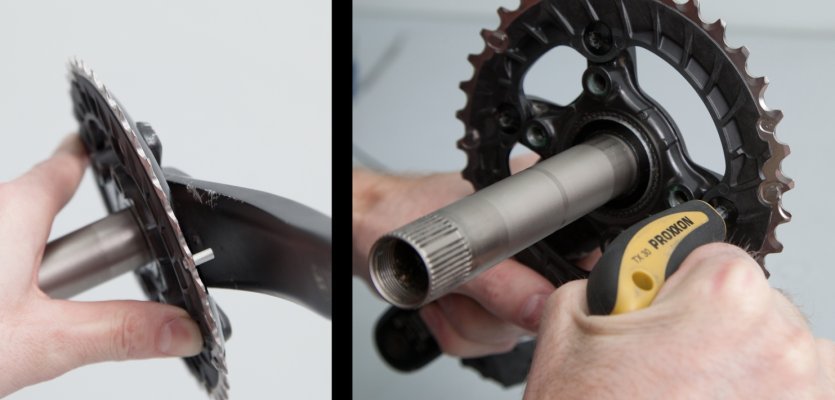
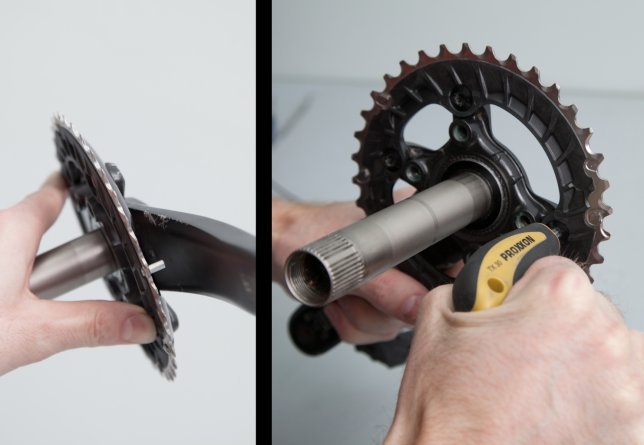
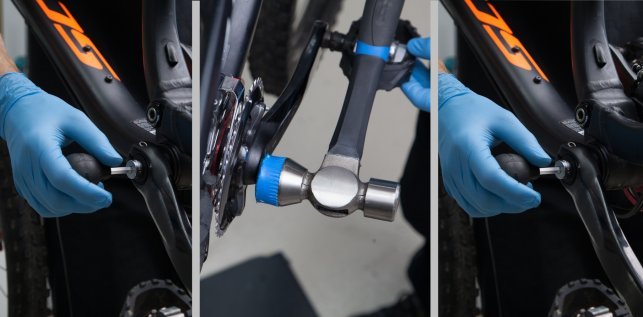
Now you can push the axle with the drive side crankarm out. In case it sticks and won’t break loose, use a rubber topped hammer.
Loosen the axle with the hammer.
Push the axle and crank out towards the drive side.
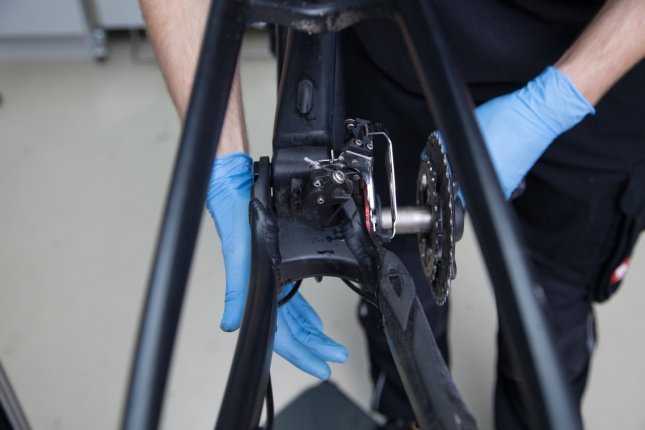
Second bottom bracket check
After the crank removal, give the bottom bracket another turn. Should you note resistance or noise, make sure to remove it for cleaning or even replacement.
Check the bearings without the cranksets.
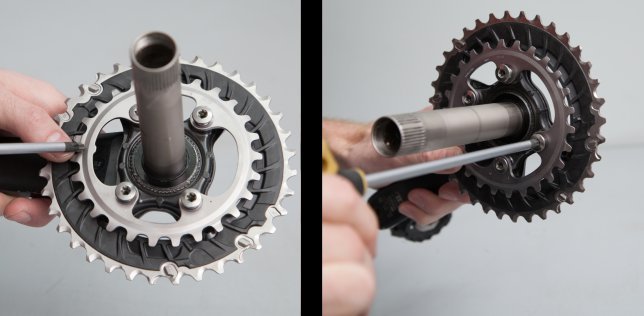
Removing the chainrings
Loosen bolts and remove chainrings.
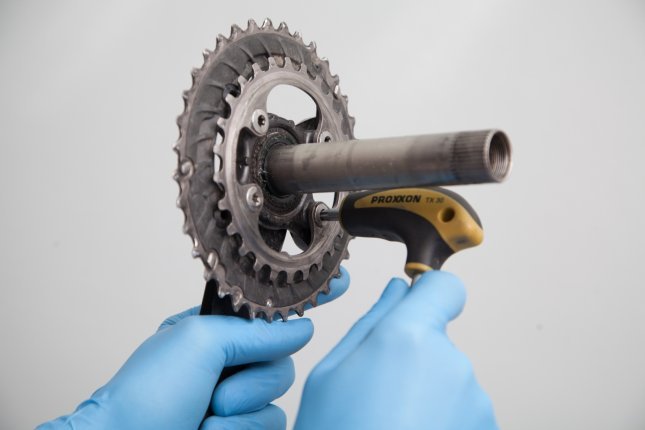
Remove the old chainrings.
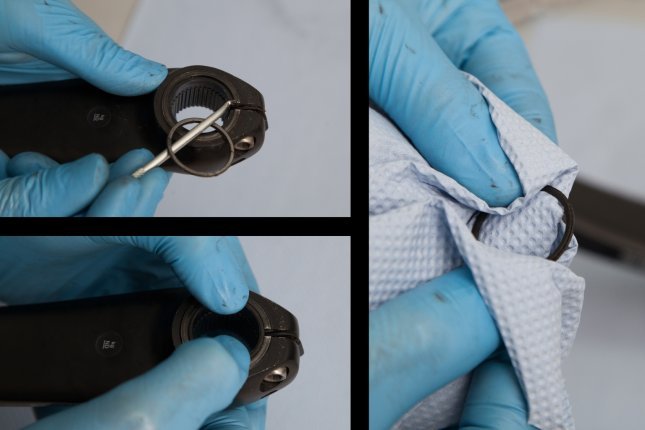
Cleaning the cranks
Make sure you clean bolts, washers, axle and cranks before installing the new rings.
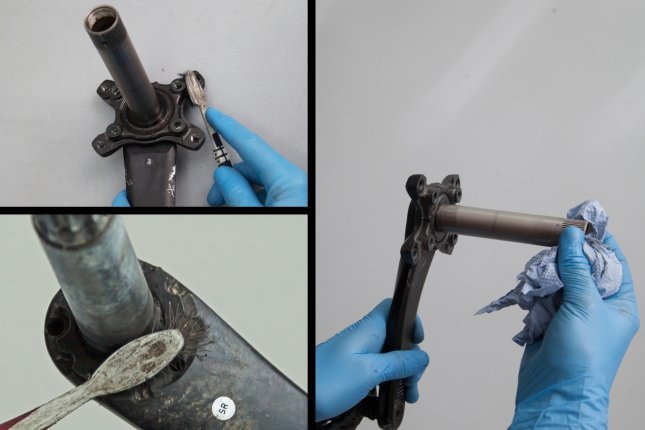
Clean the cranks with brake cleaner.
Brake cleaner is ideal for this, but keep it off the bearing of the bottom bracket as it breaks down the grease.
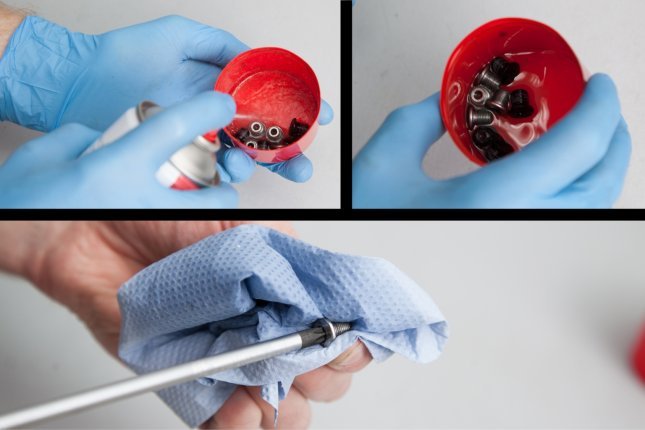
Clean the chainring bolts.
Dry off with paper towels or a clean rag before reinstalling.
More cleaning.
Note that the washers are two-sided and have a metal and a sealing rubber side.
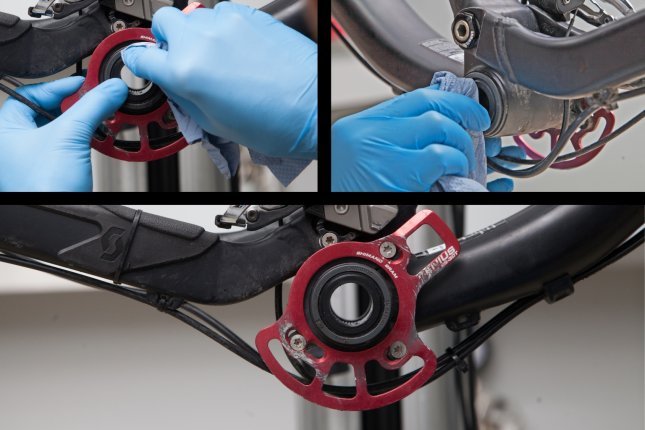
Paper towls work well on the bottom bracket.
Installing the chainrings
Always start with the large chainring. Make sure you align the ramps, edges and pins correctly as they are responsible for smooth shifting performance.
Pins and ramps help the chain move from ring to ring.
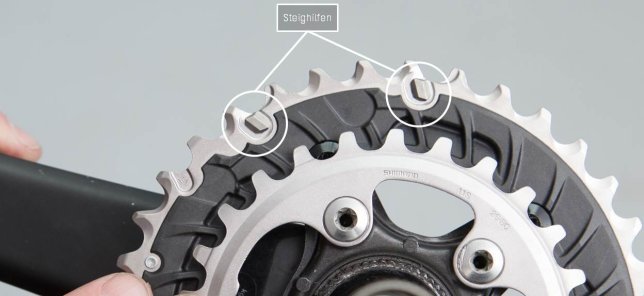
The big outside-facing pin has to be aligned with the crankarm.
Make sure the chainring sits in the correct position.
The smaller chainring also has a small notch - see picture - that needs to line up with the crankarm.
The notch indicates the right position.
Make sure the replacing chainrings match the required standards as the compatibility between standards is unfortunately most often not ensured. Also adhere to the indicated torque for the bolts.
-
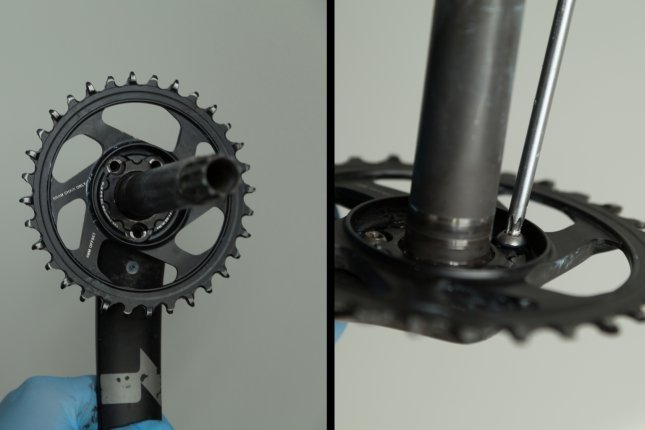
Installing the crank
Grease the axle before reinstalling the crank.
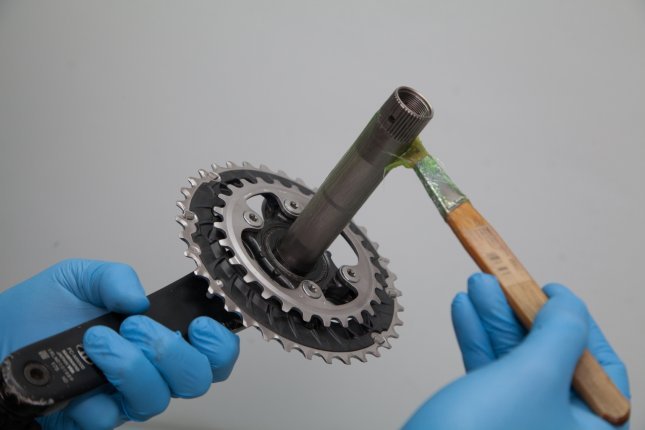
Grease the axle.
Now you can insert the axle through the bottom bracket.
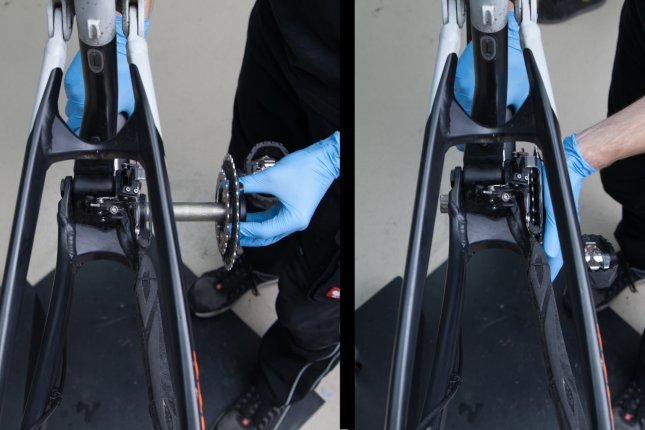
Insert the axle.
Before attaching the non-drive side crankarm, make sure the end of the axle receives another coat of grease. Also, makes sure that the rubber side of the washer faces the bottom bracket.
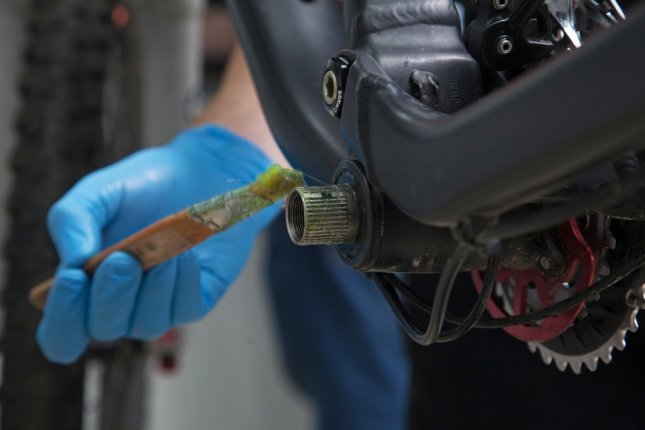
More grease on the other side.
Press down the safety plate on the pinch bolt on.
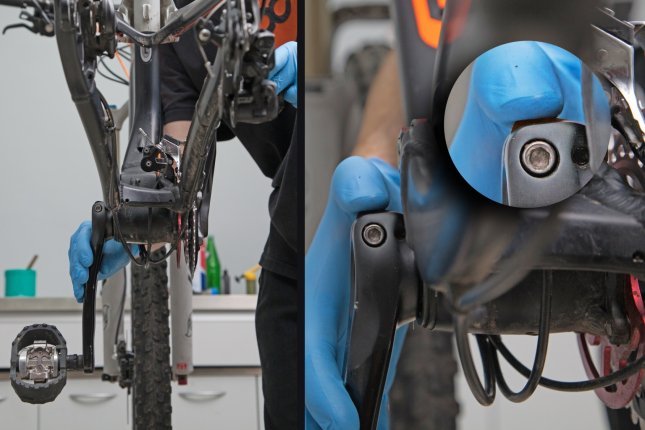
Don’t forget to push the saftey plate down.
Now you can tighten the centre crank bolt. Should the crank not seat correctly although the bolt is already fastened, use a hammer as pictured and retighten afterwards.
The crankarm has to fit correctly.
The last step is tightening the pinch bolt, using a torque wrench and the indicated force.
Tighten the pinch bolt with a torque wrench.
You are done! Replace the chain and you are ready to ride.