
MTB Suspension Glossary: All Terms Explained!
Spring curve, negative chamber and shim stack – clear so far? If not, our mountain bike suspension glossary has you covered.
Mounting the CushCore system involves a couple of extra steps when installing your tyre, but it’s not rocket science.
CushCore, made by a company from Bend, Oregon, consists of a foam insert that mounts inside a mountain bike tyre. It divides the inside of the tyre in half with air directly underneath the tread and the CushCore insert next to the rim. They work together as a spring and damper, making for faster, smoother rides on rough terrain with improved traction, stability and cornering control, while adding extra tire and wheel protection at only 250 g per wheel.
Here, I will show you how to mount CushCore correctly. Don’t be intimidated by the extra steps. It might seem complex at the beginning, but it’s really not hard. Just follow my step-by-step guide. Also, it’s normal that the foam ring sits fairly tight at the beginning. It will stretch a little over time. On the other hand, the snug fit ensures that it does not slip off your rim.
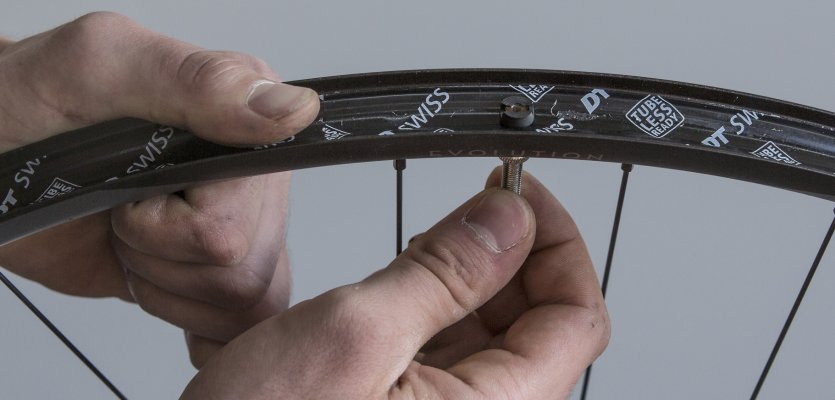
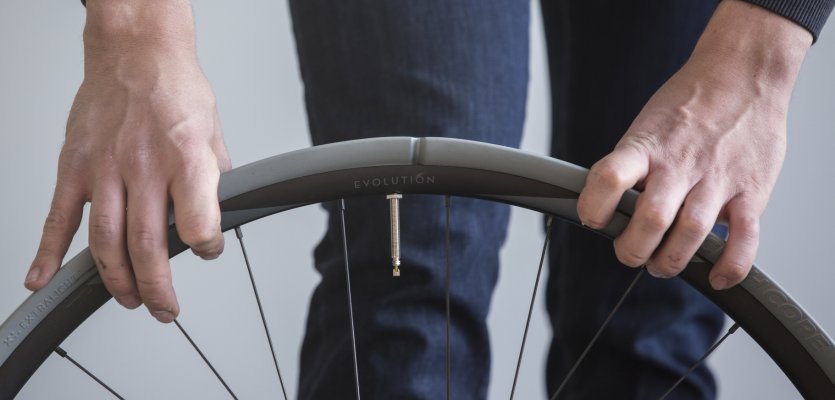
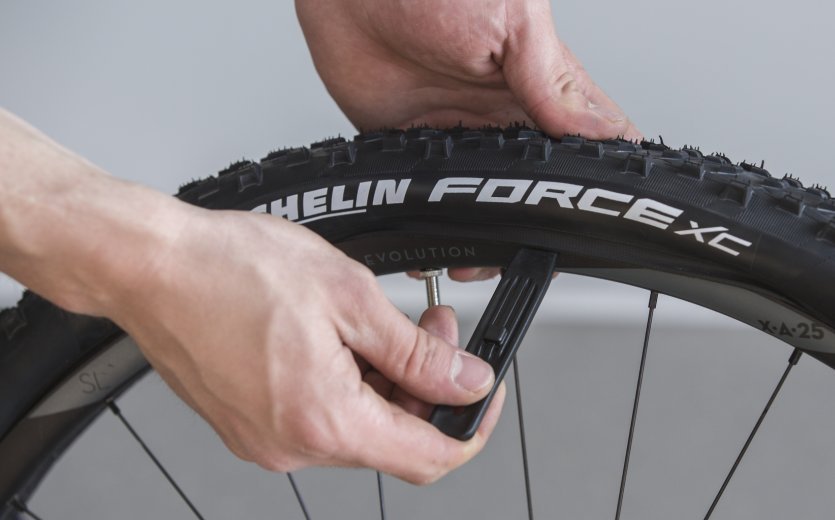
Installing the CushCore valve.
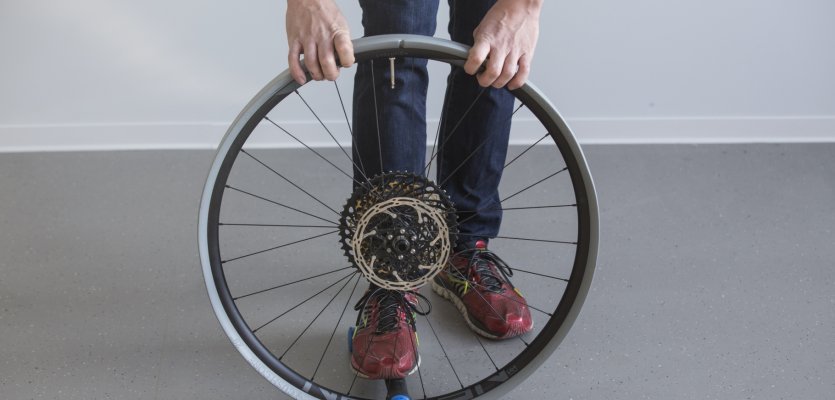
CushCore has a snug fit on the rim.
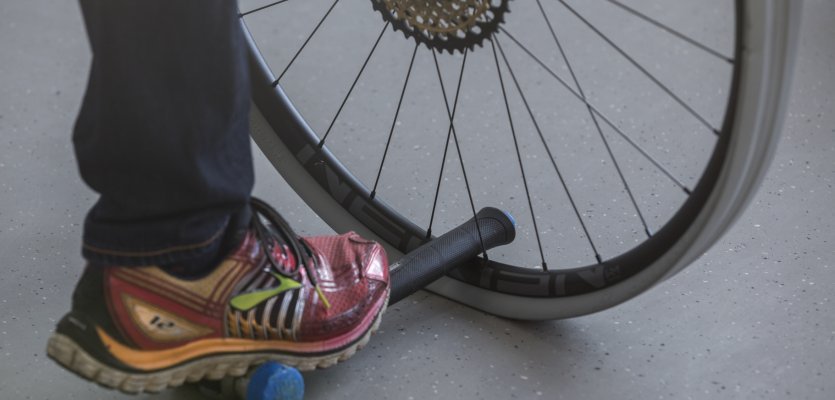
Ground the rim with the help of the handle of a hammer -. CushCore installation made easy.
CushCore meets Newmen Evolution rim.
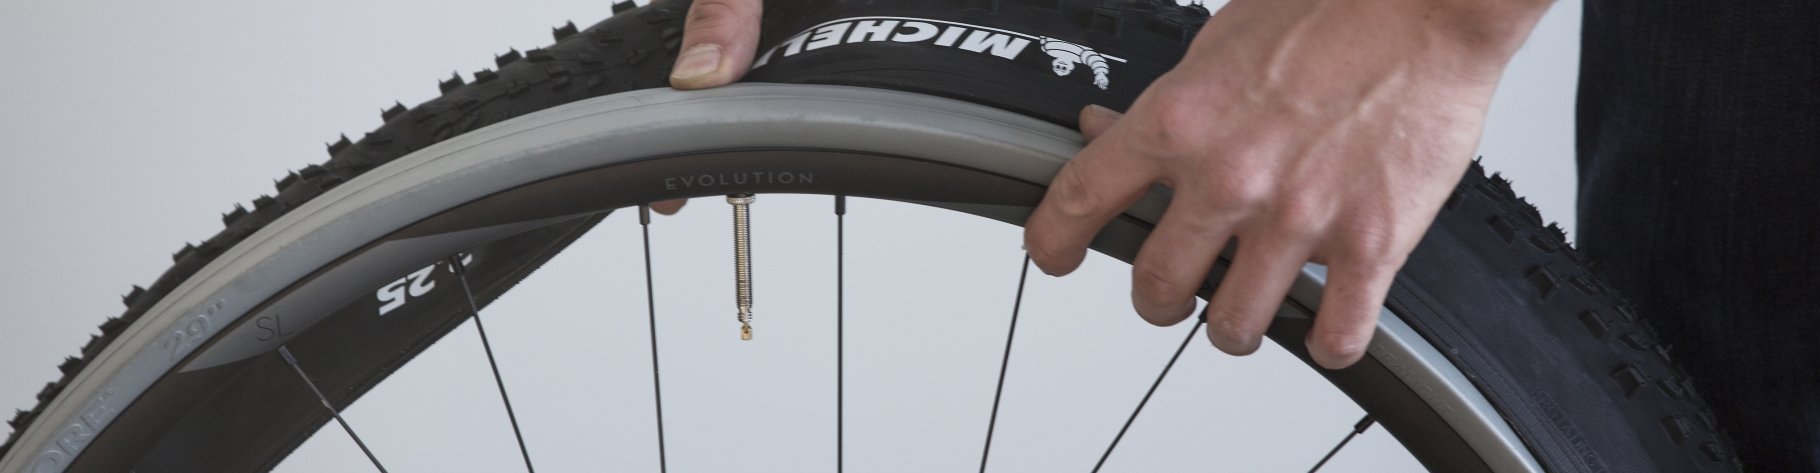
Clean your rim with brake cleaner before starting to remove grease and grime. I also suggest you use a new tyre that does not have any leftover residue from previous tubeless installation. This way you are guaranteed that it has a defect free sidewall and carcass. You will also need a hammer with a wooden or rubber handle, tyre levers and a floor pump for tubeless. You will be using the CushCore valves, which are installed just the same as others and should fit airtight in the rim bed.
Start installing the foam ring on the opposite side from the valve and work your way around. Place the rim upright on the floor to ensure that it stays in place. You can use the hammer with its wooden or rubber handle to ground the rim properly and apply pressure as shown in the picture. Especially when the foam is mounted for the first time, you will have to apply some force to stretch the material and seat it in the rim bed.
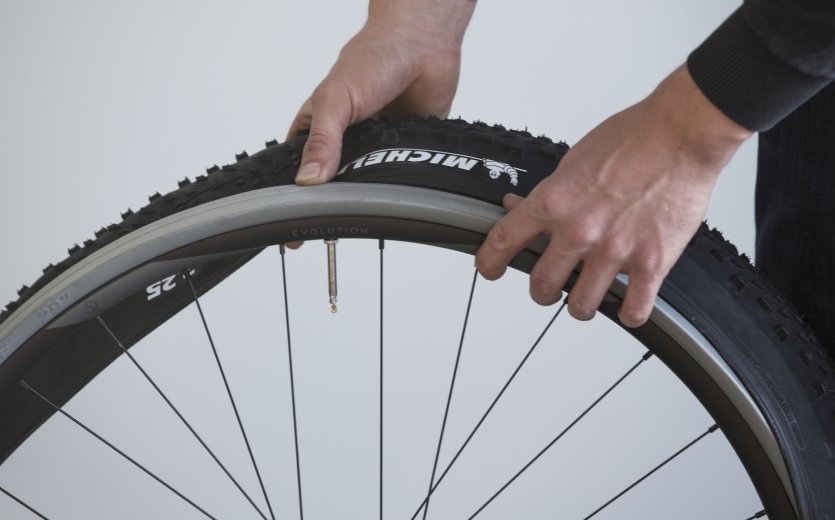
Place the rim with the CushCore foam inside of the tyre.
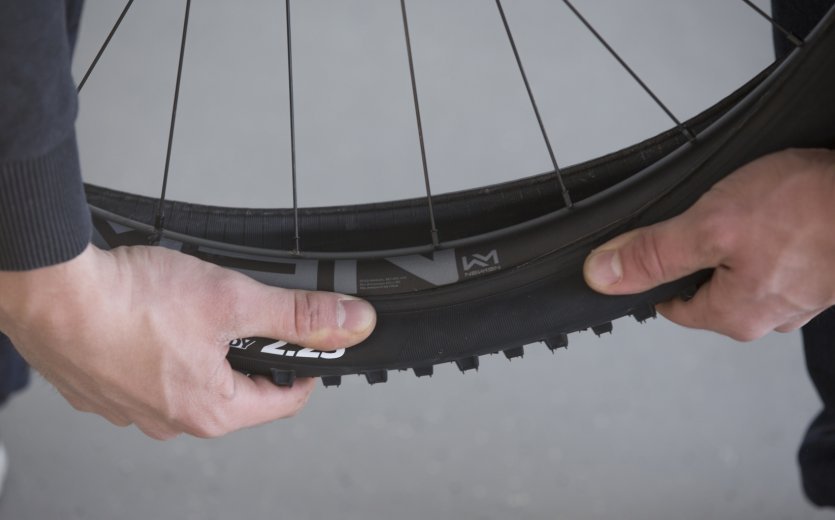
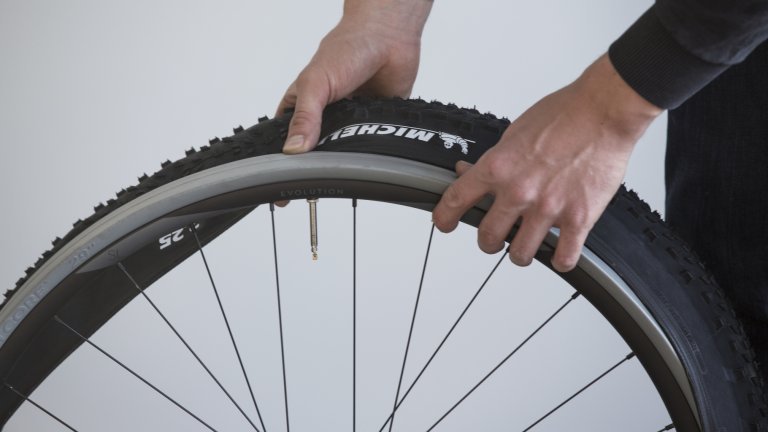
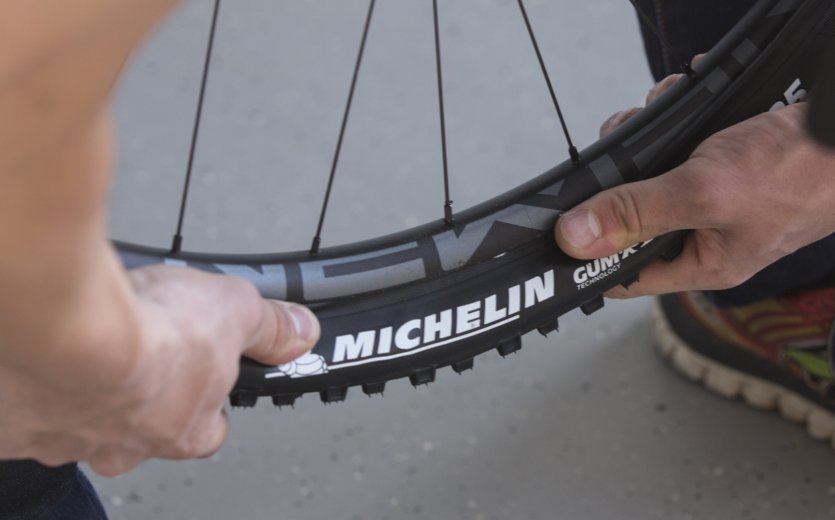
Then you start seating the bead on one side.
Seat the bead by working your way around the tyre.
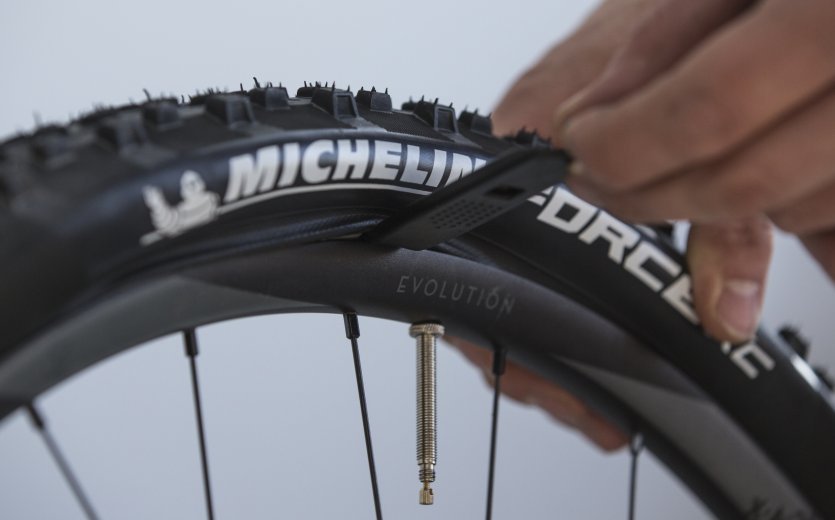
Make sure to check the tyre for the correct orientation. Then place the rim with the CushCore foam completely inside the tyre and begin to work your way around on one side, tucking the tyre bead between the rim and the foam. The foam will be compressed a little as it has to form a tight connection with the tyre bead. Work your way around and use the levers when it gets too tight. Now move on to the other side and stop before the tyre is completely seated to fill in the tyre sealant.
Using tyre levers will help.
Almost done, ready to insert the sealant.
Leave a little slot on the second side to insert the sealant.
You can also use the valve to insert the sealant, but it might take a little longer for it to seal the joint between tyre and rim. Use the same amount of sealant as you usually would. For my 29” XC tyre I used 120 ml. CushCore recommends Stan’s No Tubes or Effetto Mariposa Caffelatex, but others should work as well. The foam will not absorb the sealant. Once you inserted the sealant, mount the bead completely and inflate. That’s it, you are done!
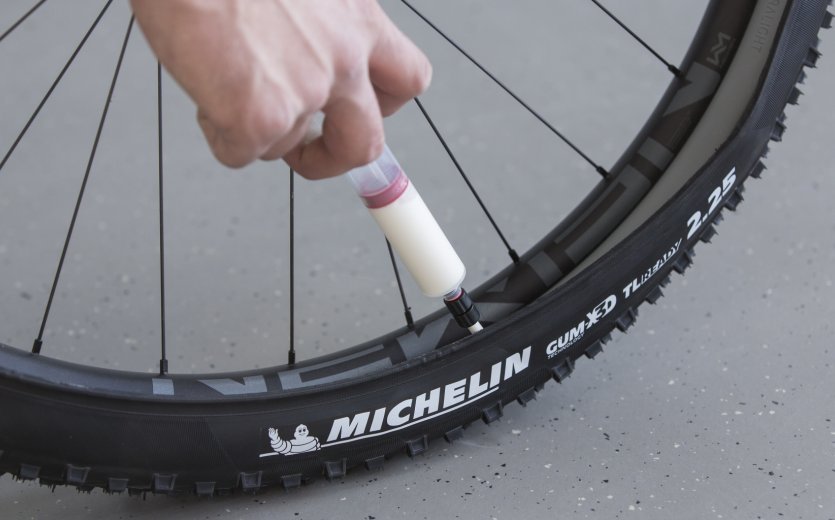
Insert the sealant through the little slot.
I used about 120 ml on my 29" wheel.

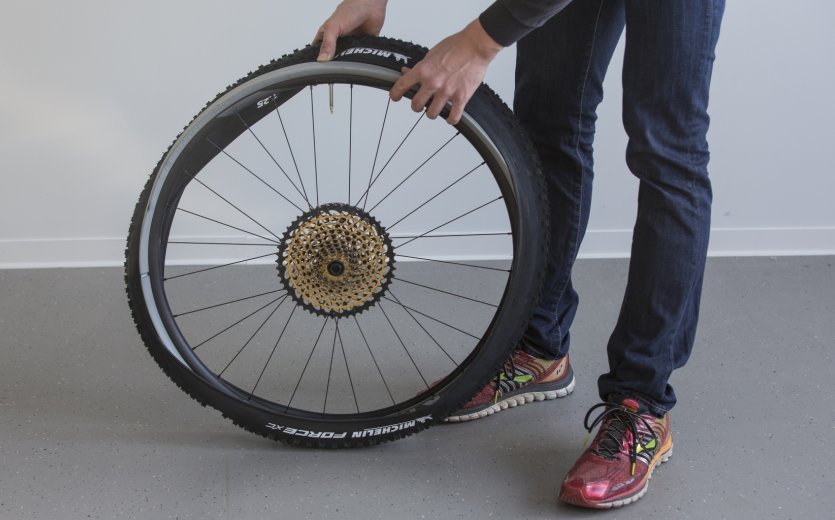
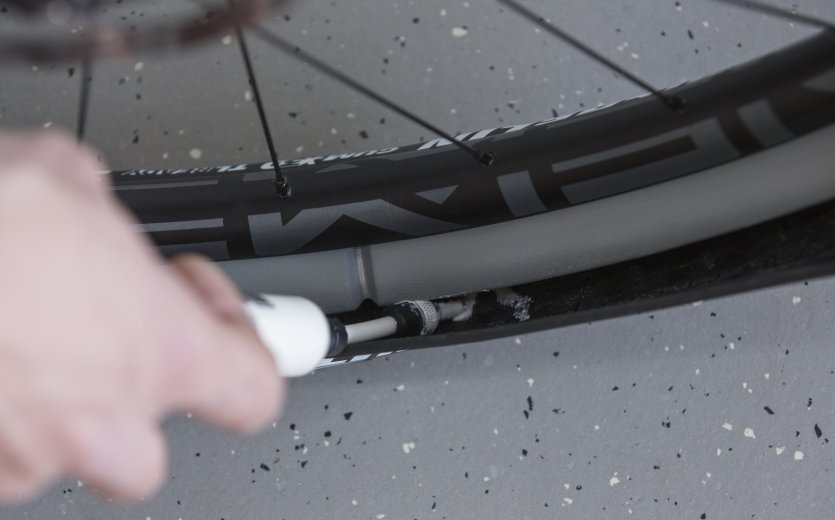
Now inflate with air and you are ready to go.
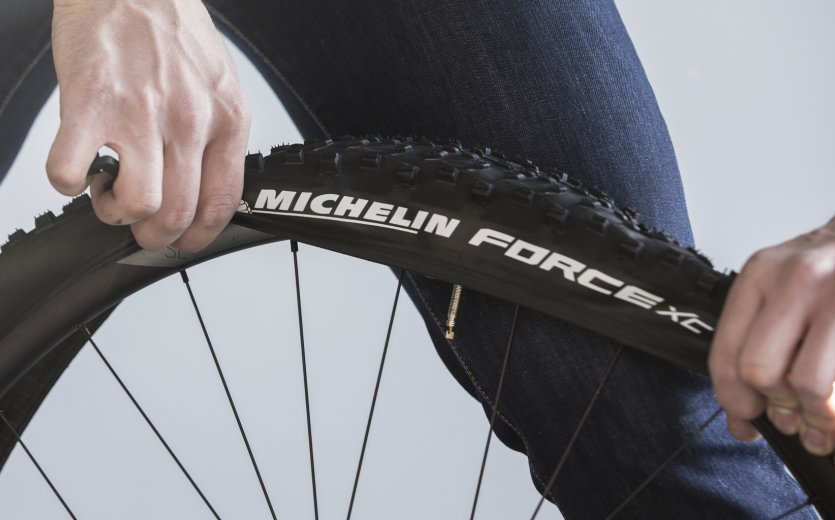
After you are done inserting the sealant, seat the last part of the bead.
A tyre lever might be required...
As mentioned before, you might experience that the first installation is a little tough because you have to stretch the foam. Apart from that, it is pretty straight forward. Remember to refill the sealant at the recommended cycles. That’s it, no special maintenance required. Of course, you can reuse the CushCore foam after switching tyres. Read our CushCore ride review to find out about its performance.
Send your unused goods back within 100 days after purchase and get your money back!
See more


