How to replace your fork
A new suspension fork can increase your mountain bike's performance. On a road or gravel bike, a new fork can save weight and add stiffness.
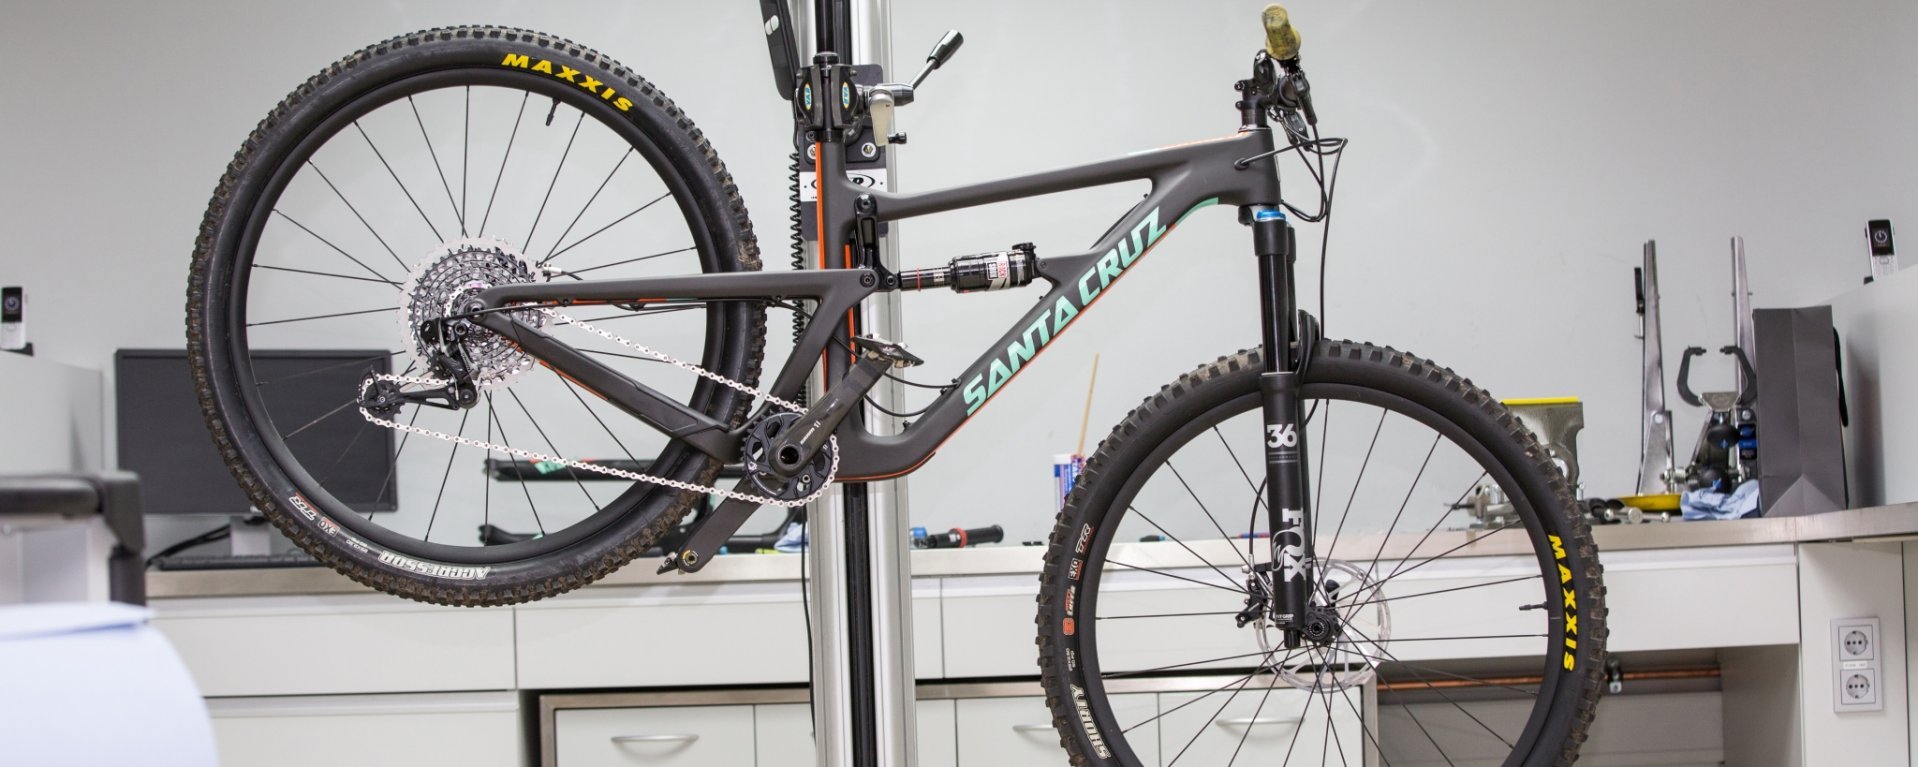
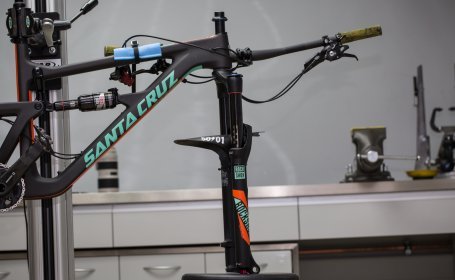
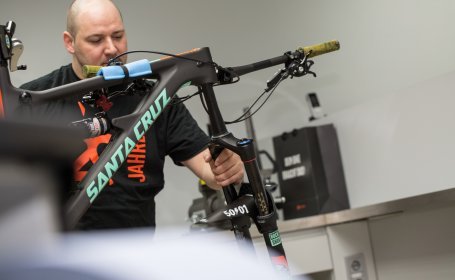
There are few parts on a bike that can improve performance as much as a new fork can. Choosing and buying one is more or less easy – but the installation has a few pitfalls. We'll show you how to handle the fork swap yourself, step by step, in this post. For the instructions, we've swapped the suspension fork on a mountain bike. However, the steps also work for a road bike fork and most other bicycles.
-
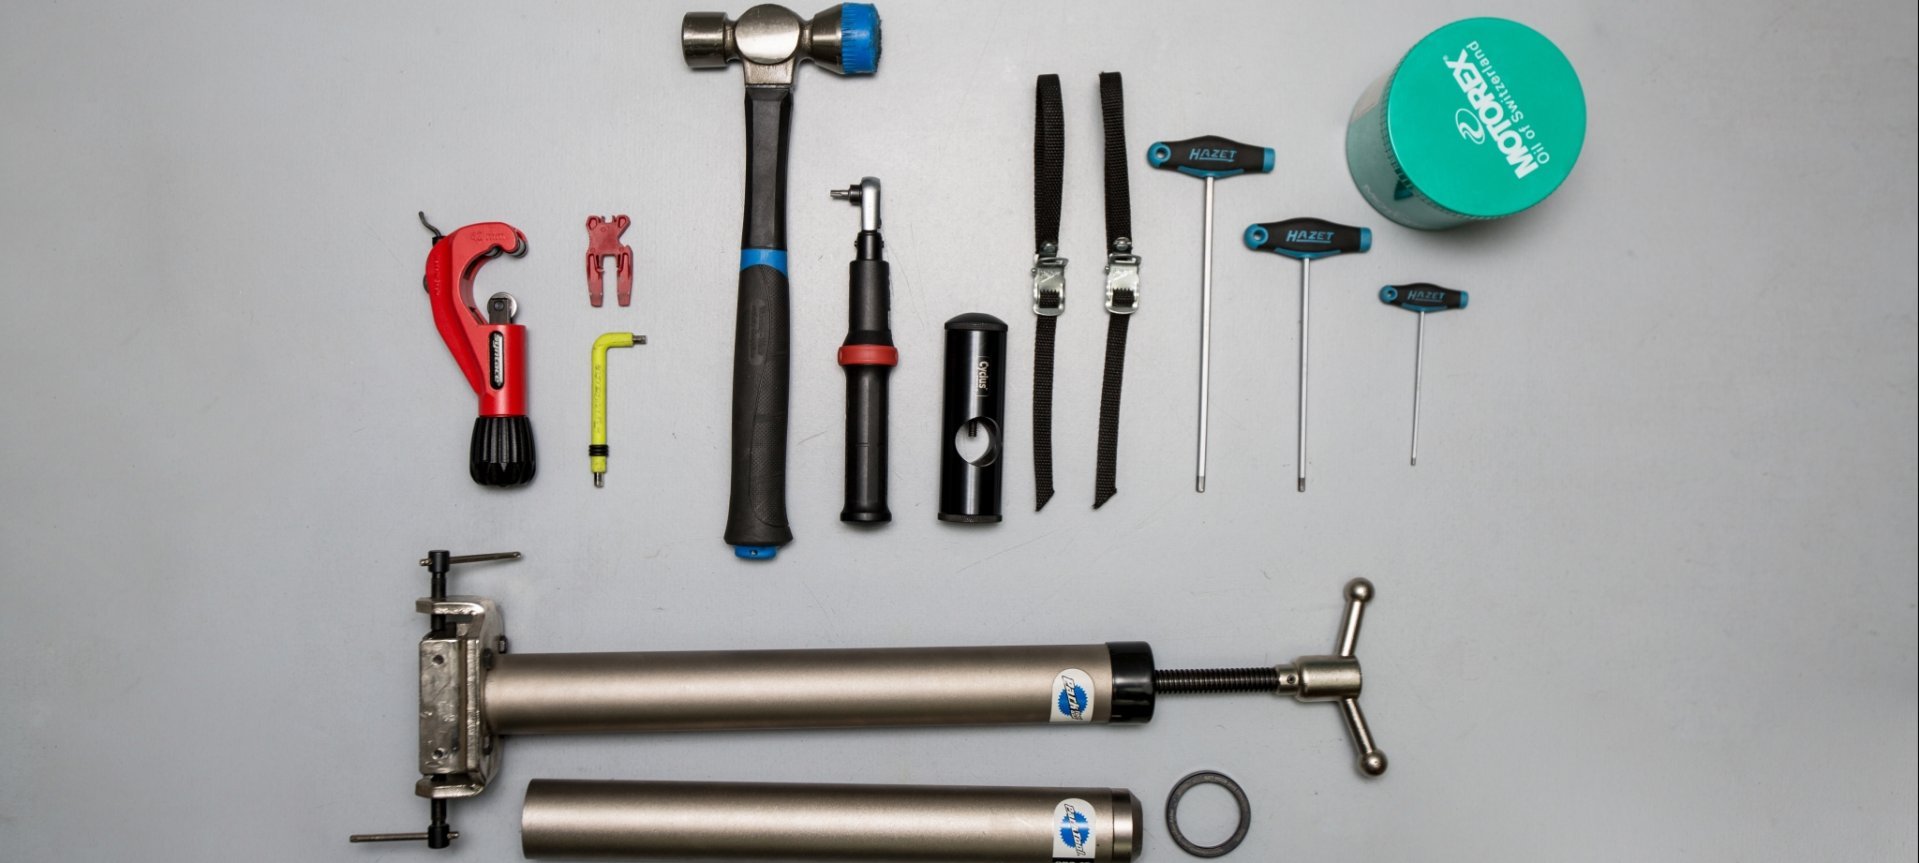
Required Tools
Before you start wrenching, it makes sense to lay out all the tools and aids you'll need. For the fork swap, you'll need the following:
- Workstand
- Hex key and Torx key set
- Transport lock for the disc brake
- Short packing straps or cable ties
- Fork cone puller
- Grease and possibly assembly paste
- Fork cone installation tool
- Hammer
- Pencil or sharp object
- Tube cutter or saw and cutting guide
- Deburrer or file
- Ahead claw installation tool
- New Ahead claw
- Torque wrench
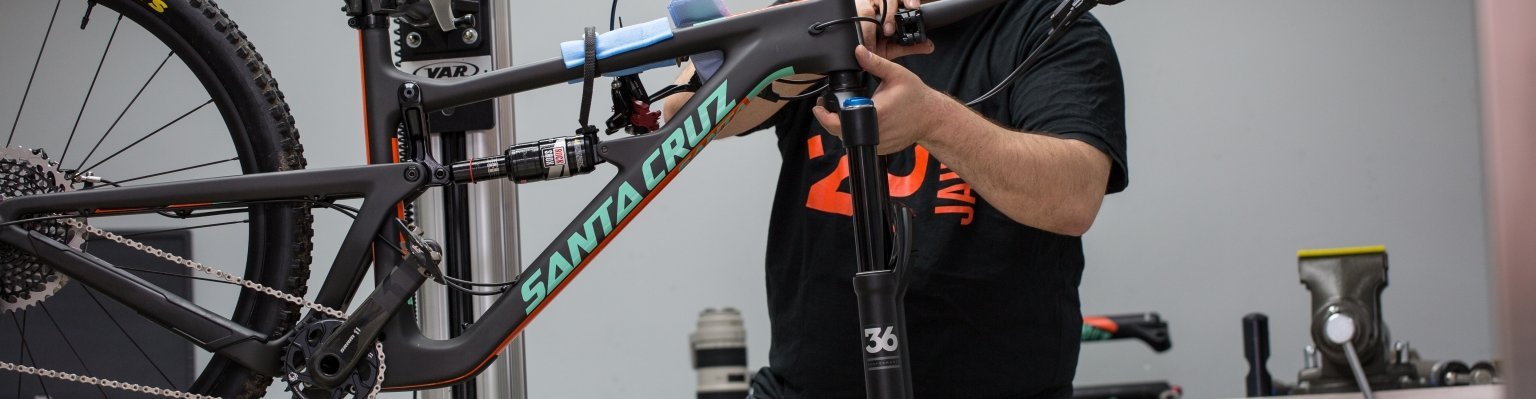
Step 1: Prepare the Fork for Removal


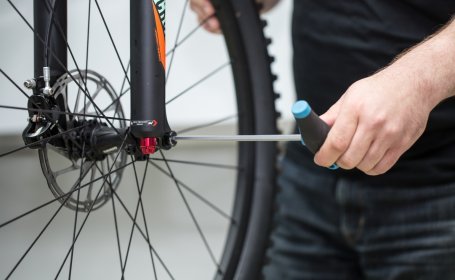
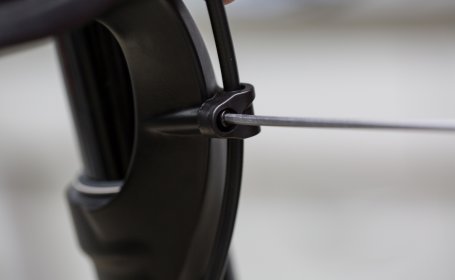
Loosen the axle of the front wheel.

Remove the fork's cable routing.
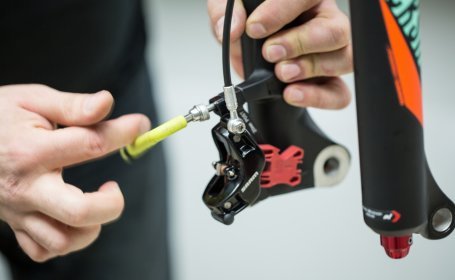
Remove the brake caliper.
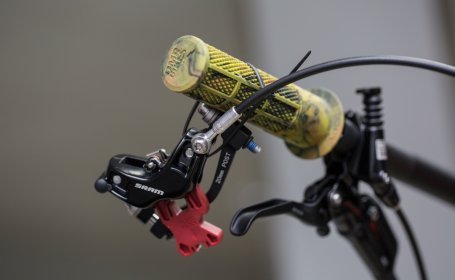
Secure the brake caliper to the handlebar grip.

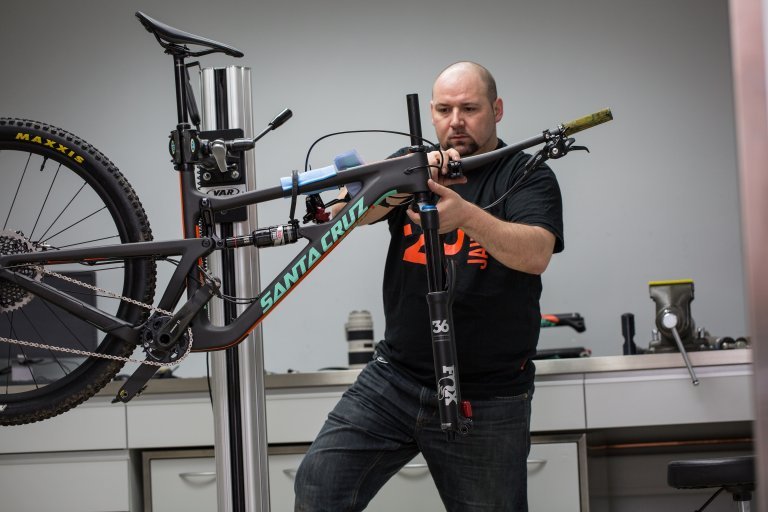
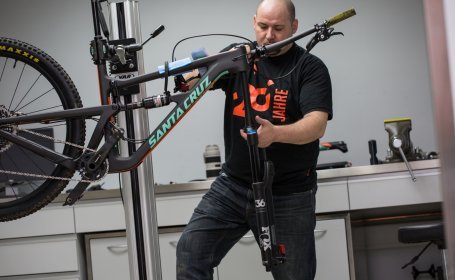
Step 2: Remove the Suspension Fork


Secure the fork with a stool to prevent it from slipping out.
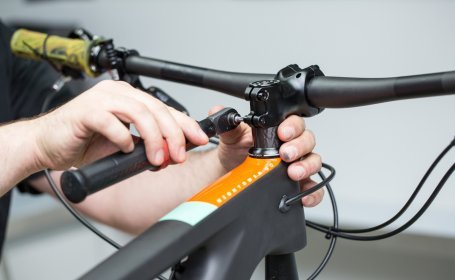
Remove the Ahead cap.
After loosening the clamping, the stem and handlebar can be removed.
Secure the handlebar and stem with a strap to the frame.
Remove the spacer and the top part of the headset.
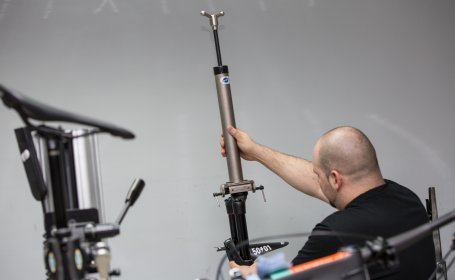
Pull the fork downward out of the head tube.

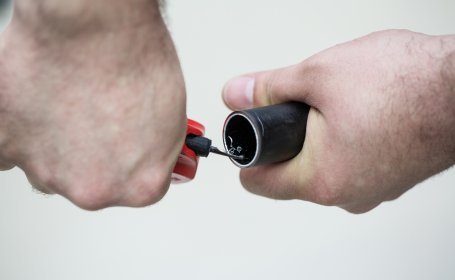
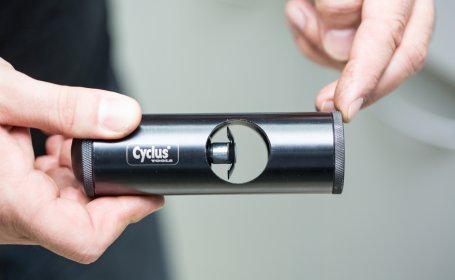
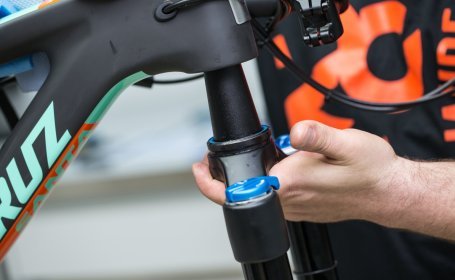
Step 3: Cone Swap


Pull off the old fork cone with the cone puller.

Before installing the cone, grease the new shaft tube at the lower end.
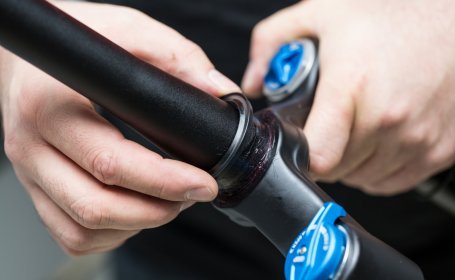
Push the cone as far as possible by hand.
The new cone is installed using the cone installation tool.
Step 4: Cutting the Shaft of the New Fork


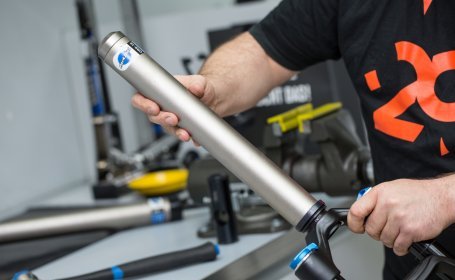
Insert the new fork into the head tube.
To mark the fork shaft, temporarily mount the headset, spacers, and stem.
Mark the steerer tube just above the stem.
Cut five millimeters below the marked spot.
Deburr the cut edge on both the inside and outside.
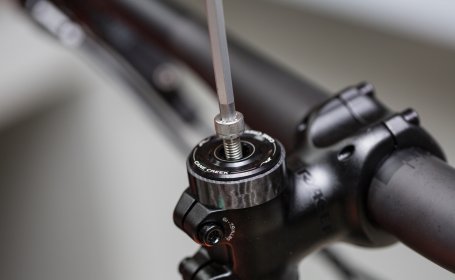
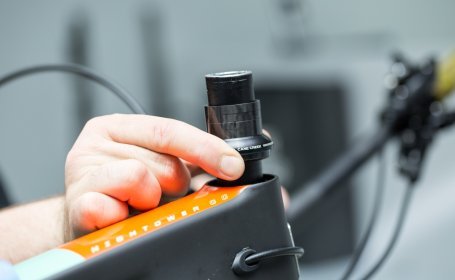
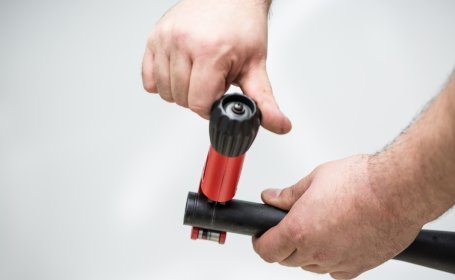
Step 5: Driving in the Ahead Star Nut


The installation tool simplifies the clean driving of the Ahead star nut.
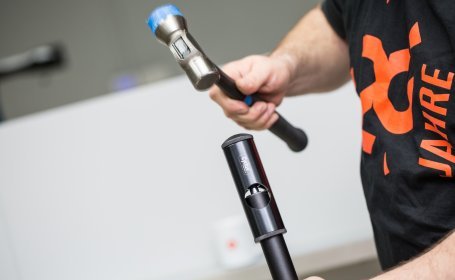
The star nut is driven into the tube with strikes on the tool.
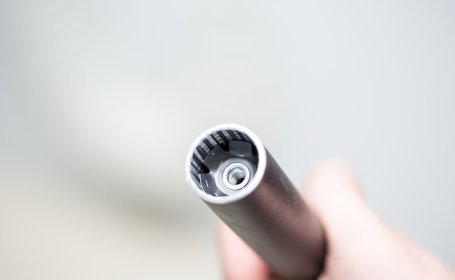
After installation, the thread of the star nut should sit about 15 millimeters deep in the tube.
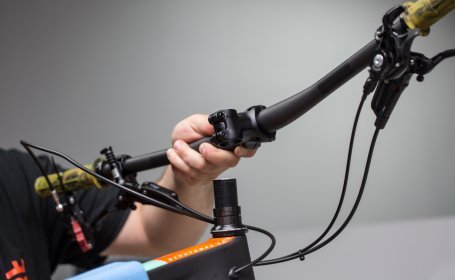
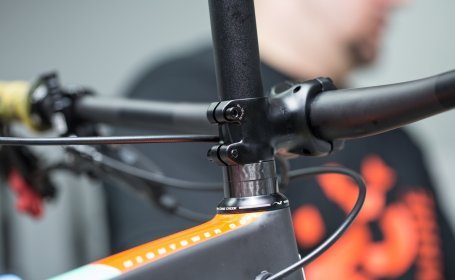
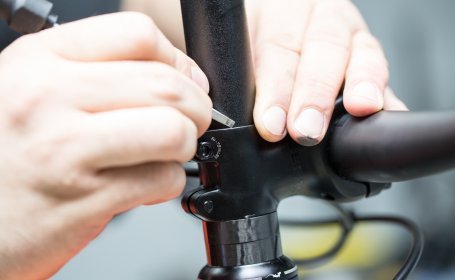
Step 6: Installing the New Fork


Slide the new fork from below into the frame.
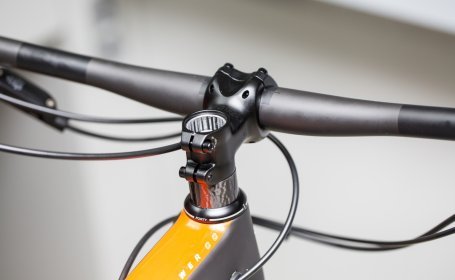
The top edge of the stem should now stand at least two millimeters above the steerer tube.
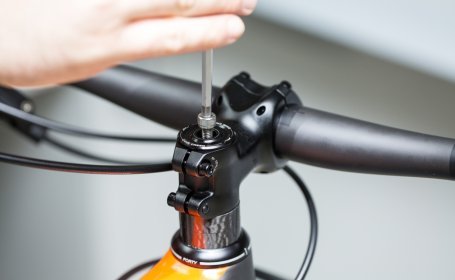
Adjust the preload of the headset with the Ahead cap screw.
When tightening the stem, pay attention to the torque specifications provided by the manufacturer.
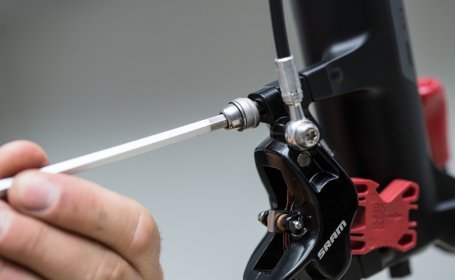
Attach and align the brake caliper.
Secure the cable routing again.
Once you've got everything reassembled and adjusted, you're finally ready to hit the trails. Enjoy your new fork!