

Product test: Thermoformable bike saddles from ...
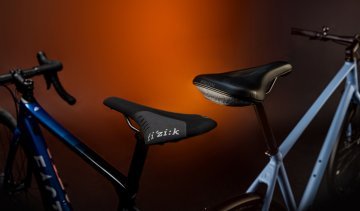
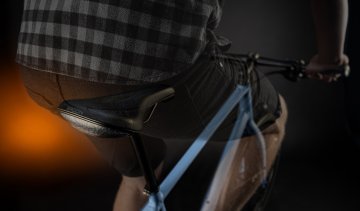
A bike saddle that adapts to your anatomy? We have tested the thermoformable saddles from REFORM for you, which promise exactly that.
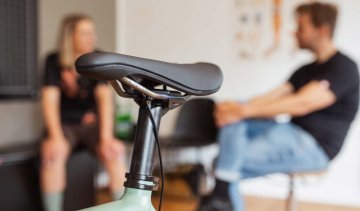
Biking doesn't have to hurt! There are lots of adjustments you can make to adapt your bike to your needs. We’ll show you how.
Ask three cyclists for the perfect riding position and you will get five opinions. In short, ergonomics is not a simple subject. The term itself describes nothing more or less than the optimisation of a technical object (here: a bicycle) for human use. Therein lies the central conflict:
There is therefore no such thing as a universal "ergonomics guide for bicycles." Here we’ll explain the most important parameters, give you some tips and point out the no-gos. All of the above are guidelines to help you find a good starting point. From there, you'll have to figure out what's good for you individually – or leave that task to a professional bike fitter. If you want to try for yourself, the Ergon Fitting Box will also help immensely.
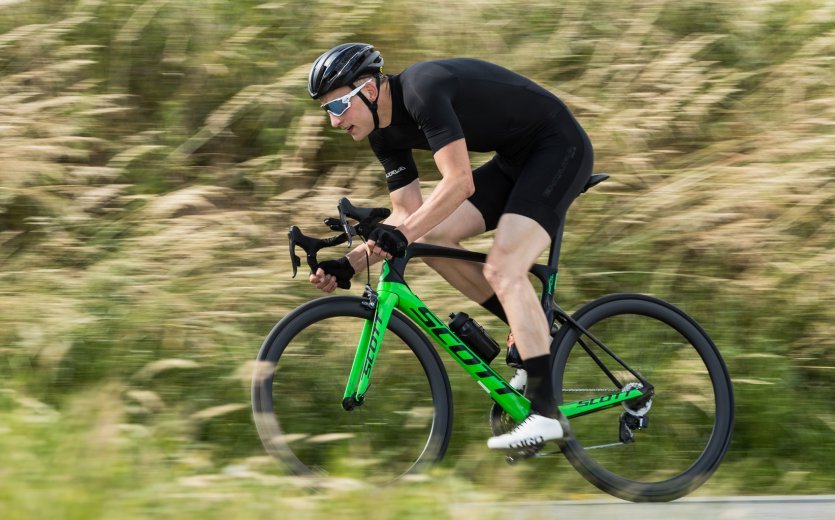
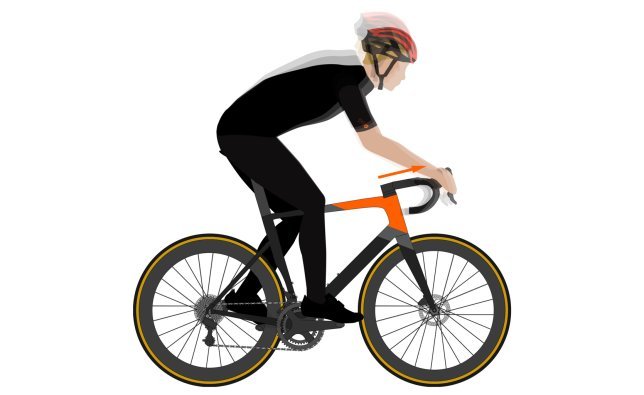
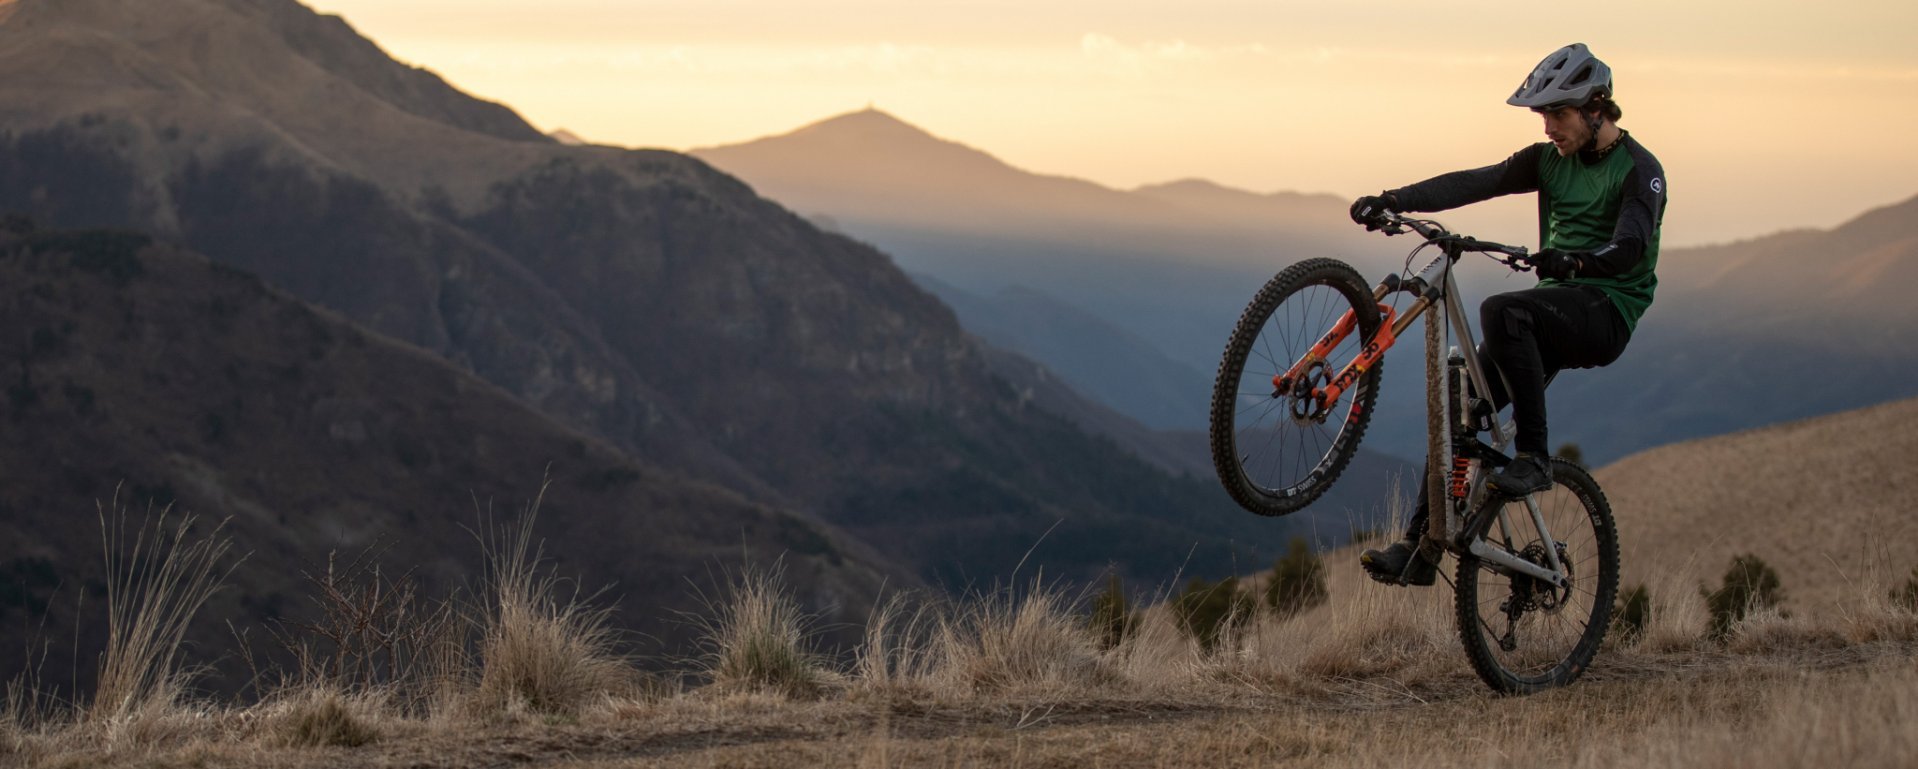
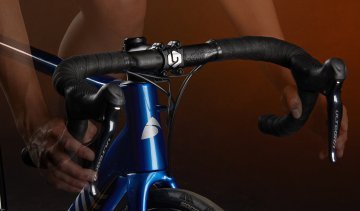
Depending on the area of use, the seat position you adopt on your bike differs significantly: on a road bike you, usually sit very far forward for optimum power transfer and aerodynamics.
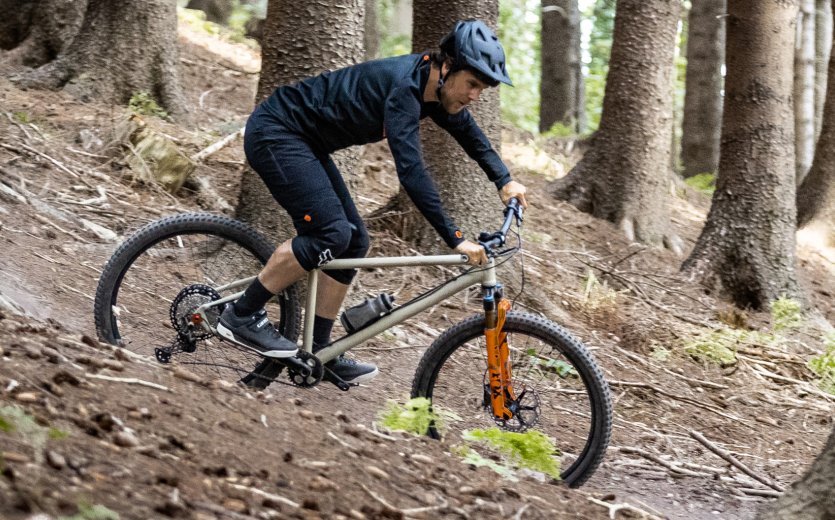
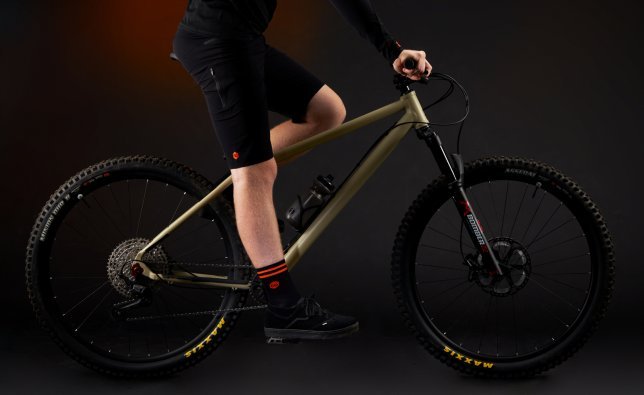
You rarely sit on a mountain bike, but the optimal adjustment of the triangle formed by the handlebars, saddle and pedals is of central importance.
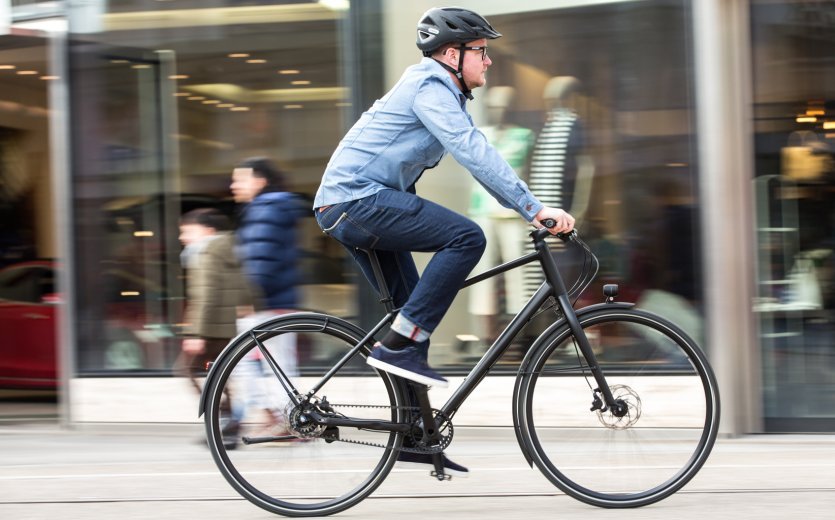
On touring or commuter bikes, the riding posture is often much more upright and relaxed than on performance-oriented bikes.

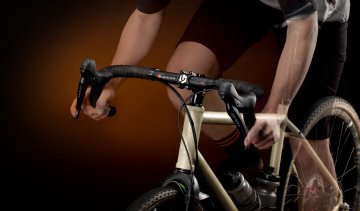
The seat position on the gravel bike is often a good mix of all kinds of biking.
The standard position of a cyclist is quite simple, isn't it? Two hands, two feet and a bottom. Well, yes – and also no! In the classical sense, ergonomics experts assume that bike fitting is about optimising the cyclist's seat position in terms of comfort, power transmission, freedom from fatigue, or in short: efficiency. However, there are bike disciplines where the seated riding position is not the only relevant riding position or where the biker does not sit at all: downhill and enduro mountain biking, BMX, dirt jumping, slopestyle, track sprinting or cycle ball, for example. In our ergonomics guides, we focus primarily on the correct seat position.
You can influence the five contact points through an incredible number of parameters: By the choice of frame, the seat height, seatpost offset,
stem dimensions, the handlebar shape, the pedal system – and all imaginable fine adjustments therein. If you are looking for your optimal seat position from a good base, change only one parameter at a time. From there, you can try out how this one change affects you. If you change too much at once, you will never be able to clearly determine whether sudden knee pain is caused by a changed seat height or a saddle that has been moved backwards. When you are satisfied with a certain adjustment or setting, write it down so you can come back to it later. Once you have adjusted each of the following parameters to make them a little better, you can start again from the beginning at the "end" of the circle, and in turn slowly-but-precisely determine your optimal preferences. An exception could bethe aforementioned Fitting Box, which can be used in cases where you are starting from scratch or are fundamentally dissatisfied with your current setup. Perhaps Ergon's recommendations will radically change your seat position – go for it!
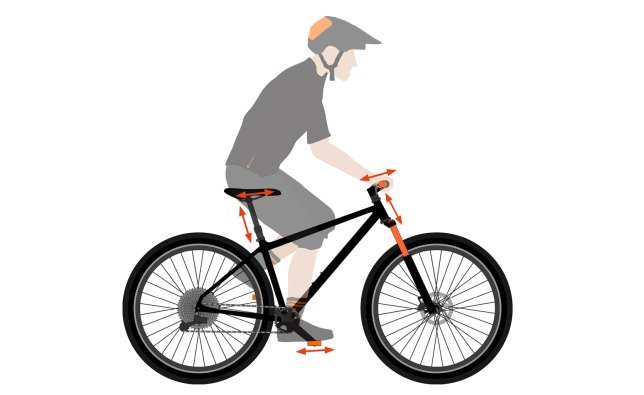
You can influence the contact points on your bike with multiple small and large parameters. Every bit counts: Sometimes just a millimetre is enough to make knee pain disappear. © bc GmbH & Co. KG
With any ergonomic bike setup, the first step is determining the proper seat height. If you sit too high or too low, you pay the price in the form of poorer power transmission and greater strain on the musculoskeletal system. Too high of a seat height is made apparent when your pelvis tilts while pedalling or when you stand on your toes on the pedal. If your seat height is too low, your knee will remain sharply bent during the entire crank revolution or you will stand with your heel on the pedal. When initially setting your seat height, sticking to the "heel trick" is a good guideline: when you sit in the saddle, the rear edge of your shoe should be at the rear edge of the pedal. The pedal should be at the six o'clock position. To change the seat height, you have to abide by one parameter above all: the seatpost extension. The height of the saddle or shoes then still allow for fine-tuning. The nice thing about the seat height: it is more or less transferable. If you have already found a good riding position, simply measure the distance from the bottom bracket over the middle of the saddle clamp to the seat. That way, your value also compensates for sharply-deviating seat angles, for example between an MTB and a road bike. Note: pedals, and even more significantly shoes, differ appreciably from each other in height. Thus, clipless pedal shoes are usually higher than their flat siblings. Ergonomic insoles can further enhance their effects. So when determining your correct seat height, be sure to use the pedals and shoes that you plan to use later on.
The “heel trick” is a good guideline for finding the correct saddle height. © bc GmbH & Co. KG
Nobody likes people who hold their noses in the air. In the case of thesaddle, this attitude is no different. But there are exceptions! In the vast majority of cases, however, your starting value is clear: the seat surface of the saddle should be parallel to the ground. At this point, you can optimize further – but be careful, because even one degree of tilt makes a huge difference on the saddle. If you tilt the saddle nose down, you relieve the pressure on your buttocks and lower extremities and have more pressure on the handlebars. Mountain bikers who ride steeply uphill or roadies who sit aerodynamically low and outstretched often prefer this. There are far fewer reasons to have the saddle nose pointed up, although it does take the strain off the hands. The targeted distribution of pressure while sitting is simply too uncomfortable. However, there are two exceptions: the first is saddles such as those made by Brooks, which have seat surfaces that are not straight but slightly banana-shaped, while the second is in mountain bike disciplines where you don't really sit, but rather guide the bike by the saddle’s nose with your thighs.
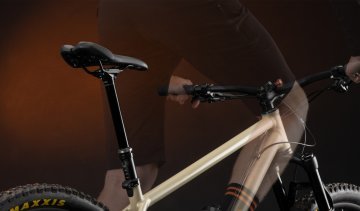
From the seat height, you determine your horizontal sitting position between "upright" and "outstretched", i.e. the distance between handlebar and saddle. Only you can say how outstretched you would want to sit. Competitive road cyclists usually prefer an outstretched riding position because of better aerodynamics and power transfer. The longer the distances or the more important comfort and bike control are to you, the more upright the riding position becomes. There are two fairly simple correlations to this:
First and foremost, the frame determines the seat position with its length. Therefore, when buying a bike, pay attention not only to the frame height, but also to the frame length values. These are top tube length (determines the sitting position) and reach (determines the standing position). To change the horizontal or vertical distance between handlebar and saddle, you have several options. Some of these you will want to exclude so as not to change the character of the bike too much (such as a particularly long stem on a modern mountain bike):
A) You can influence the horizontal distance between the saddle and the grips:
B) You can influence the vertical distance between the saddle and the grips:
Tip: You can also measure your handlebar or grip position. The best starting point here is again the distance to the bottom bracket as a fixed point. If you measure vertically from the ground, you also measure changes that do not affect the seat position, such as tyre diameter or bottom bracket height.
You can significantly change your riding position by adjusting the length and pitch of your stem. © bc GmbH & Co. KG
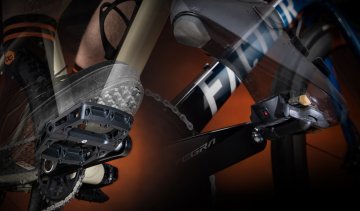
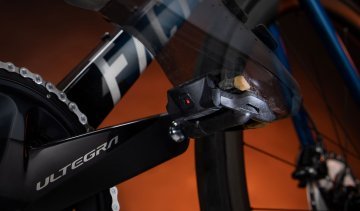
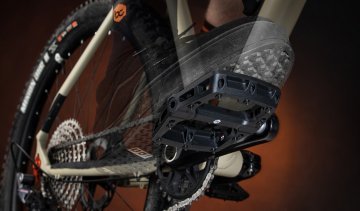
This step is especially important for clipless pedal riders, as their foot position is fixed and must therefore be exactly right. No matter if it’s clipless or flat pedals, the ball of the foot should be on the pedal, not on the toes or arch. Both lead to severe bending or flexing of the foot and thus to fatigue, poor posture and pain. If you are not standing on the ball of your foot, this indicates an incorrect seat height (see above). Clipless pedal shoes basically do not allow for a wrong position of the shoe plate and thus the foot position in longitudinal direction, but an adjustment according to personal preferences. For example, road cyclists usually stand a little further forward on the ball of the foot because of the better power transmission and greater toe clearance, while mountain bikers with more riding ambitions prefer the pedal more centrally under the ball of the foot for more control in the standing position. Most cleats also allow for angle adjustment. The Ergon TP1 Cleat Tool helps enormouslyhere . Basically, the first thing to do is to keep the toes parallel to the wheel and not turned in. By the way: the real seat angle has a significant influence on the foot position on the pedal at the same seat height. Particularly flat or steep seat angles may require compensation in foot position or seat height.
Tip: You can find more on the subject of foot position in our text on pedal ergonomics.
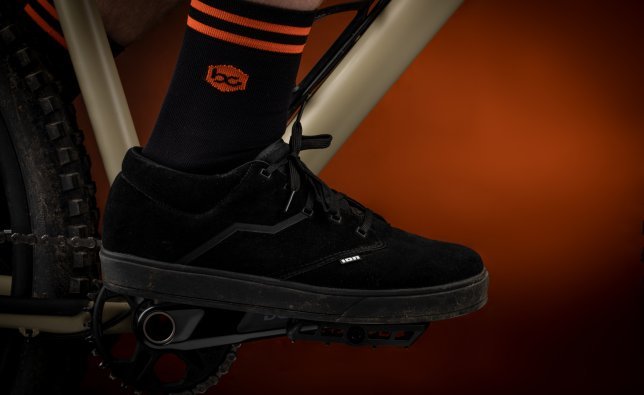
Starting position for your foot: the ball of your foot should be on the pedal. © bc GmbH & Co. KG
If you've made it this far, you should have a good riding position on the bike. For some people, “good” is not good enough, particularly for athletes and long-distance cyclists as well as people with musculoskeletal complaints or everyday perfectionists. If you've gone through steps one through four, but you're still not completely satisfied, start over. But this time, make finer adjustments. Bonus tip: whether you do your own research or book a professional bike fitting, pay attention to timing! Making adjustments before special dates such as training camps or races is just as bad a time as immediately after a long break. Give yourself time before and after making adjustments in order to fully measure their effects. Try to be in normal shape – not exceptionally fit or out-of-shape.
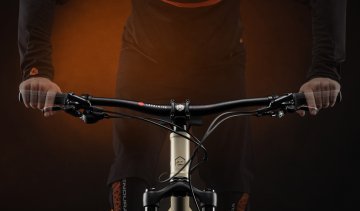
Mountain biking – competition XC aside – is in many ways closer to motocross than road biking. The most important difference to the classic bike: for many mountain bikers, quality time takes place standing up, not sitting down. Only you can decide if you want to go for one of the two extremes or try to find a compromise. A small but not unimportant factor on the trail is the rotation of the handlebars and the position of the brake levers, where at least one of your fingers always rests. Both affect your body's centre of gravity and therefore weight distribution when you ride standing up. The more you turn the handlebars and brake lever forward and down, the more your hips, upper body and head move forward and down. As a result, your elbows are automatically bent in the "attack position" and you put a lot of pressure on the front wheel. However, such a position also has its disadvantages: your gaze is glued directly in front of the front wheel instead of further into the distance along the trail, where it actually belongs. Your overall view suffers, roll-over sensations increase and freedom of movement decreases. For most mountain bikers, a horizontal brake lever angle of 45° through the handlebars is a good starting point. Thus, the back of the hand forms an unbroken extension of the forearm. This relieves the wrists and is certainly the best solution in terms of long-distance riding.
For most mountain bikers, a horizontal brake lever angle of 45° through the handlebars is a good starting point. © bc GmbH & Co. KG
If you have a lot of space or a lot of bikes and are really serious about ergonomics, you can mark all the above-mentioned measurements three-dimensionally on the floor and walls in a corner of the room, if necessary in different colours for different bikes. If, according to the old rule ("the correct number of bikes: N+1") another bike is added, at least one start setting can be transferred to the new bike very quickly.
A bike saddle that adapts to your anatomy? We have tested the thermoformable saddles from REFORM for you, which promise exactly that.
Backsweep? Upsweep? Rise? The handlebars let you adjust ride quality, comfort and ergonomics perfectly to you and your MTB. Read our tips to learn more.
Width – drop – reach: your road bike handlebar has to fit you. Only with optimal ergonomics can you bring your performance onto the road.
Gravel handlebars are the new trend in drop bars. Learn here what flare, drop, reach, and back sweep mean and why they matter.
Gravel handlebars are the younger siblings of drop bars, with a stronger focus on comfort, control and view. Read our guide for gravellers.
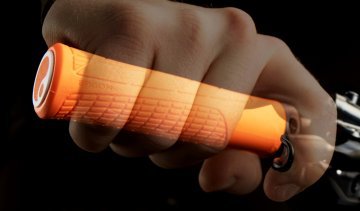
Handlebar grips are a decisive factor in the ups and downs of cycling. Depending on the area of use, the requirements for a grip are very different.
Just pedal and go? What sounds so easy is actually quite complicated. Here’s what to keep in mind when considering the body’s interaction with the pedals.
SPD? ATAC? SPD-SL? Kéo? There are many clipless pedal systems for MTB and road bikes, but they are not all compatible. An overview of all systems.
The variety of platform pedals, also called flat pedals, is vast. Here’s what to look for when buying a pedal so that it suits you and your riding style.
The way you bed your butt is how you ride. Finding the right bike saddle is often not easy. We’ll give you tips on what you should pay attention to.
As you sit, so must you ride. Finding the right saddle for your bike doesn’t have to be an epic journey. We’ve got some tips on what to look for.
The requirements for your MTB saddle depend on the specific application and your anatomy. We give you tips on choosing the right MTB saddle.

Searching for THE road bike saddle that makes your beloved hobby comfortable for your rear too? Read here what you need to look out for.
To ensure your cycling tour isn't a torture: We're sharing tips on how to find the perfect saddle for your touring bike.
We’ll give you tips and advice on the right saddle for your touring bike, so that your bike tour doesn’t become a headache.
Send your unused goods back within 100 days after purchase and get your money back!
See more


