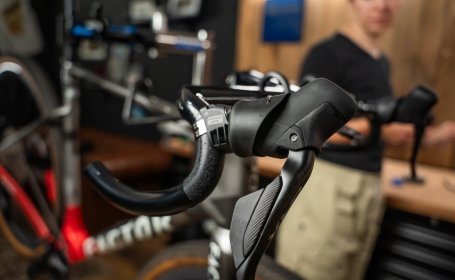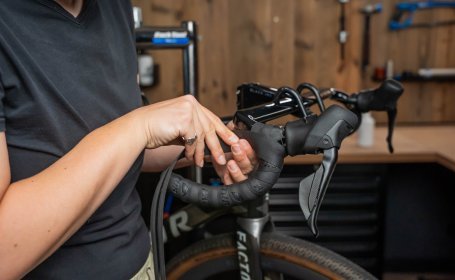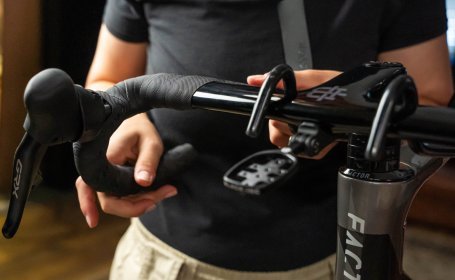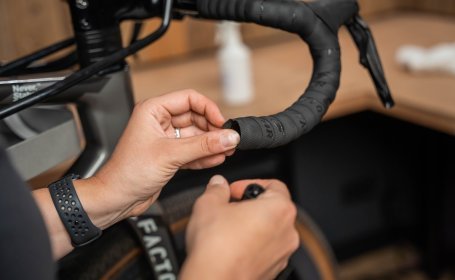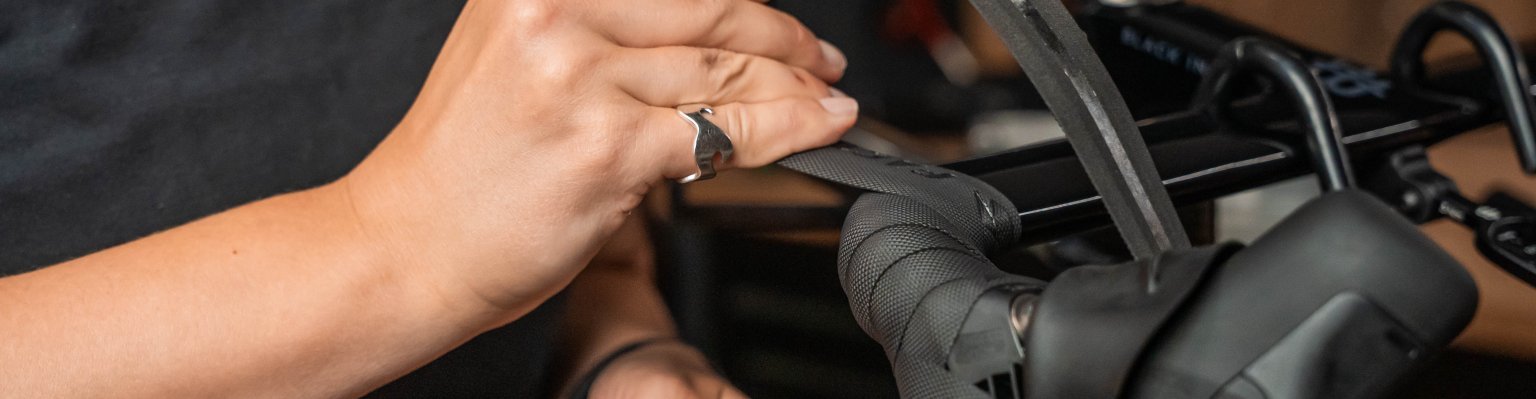
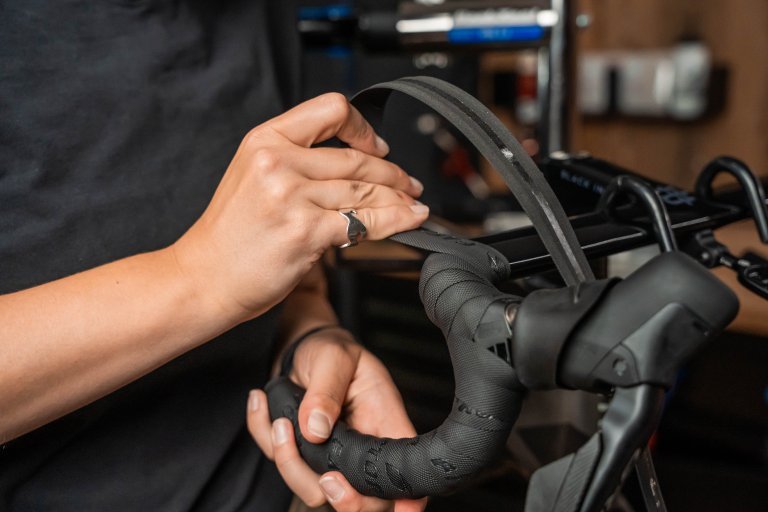
The mechanic wraps the bar tape around the tops of the handlebar.

How To: Wrap Handlebar Tape on a Road Bike or Gravel Bike

Wrapping handlebar tape looks tricky, but with the right technique it's quick and easy. Follow our guide to the classic figure-eight wrap.

Hardly any drop-bar rider can avoid replacing handlebar tape. Over time, use, dirt and sweat take their toll, reducing grip and comfort. Wait too long and you'll soon find holes or tears in your handlebar tape. These can also appear earlier after an unfortunate encounter with the asphalt. But damage, age and wear aren't the only reasons to fit fresh tape. If you're replacing your handlebar or integrated brake and shift levers, the old tape has to come off anyway. Fresh handlebar tape gives your hands more grip, improves comfort and instantly makes your bike look better. Our guide will help you replace your handlebar tape quickly and correctly.
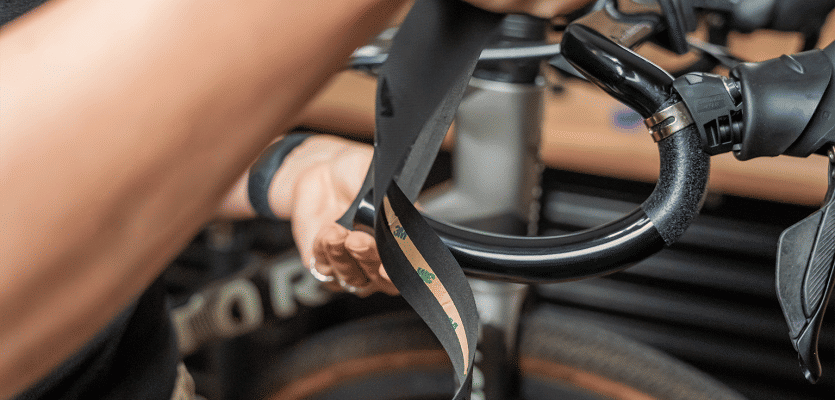
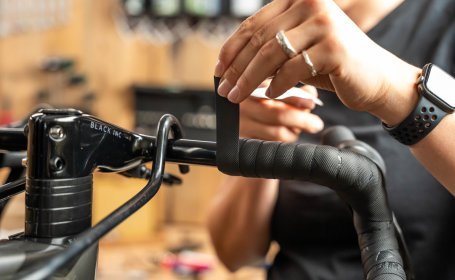
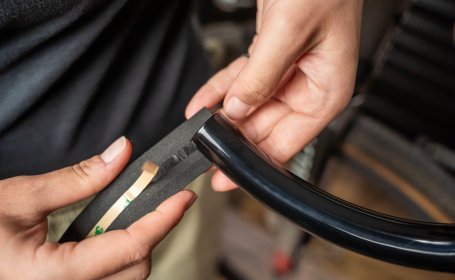
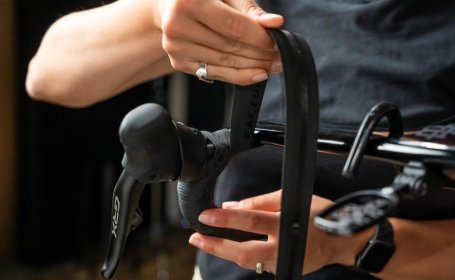
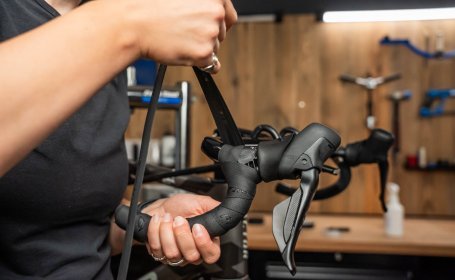
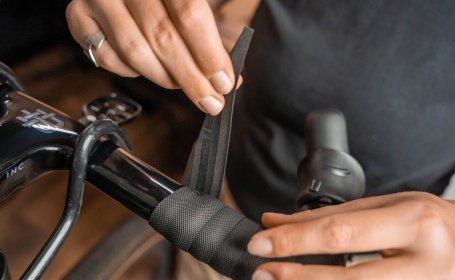
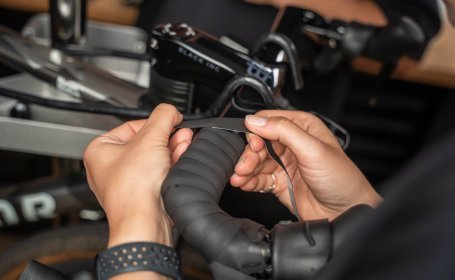
The mechanic positions the bar tape underneath the handlebar, with the adhesive side facing up towards the bar.

The bar tape is positioned underneath the handlebar.
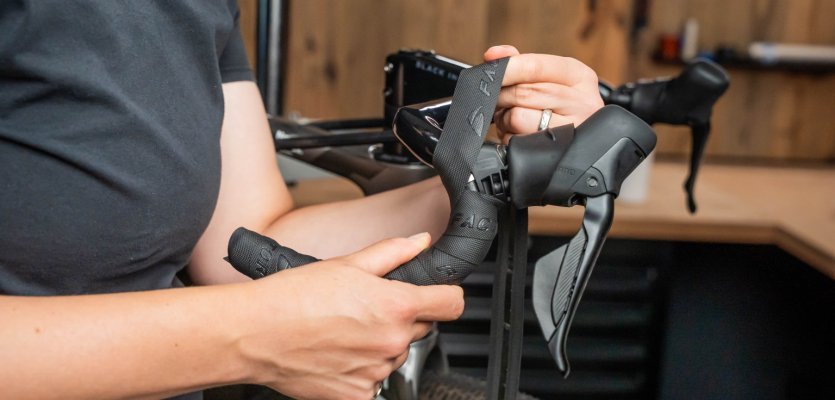
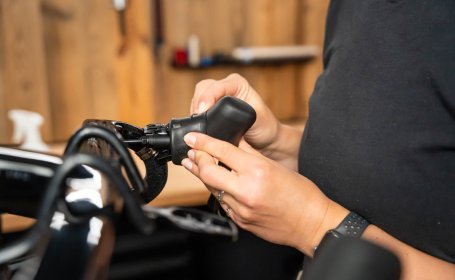
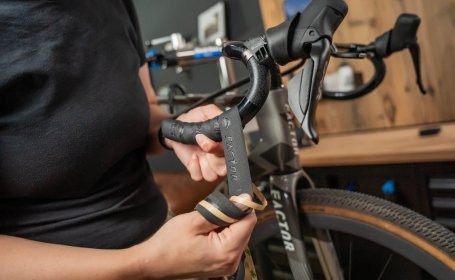
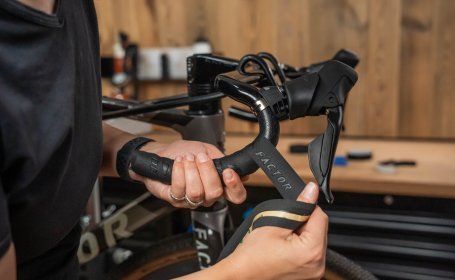
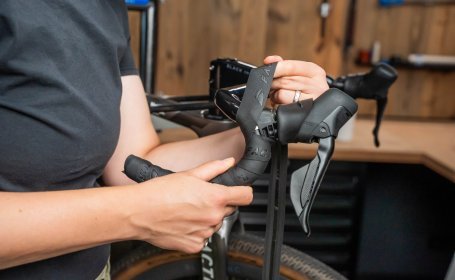
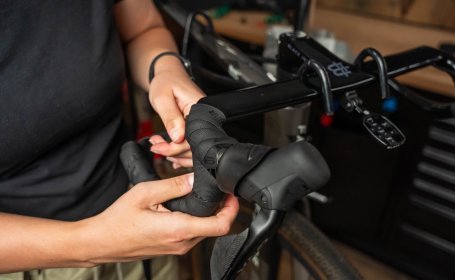
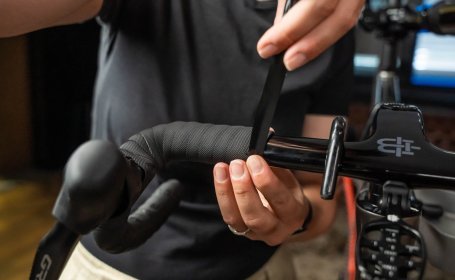
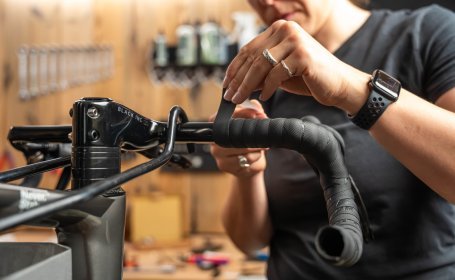
The mechanic guides the bar tape upwards along the outside of the bar, around the clamp of the brake- shift lever.

For the Italian figure of eight, the bar tape is guided upwards along the outside of the handlebar.
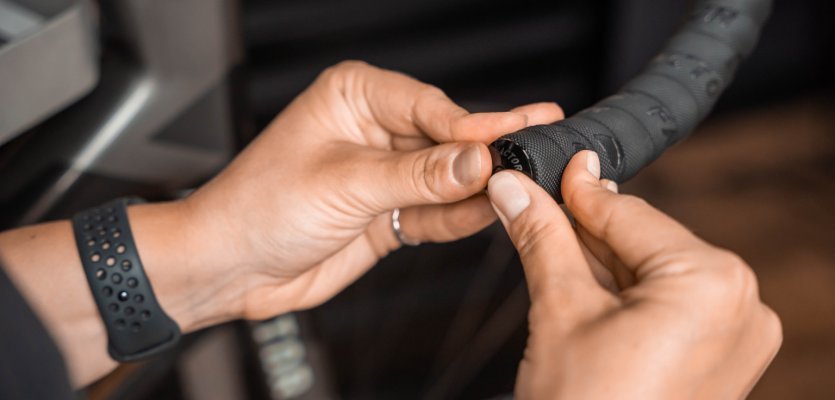
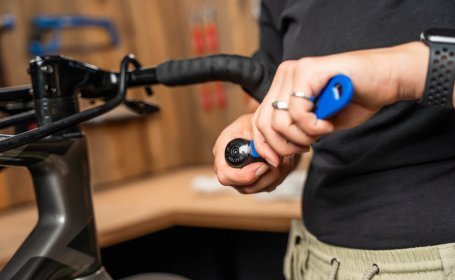
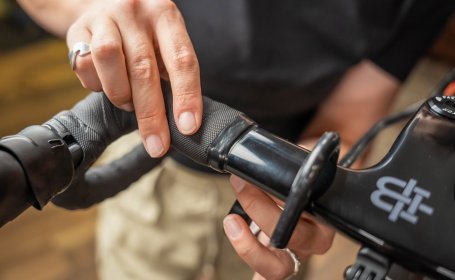
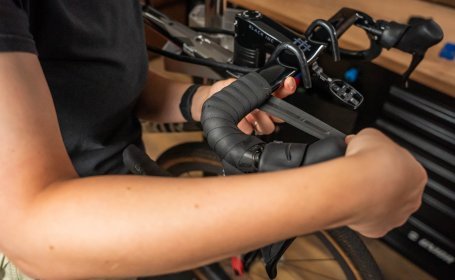
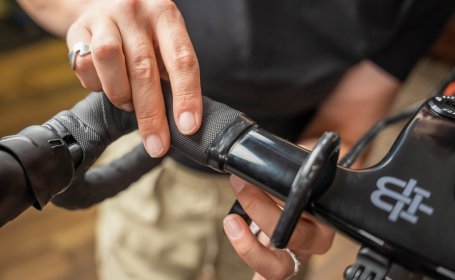
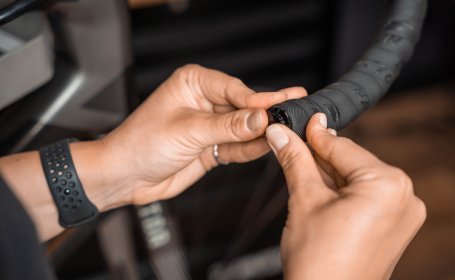
The mechanic presses the bar plug into the handlebar.

Finally, the bar plug is pressed into the handlebar.

Tools and materials

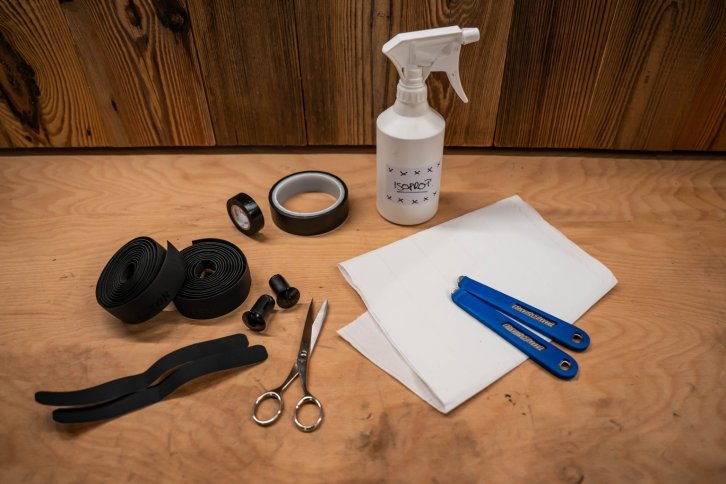
You don't need much to replace your handlebar tape:

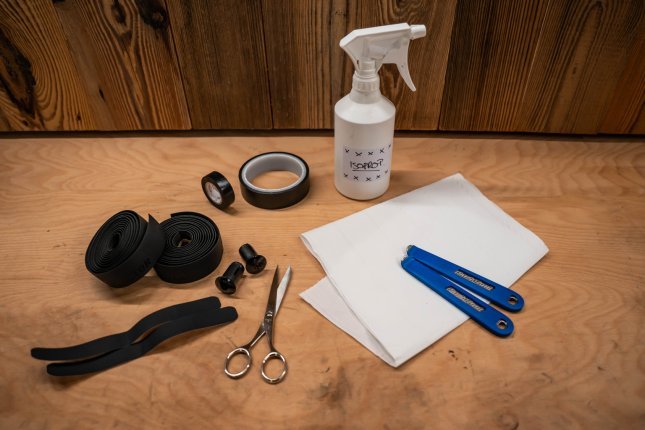
Tools needed to wrap bar tape: scissors, insulating tape, bar tape

Everything you need to wrap your bar tape © bc GmbH

1
Step 1: Remove the old handlebar tape
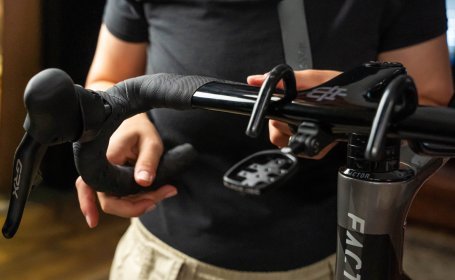
Step 1: Remove the old handlebar tape

Secure your bike in a workstand and use a handlebar holder if available. Alternatively, lean the bike against a stable surface.

Secure your bike in a workstand and use a handlebar holder if available. Alternatively, lean the bike against a stable surface.

First, remove the bar end plugs – use a tyre lever if necessary.

First, remove the bar end plugs – use a tyre lever if necessary.

Next, roll back the hoods, i.e. the rubber covers of the integrated brake and shift levers.

Next, roll back the hoods, i.e. the rubber covers of the integrated brake and shift levers.

Then remove the finishing tape and carefully unwrap the old handlebar tape. Take your time to remove any adhesive residue completely.

Then remove the finishing tape and carefully unwrap the old handlebar tape. Take your time to remove any adhesive residue completely.

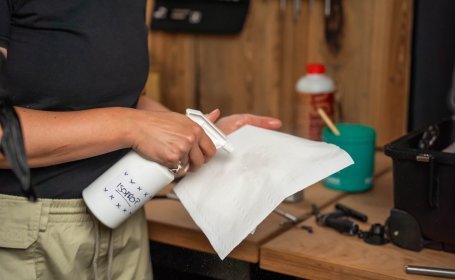
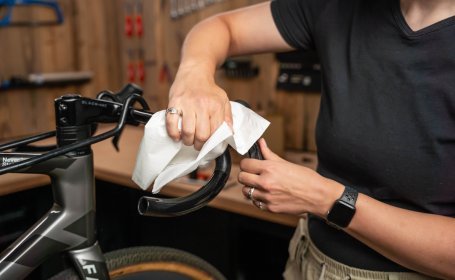
Spray some cleaner onto a cloth and thoroughly clean the handlebar.

Spray some cleaner onto a cloth and thoroughly clean the handlebar.

Tip: Check your handlebar for damage. If you use an aluminium handlebar, sweat heavily or spend a lot of time training on an indoor trainer, pay particular attention to signs of corrosion. If necessary, apply anti-corrosion protection before wrapping the new handlebar tape.

2
Step 2: Prepare the handlebar

Step 2: Prepare the handlebar

First, check that all brake and, if fitted, shift cables are securely attached to the handlebar and don't get in the way when gripping it. Some handlebars feature grooves that allow cables and hoses to be routed neatly. If yours doesn't, we recommend securing them underneath the handlebar with electrical tape.

First, check that all brake and, if fitted, shift cables are securely attached to the handlebar and don't get in the way when gripping it. Some handlebars feature grooves that allow cables and hoses to be routed neatly. If yours doesn't, we recommend securing them underneath the handlebar with electrical tape.

Also check that your integrated brake and shift levers are correctly positioned. If they aren't, now is the perfect time to adjust them.

3
Step 3: Before you start: Starting point, finishing point and wrapping direction

Step 3: Before you start: Starting point, finishing point and wrapping direction
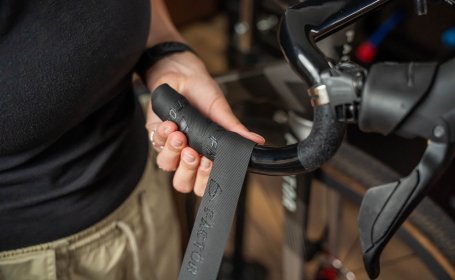
Here are a few important tips before you begin:

Always wrap the handlebar tape from the drops towards the tops.

We wrap the tape from the inside out because many riders naturally rotate their hands slightly outwards when riding in the drops. This means the wrapping direction follows the movement of your hands. Looking in the direction of travel, wrap clockwise on the right-hand side and counter-clockwise on the left-hand side. Some riders prefer the opposite direction and wrap from the outside in.

How far you wrap the tape along the tops depends on your handlebar and your personal preference. The length of the tape is often the limiting factor. Good to know: handlebar tape is available in different lengths. If your handlebar has no markings for the finishing point, use electrical tape to mark the same distance from the centre on both sides.

Here are a few important tips before you begin:

Always wrap the handlebar tape from the drops towards the tops.

We wrap the tape from the inside out because many riders naturally rotate their hands slightly outwards when riding in the drops. This means the wrapping direction follows the movement of your hands. Looking in the direction of travel, wrap clockwise on the right-hand side and counter-clockwise on the left-hand side. Some riders prefer the opposite direction and wrap from the outside in.

How far you wrap the tape along the tops depends on your handlebar and your personal preference. The length of the tape is often the limiting factor. Good to know: handlebar tape is available in different lengths. If your handlebar has no markings for the finishing point, use electrical tape to mark the same distance from the centre on both sides.

If your handlebar tape has visible logos, position them so they face backwards. Otherwise, they'll disappear as you wrap the tape.

If your handlebar tape is side-specific, make sure you don't mix up the left and right sides.

If your handlebar tape has visible logos, position them so they face backwards. Otherwise, they'll disappear as you wrap the tape.

If your handlebar tape is side-specific, make sure you don't mix up the left and right sides.

4
Step 4: Wrapping the new handlebar tape: Drops

Step 4: Wrapping the new handlebar tape: Drops
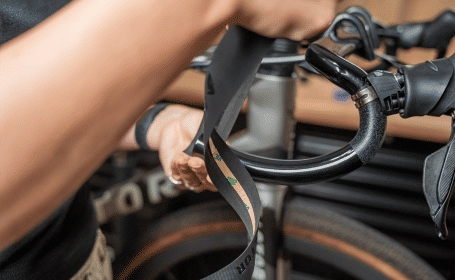
Now you're ready to start wrapping the handlebar tape.

Don't remove the entire protective backing from the adhesive strip at once. Peel back only the first few centimetres.

Position the tape at the end of the handlebar below the drops. The cut edge of the tape should face outwards.

Now you're ready to start wrapping the handlebar tape.

Don't remove the entire protective backing from the adhesive strip at once. Peel back only the first few centimetres.

Position the tape at the end of the handlebar below the drops. The cut edge of the tape should face outwards.

Leave a small overhang so it can later be secured inside the handlebar with the bar end plug. If the overhang wraps all the way around the bar once, the plug will hold securely.

Wrap clockwise.

Leave a small overhang so it can later be secured inside the handlebar with the bar end plug. If the overhang wraps all the way around the bar once, the plug will hold securely.

Wrap clockwise.

For a clean result, make sure the overlap and wrapping angle remain consistent throughout. You can use the adhesive strip on the back or, if available, the pattern on the tape as a guide.

It's also important to keep constant tension on the tape while wrapping. However, avoid stretching it.

For a clean result, make sure the overlap and wrapping angle remain consistent throughout. You can use the adhesive strip on the back or, if available, the pattern on the tape as a guide.

It's also important to keep constant tension on the tape while wrapping. However, avoid stretching it.

Depending on how thick you want the tape to feel, overlap each wrap by about one third for a thinner grip or almost half for a thicker one. We recommend wrapping the drops slightly thinner and the tops slightly thicker to combine control and comfort.

Whichever option you choose, if you prefer a thicker wrap, check beforehand that your tape is long enough. This is especially important on wider handlebars or models with plenty of flare. Alternatively, you can choose a thicker handlebar tape for additional comfort.

5
Step 5: Wrapping the new handlebar tape: Around the brake lever

Step 5: Wrapping the new handlebar tape: Around the brake lever
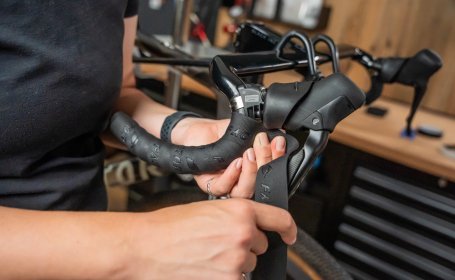
The next step is wrapping the tape around the brake lever. Depending on the technique you choose, this can be fairly straightforward or a little more challenging. Here we'll show you the traditional, slightly more advanced method: the Italian figure eight.

Wrap the tape as close to the integrated brake and shift lever as possible.

Wrap the tape as close to the integrated brake and shift lever as possible.

Now the figure eight begins. Guide the tape from the outside of the handlebar over the brake clamp to the inside, then over the brake lever back to the outside and finally back over the clamp to the inside underneath.

This covers both sides of the brake clamp while wrapping around the upper section of the brake lever.

Don't forget to keep sufficient tension on the tape. Also make sure you don't cover the clamp bolt of the brake lever.

Now the figure eight begins. Guide the tape from the outside of the handlebar over the brake clamp to the inside, then over the brake lever back to the outside and finally back over the clamp to the inside underneath.

This covers both sides of the brake clamp while wrapping around the upper section of the brake lever.

Don't forget to keep sufficient tension on the tape. Also make sure you don't cover the clamp bolt of the brake lever.

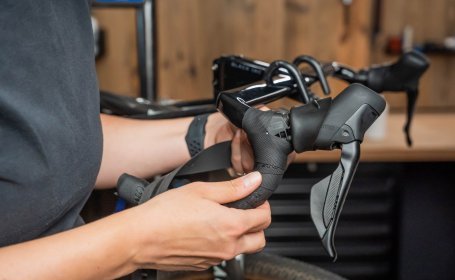
Now guide the tape from the inside of the handlebar back underneath the brake lever. Half of the tape should cover the brake lever and the other half the lower section of the handlebar.

Now guide the tape from the inside of the handlebar back underneath the brake lever. Half of the tape should cover the brake lever and the other half the lower section of the handlebar.

With the final wrap around the lower section, cross over the previous layers so that the brake lever and clamp are completely covered.

With the final wrap around the lower section, cross over the previous layers so that the brake lever and clamp are completely covered.

Now guide the tape below the top section of the handlebar towards the inside and upwards. The brake lever transition is complete.

Now guide the tape below the top section of the handlebar towards the inside and upwards. The brake lever transition is complete.

6
Step 6: Wrapping the new handlebar tape: Tops and finishing

Step 6: Wrapping the new handlebar tape: Tops and finishing
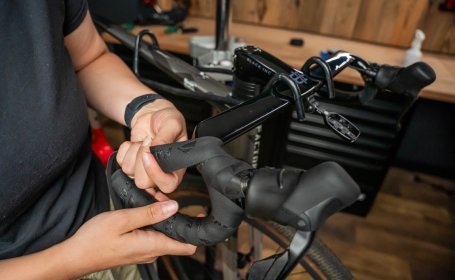
Once you reach the tops, change the wrapping direction. On the right-hand side, looking towards the stem, wrap counter-clockwise. When climbing with your hands on the tops, your hands naturally rotate slightly backwards. This wrapping direction keeps the tape tight instead of allowing it to loosen.

Choose a smaller or larger overlap depending on how thick you want the tape on the tops to be.

Once you reach the tops, change the wrapping direction. On the right-hand side, looking towards the stem, wrap counter-clockwise. When climbing with your hands on the tops, your hands naturally rotate slightly backwards. This wrapping direction keeps the tape tight instead of allowing it to loosen.

Choose a smaller or larger overlap depending on how thick you want the tape on the tops to be.

When wrapping around the bend of the tops, make sure the tape lies evenly without leaving any gaps.

When wrapping around the bend of the tops, make sure the tape lies evenly without leaving any gaps.

Continue wrapping until you reach the finishing point you marked earlier.

Continue wrapping until you reach the finishing point you marked earlier.

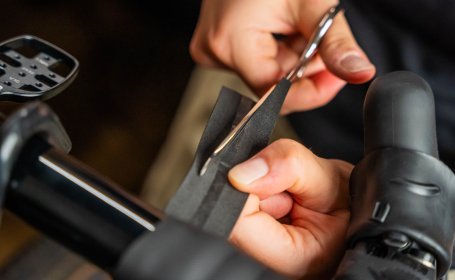
For a clean finish, trim the end of the tape into a point. Leave around ten centimetres of tape for the finishing wrap.

For a clean finish, trim the end of the tape into a point. Leave around ten centimetres of tape for the finishing wrap.

Pause the wrapping underneath the handlebar so the adhesive side of the tape faces upwards.

Place the scissors against the outer edge of the tape and cut it diagonally over a length of about ten centimetres towards the stem.

Pause the wrapping underneath the handlebar so the adhesive side of the tape faces upwards.

Place the scissors against the outer edge of the tape and cut it diagonally over a length of about ten centimetres towards the stem.

You no longer need the cut-off piece of tape.

Wrap the remaining tape around the handlebar.

You no longer need the cut-off piece of tape.

Wrap the remaining tape around the handlebar.

You can now secure the tape with electrical tape for a cleaner finish.

You can now secure the tape with electrical tape for a cleaner finish.

Now apply the finishing tape over the electrical tape.

Before sticking it down, check where to position the finishing tape so it ends discreetly underneath the handlebar.

Now apply the finishing tape over the electrical tape.

Before sticking it down, check where to position the finishing tape so it ends discreetly underneath the handlebar.

Apply the finishing tape.

Apply the finishing tape.

Finally, push the overhanging tape and the bar end plug into the handlebar.

Finally, push the overhanging tape and the bar end plug into the handlebar.

That's one side finished. Repeat the process on the other side, making sure to keep the same wrapping angle and overlap so both sides look identical.

Handlebar tape tips for gravel bikes

Gravel bikes often use wider handlebars with more flare than road bikes. If you're looking for handlebar tape for your gravel handlebar, make sure it's long enough.

For extra comfort on your gravel bike, you can also choose thicker handlebar tape. For even more cushioning, some manufacturers offer special pads that are placed underneath the tape.
260701_Lenkerband_wickeln_ww_51.jpg

FAQs: Wrapping handlebar tape

Which way should I wrap handlebar tape?

Wrap the tape on the drops from the inside to the outside and on the tops from the front towards the rear. Wrapping it in the opposite direction may cause the tape to gradually unwind while riding.

Where do I start wrapping handlebar tape?

Always start at the end of the drops and work your way up towards the centre of the handlebar. If you wrap it the other way around, the movement of your hands works against the overlap of the tape and can gradually loosen it.

What happens if I wrap the tape too loosely or too tightly?

If the tape is wrapped too loosely, gaps can develop over time. If it's wrapped too tightly, it becomes overstretched, which can reduce its cushioning properties and make it wear out more quickly. Always wrap the tape with steady, moderate tension.

Why is my handlebar tape coming loose?

There can be several reasons. Dirt or grease on the handlebar may prevent the adhesive from sticking properly. The tape may have been wrapped in the wrong direction, causing it to unwind through the movement of your hands while riding. Or it may simply have been wrapped too loosely, allowing gaps to form and gradually increase.

How do I clean handlebar tape?

The best way is to clean it regularly with mild soapy water. Avoid aggressive cleaners, as they can damage the surface of the tape.