How to wrap handlebar tape
Changing out your handlebar tape can give your bike a fresh, clean look. This how-to provides easy instructions to get the job done right.
Wrapping handlebar tape isn’t difficult, but it can quickly become frustrating if not done right. In this post, we will take you step-by-step through the process.
What you need
Besides a little bit of cunning, you don’t need much to wrap handlebar tape. A pair of scissors or a box cutter, electric tape and a tyre lever complete the list. The tyre lever may seem like an odd choice, but it is a helpful tool for removing the bar plugs and old adhesive.
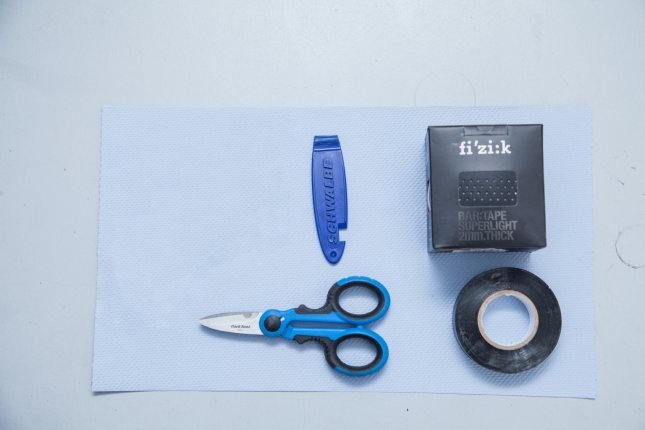
Everything you need to wrap your bar tape.
Removing the old handlebar tape
- First, pull back the hoods from the shifters so you can easily get to the tape.
Folding back the rubber hoods.
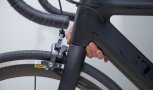
- Now, you can use the tyre lever to remove the bar plugs.
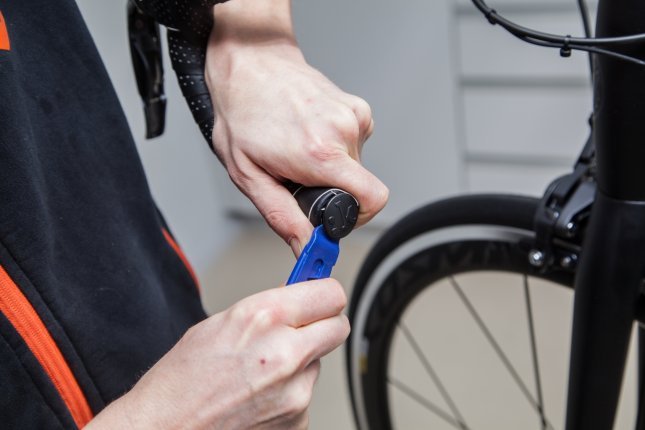
Removing the bar plugs.
- Then, remove the finishing tape and unwarp the old handlebar tape.
To get rid of the old tape, first remove the finishing tape.
- When the old bar tape is removed, check how the shift / brake cables are routed. If the routing is somehow off, use electric tape to correct this. Note that the cables are placed in a way so they don’t negatively affect the ergonomics.
Cable routing should not affect the ergonomics.
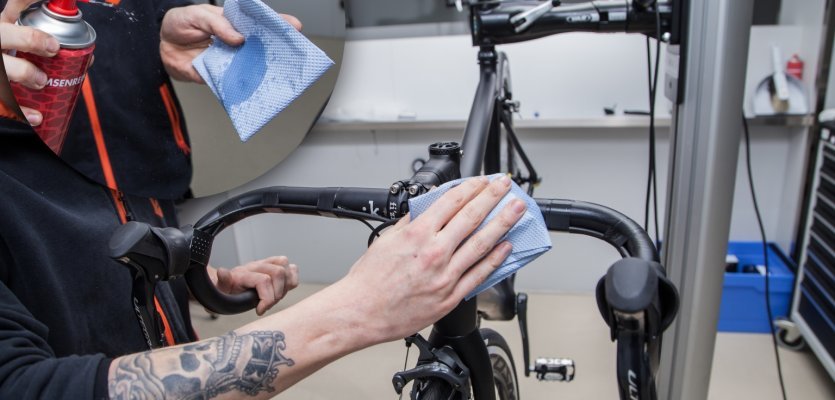
- To ensure that the new handlebar tape remains on your bars, it is a good idea to get rid of any adhesive or grease. Here, you can use the tyre lever to remove the hard stuff and brake cleaner for the rest.
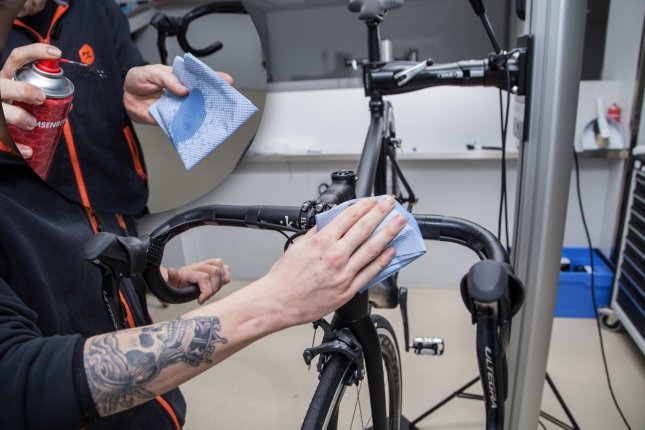
Use brake cleaner to remove grease and adhesive.
- To make wrapping easier, we used a handlebar holder to keep the bars in line.
To make wrapping easier, use a handlebar holder.
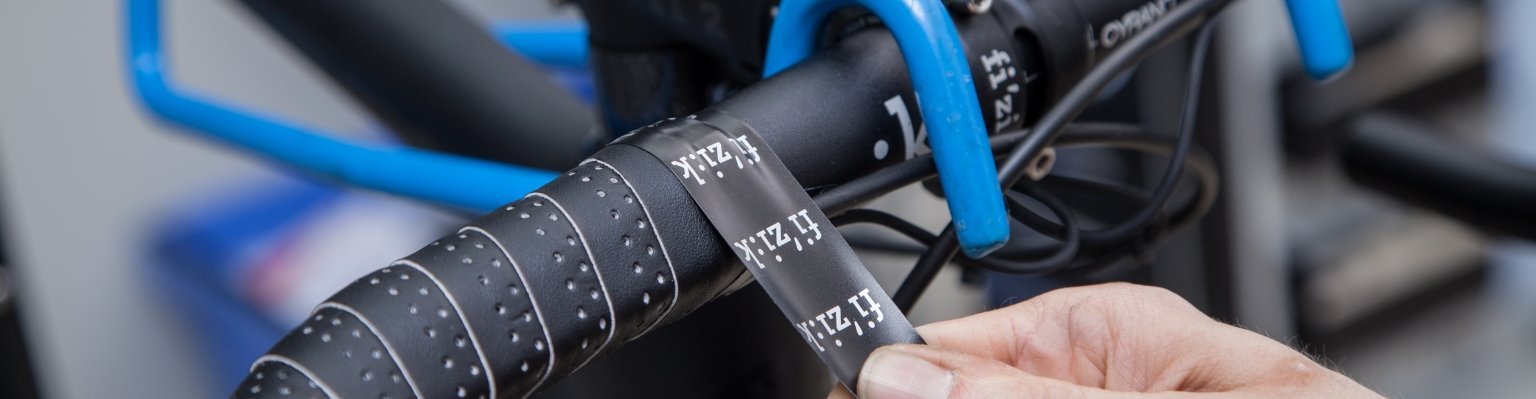
Wrapping the new handlebar tape
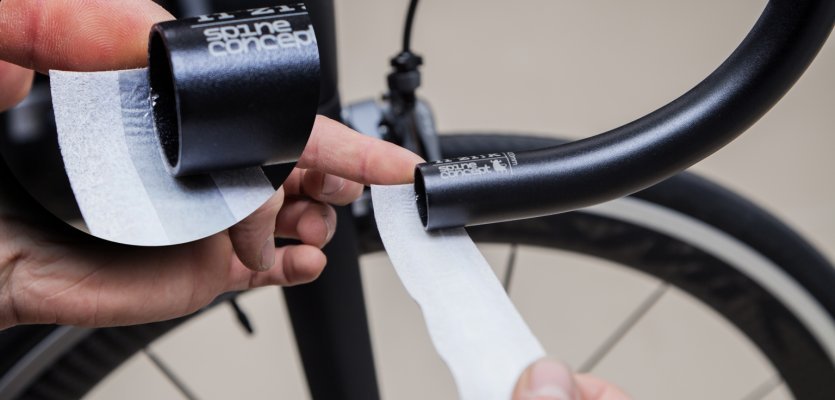
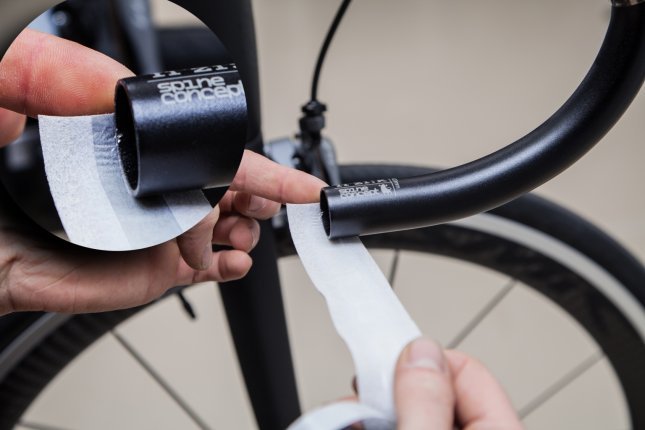
- Before you begin, check to see if the tape you have has an adhesive strip. If it does, remove about 20-30 cm of the liner. Repeat this as you wrap the bar tape.
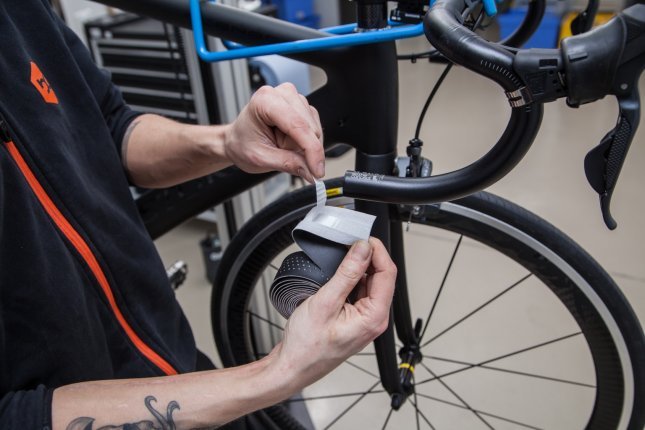
Remove the adhesive liner, before you start wrapping.
- You should also check if your new handlebar tape has a right and left side before you start.
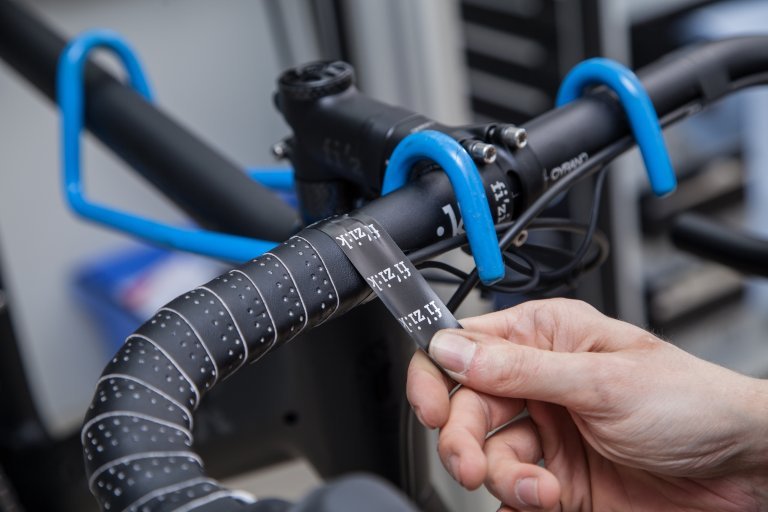
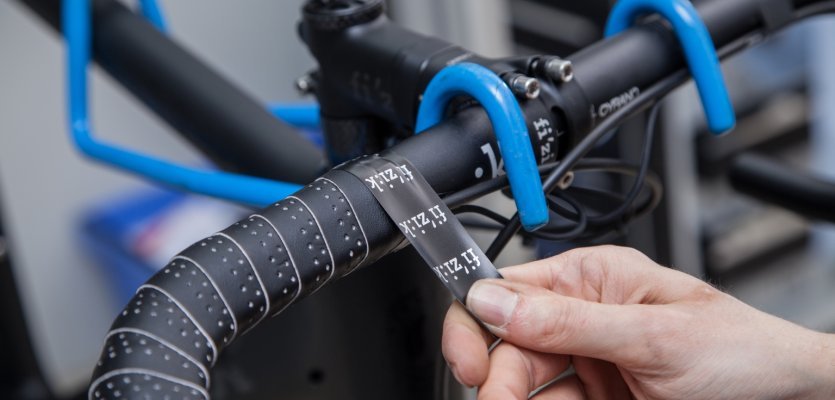
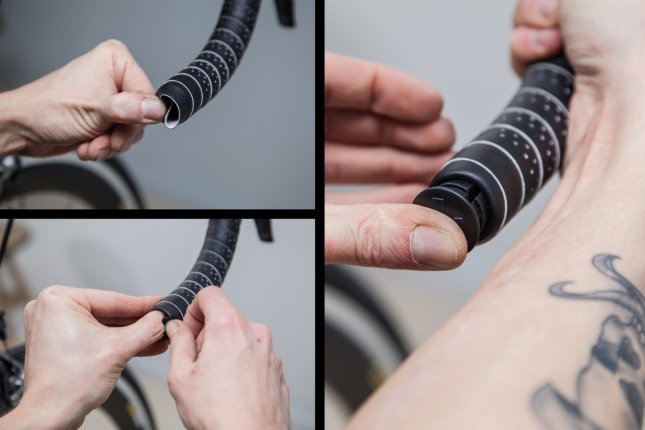
- Now, you can begin with the first wrap. Make sure that the leading edge is pointed towards the bike.
- The first wrap should only be about halfway on the bar. Use the adhesive strip as a guide, if you have one.
How to start wrapping.
- When wrapping, keep the handlebar tape under tension, but be careful it doesn’t stretch.
- To keep the tape looking sleek, make sure the overlap and angle of each wrap remains the same.
- Every new wrap should be made with half of the tape overlapping the previous wrap.
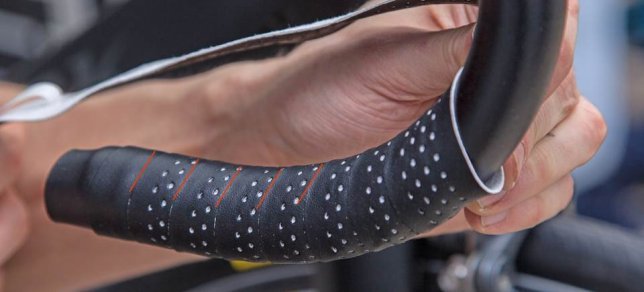
Keep the distance and angle of each wrap consistent.
- Make sure to wrap the bar tape towards the bike.
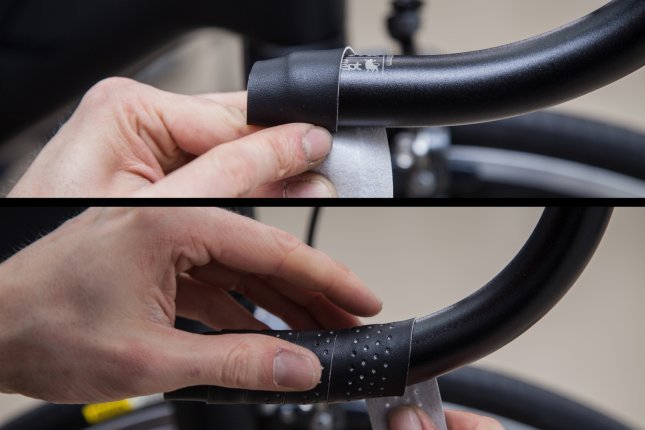
Always wrap towards the bike.
- To check to make sure the bar plug is going to fit correctly, it is a good idea to go ahead and push it in as pictured below.
Push the bar plug into the handlebars.
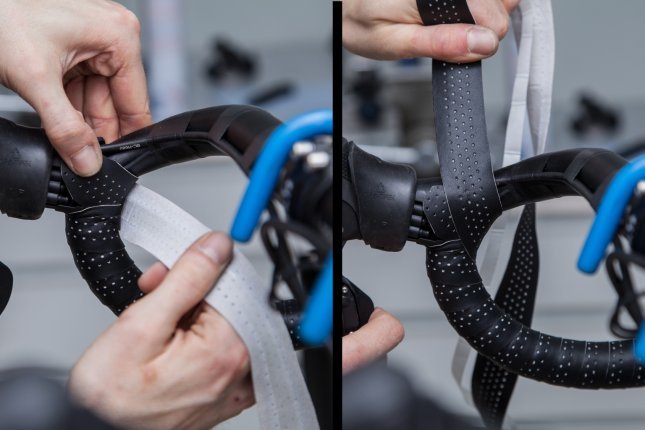
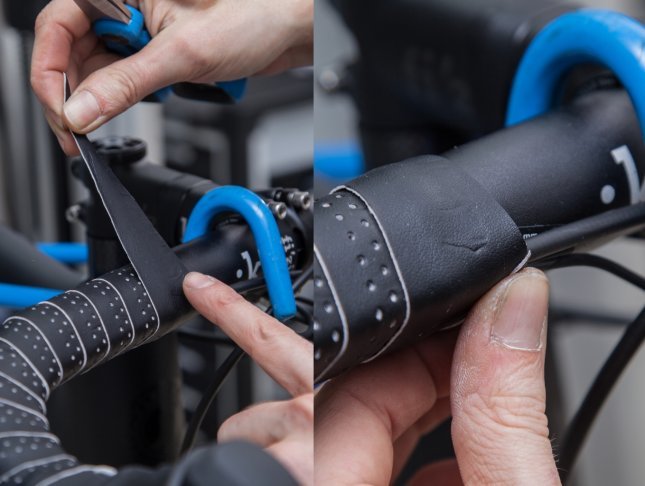
- The next few steps involve wrapping the tape around the shifters. Here, you use one of the extra pieces of handlebar tape that are included. Cut the piece to size, so that it fits behind the shifter.
Cutting the additional piece of handlebar tape.
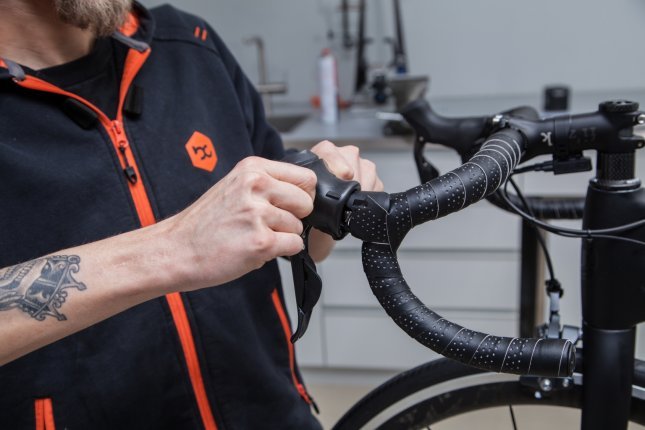
- Now, take that piece and secure it against the shifter clamp using the rubber hoods.
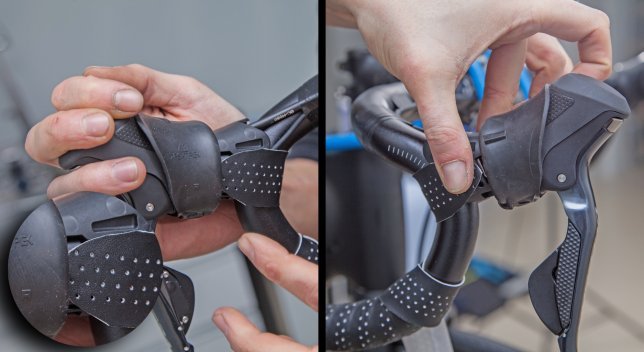
How to place the extra piece of tape.
- Before wrapping the handlebar tape over the shifter, make sure the last wrap is as high up as possible.
Keep the wrap as close to the shifter as possible.
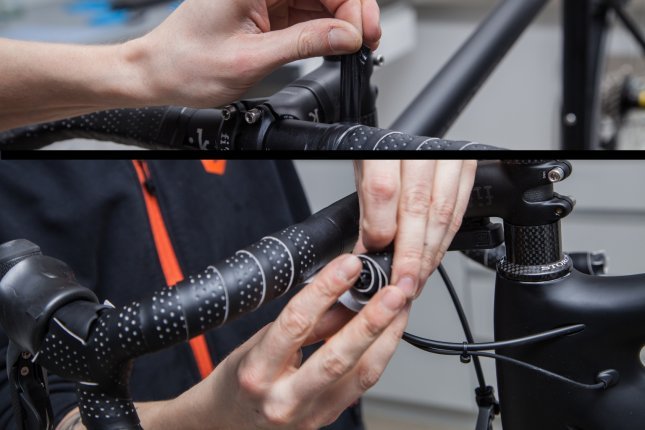
- Then, you need to wrap the tape in such a way that it crosses from the backside of the shifter to the top side of the shifter.
Keep the wrap as close to the shifter clamp as possible.
- The next wrap needs to be placed as close as possible to the shifter clamp.
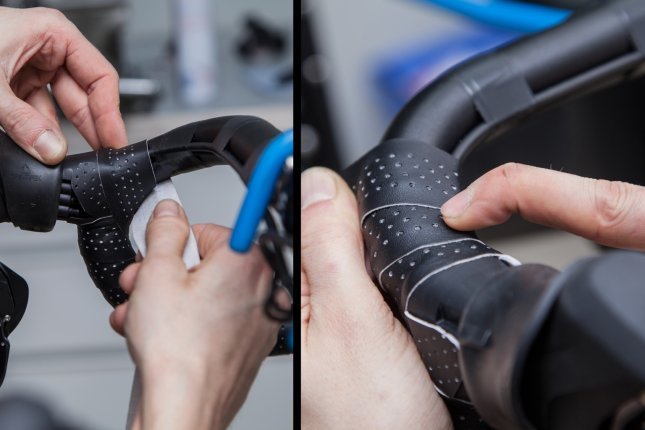
Continue to wrap towards the stem.
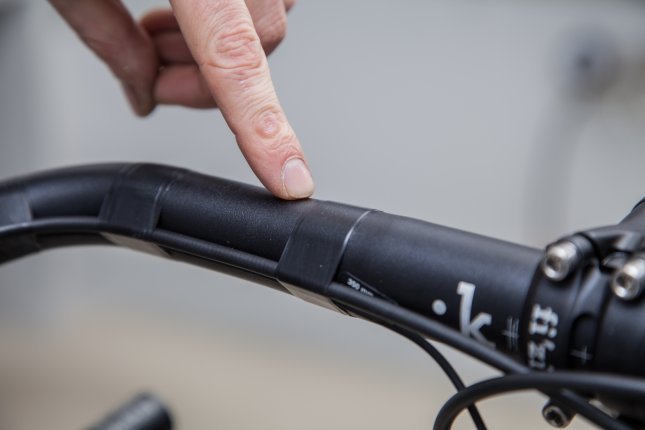
- Now, you can continue the wrapping process. How close you wrap the tape to the stem is up to you.
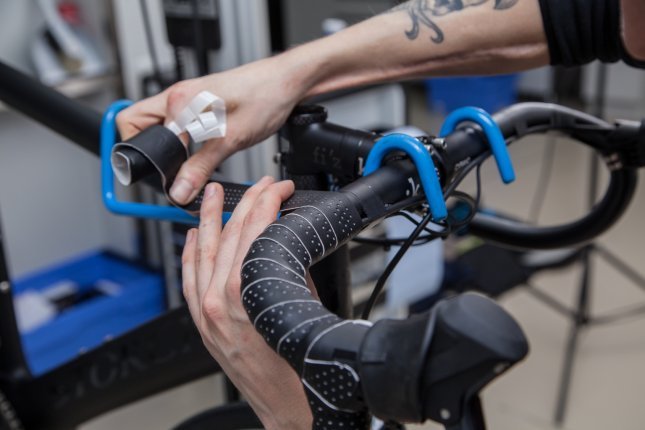
It is up to you how far you want to wrap.
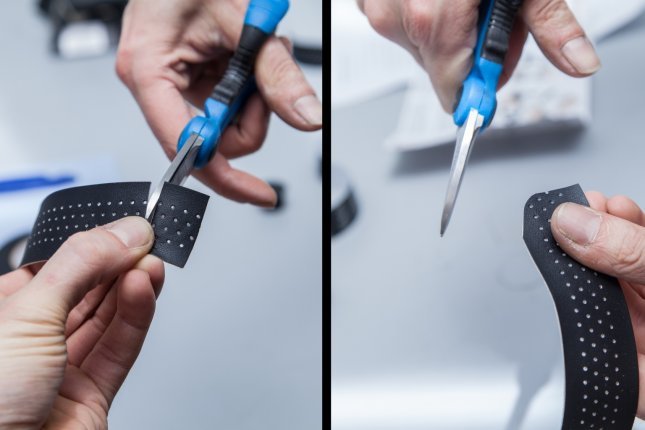
- To ensure that the last wrap looks as clean as possible, the last bit of handlebar tape will be cut diagonally. You should leave roughly 10 cm unwrapped.
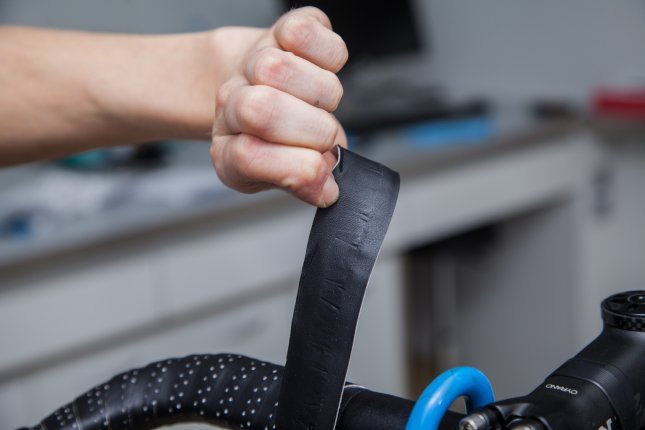
Leave 10 cm of bar tape at the end.
- Use scissors to make a diagonal cut from the left to right side. See picture for a detailed view.
- The cut off piece of handlebar tape can be thrown away.
- For the next step, you will need electric tape, so make sure it is nearby.
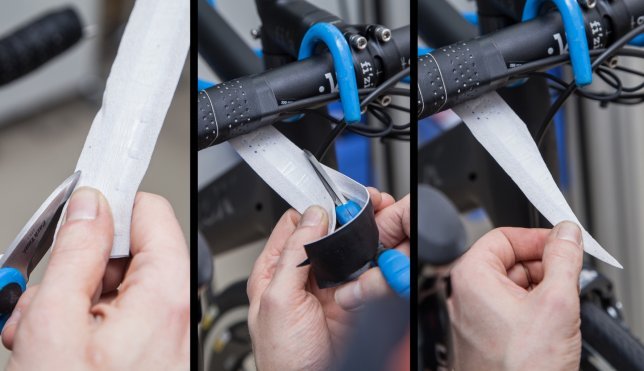
Cut the bar tape diagonally.
- The diagonally cut section of the bar tape can now be wrapped tightly around the bars.
Finish wrapping the tape.
- To finish wrapping, use electric tape to attach the handlebar tape to the bars.
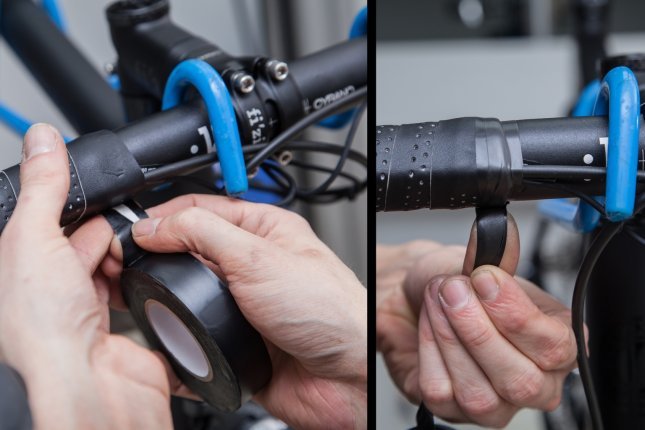
Use electric tape to attach the handlebar tape to the bars.
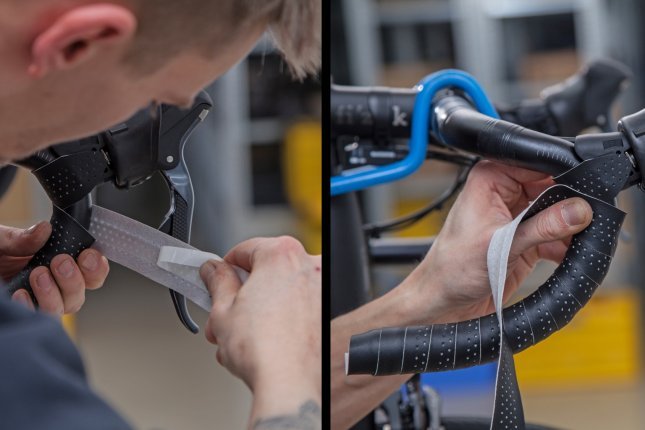
- Now, it is time for the finishing tape. Before removing the liner, pre-wrap it around the bars to see where you should start.
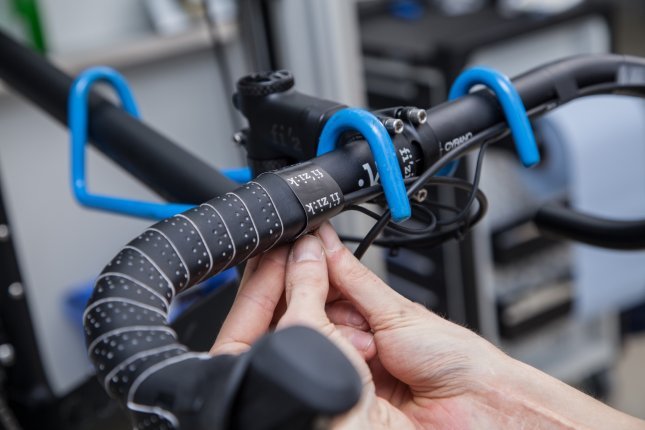
Mock up the finishing tape first.
- Once you’ve found a good starting point, attach the finishing tape.
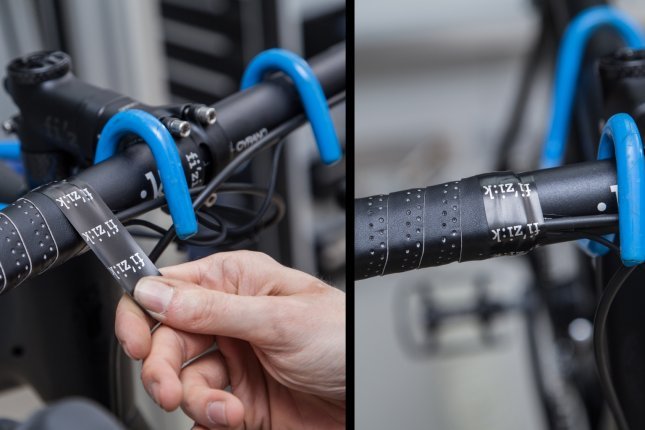
Attach the finishing tape. Now you are done!
- Now, you are finished with one side of your handlebars. Repeat the process for the other side, and your bike is ready to hit the road once more.