How to replace the brake fluid and bleed SRAM Guide brakes
Replacing the brake fluid and bleeding SRAM Guide brakes should be done every 6 months. Read out post and learn how to do it yourself.
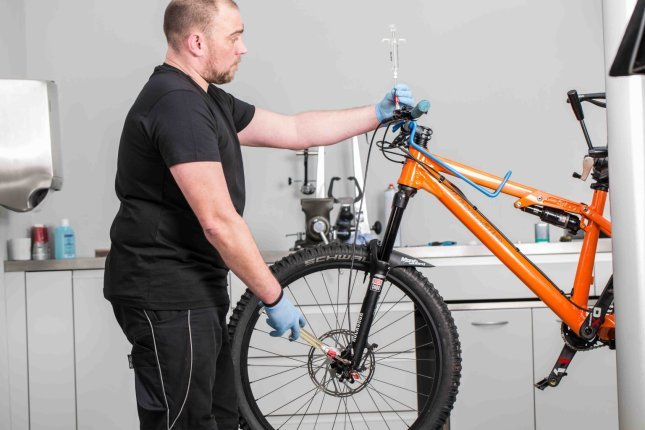
Bleeding brakes isn’t rocket science. However, sometimes it isn’t enough and the brake fluid also needs to be replaced. This especially goes for brakes that use DOT, which absorbs water over time. This can result in enough water being in the system that the boiling point of the brake fluid drops and the braking power begins to fade. To prevent this from happening, DOT fluid should be replaced every 6 months. Below you will find a step-by-step process to both replace the brake fluid and bleed the brakes, so you continue to come to a safe stop.

Tools needed
| Manufacturer | Tool | Item No. |
|---|---|---|
| Hazet | T-handle Allen key | 30546 |
| Hazet | T-handle Torx key | 30547 |
| SRAM | DOT 5.1 brake fluid | 43633 |
| Avid | Professional Bleed Kit | 31375 |
Prepping the brakes
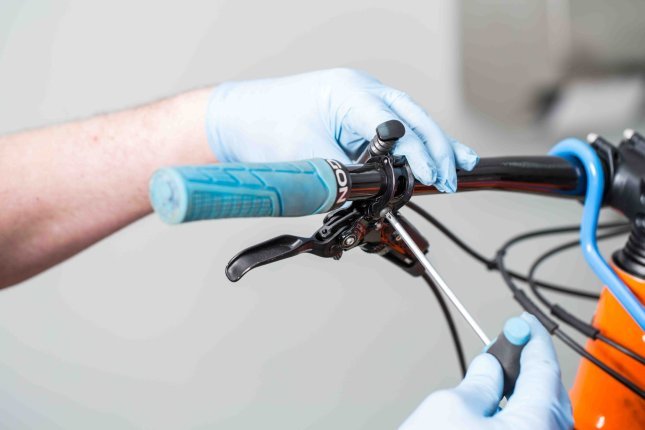
First, you need to unscrew the contact point adjust dial so that the lever can be pulled all the way to the handlebars.
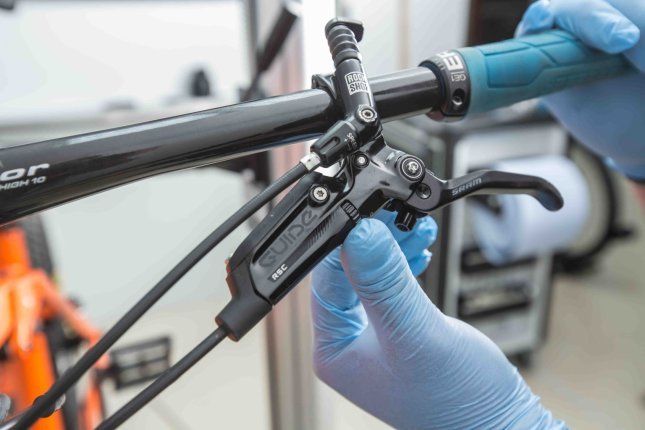
Unscrew the contact point adjust dial.
To ensure that any air in the system can escape, set the brake lever in a horizontal position.
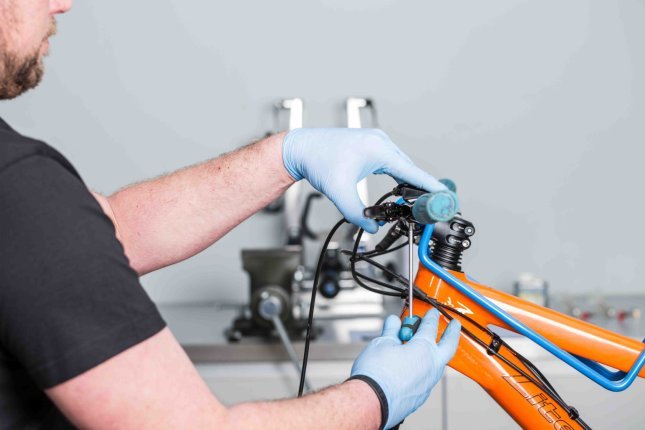
Set the brake lever in a horizontal position.
Remove the brake caliper from the fork to make it easier to work with. For more freedom of movement, detach the brake hose from the fork as well.
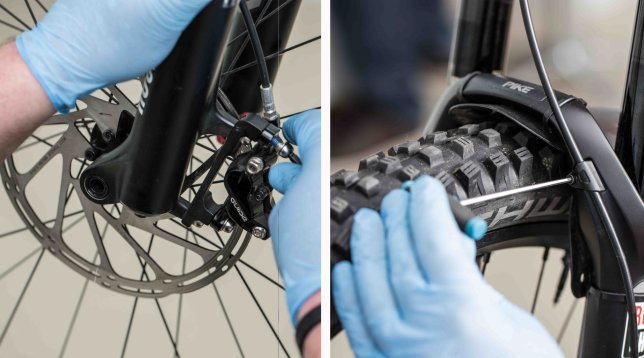
Remove the brake caliper and loosen the hose from the fork.
Continue by removing brake pads to protect them from brake fluid contamination. Start by unscrewing the pad retaining bolt and taking out the pads. After, insert the bleed block.
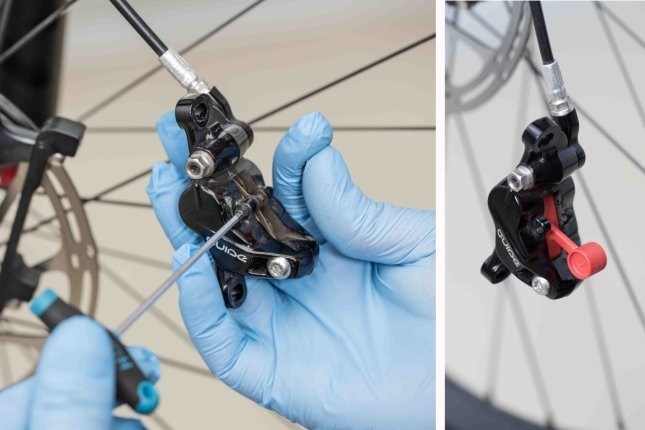
Remove the brake pads and insert the bleeding block.
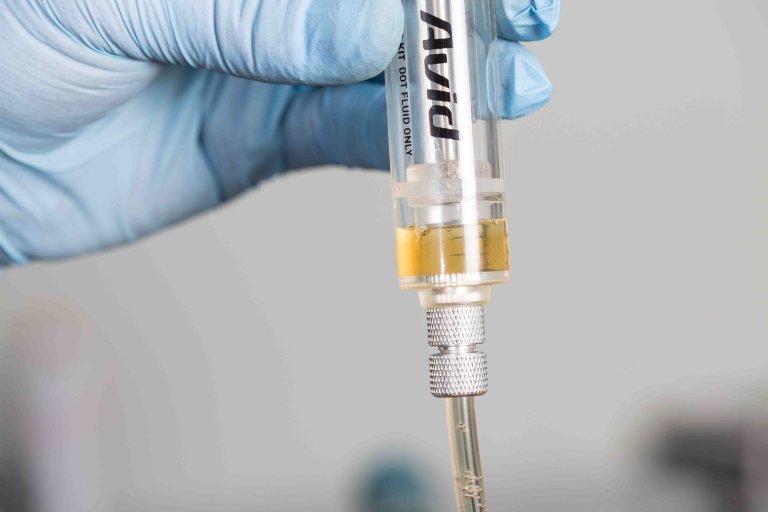
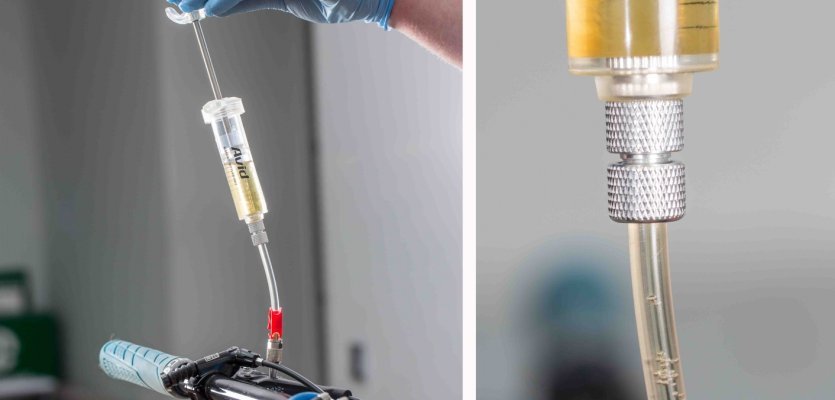
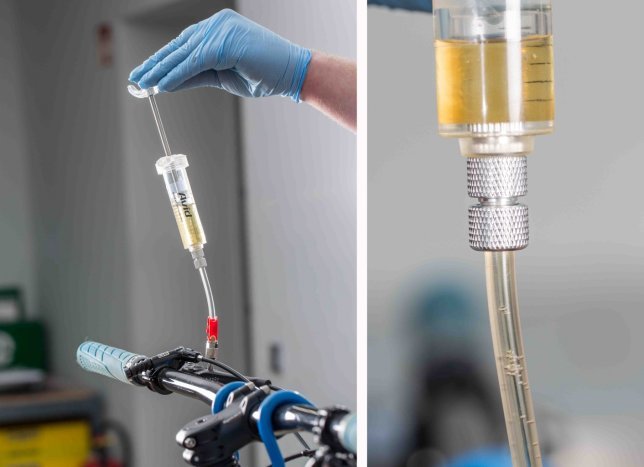
Now you can fill one of the two syringes with DOT brake fluid. Make sure to note the type of fluid your brakes require. DOT 4 and 5.1 are most often used. Before continuing, make sure there is no air in the hose attached at the end of the syringe.
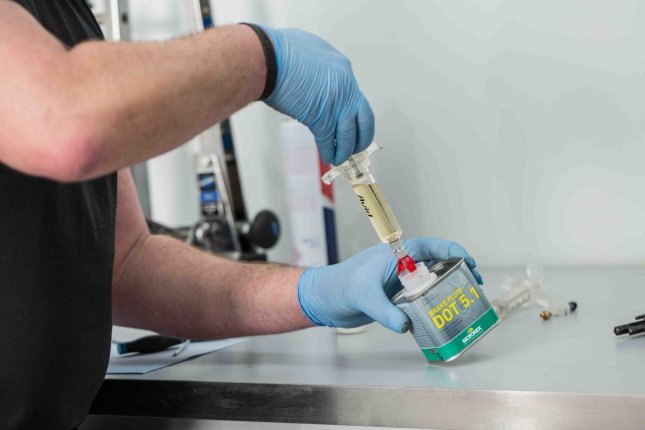
Fill the syringe with DOT.
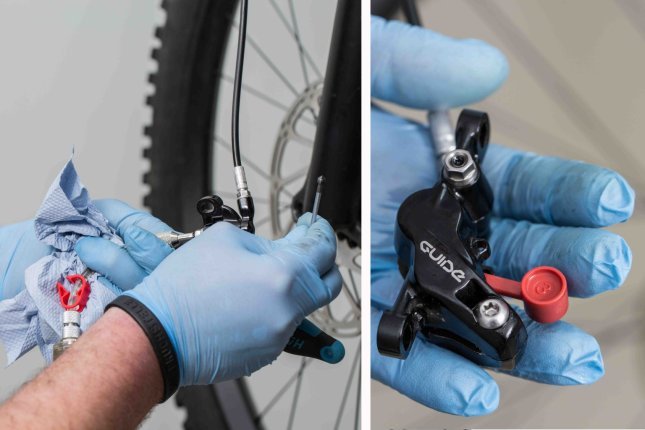
Use a 10 mm Torx key and remove the bleed port screw from the brake caliper.
Remove the bleed port screw from the caliper.
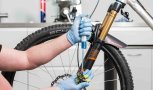
Continue by screwing the DOT filled syringe onto the brake caliper.
Connect the filled syringe to the caliper.
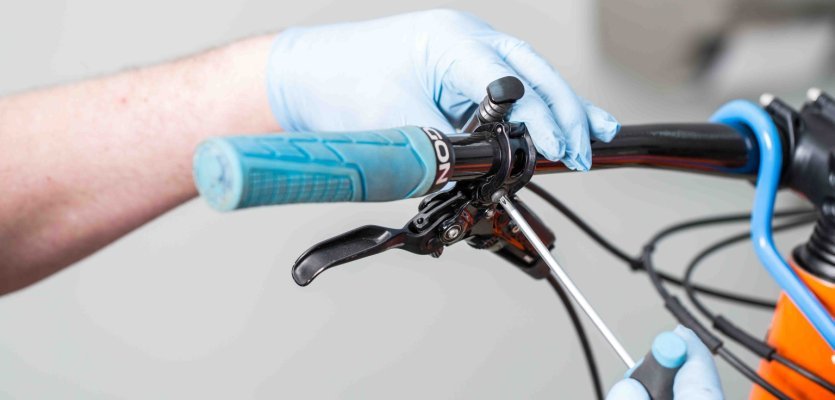
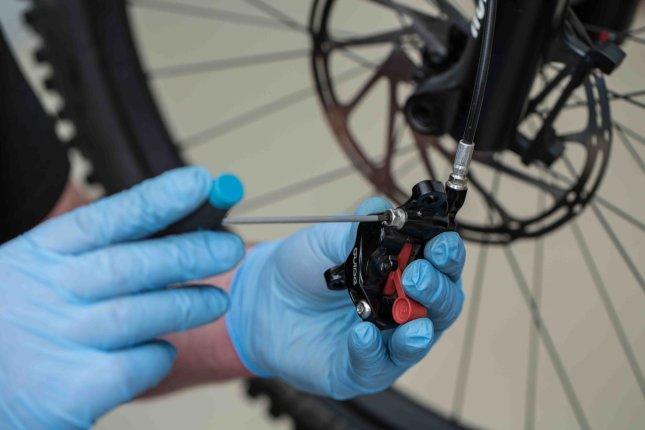
Now you can remove the bleed port screw from the brake lever.

Remove the bleed port screw and connect the empty syringe.
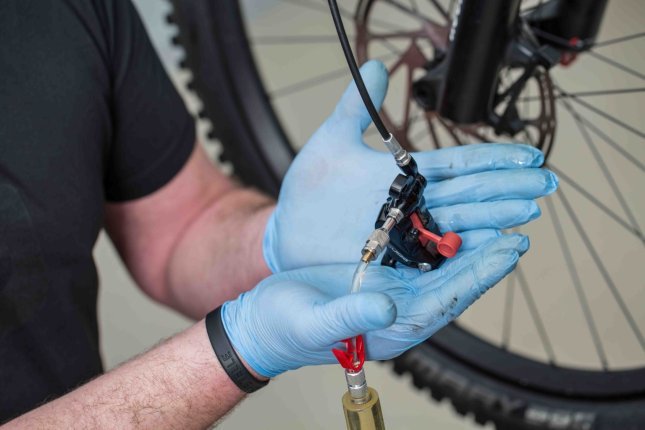
Attach the second empty syringe to the bleed port on the brake lever. Then, start pushing the caliper syringe in and pulling the lever syringe out carefully.
Slowly push the new DOT fluid into your braking system.
Once the majority of the brake fluid from the caliper syringe has been pushed through the system, any remaining air bubbles need to be bled out. Do this by alternately pushing and pulling the lever syringe and caliper syringe. This moves the brake fluid back and forth in the system, releasing air bubbles into the syringe hose. Hold the lever syringe upright to ensure that the bubbles can rise.
Air bubbles leave the brake and rise into the syringe.
When bubbles no long appear, the brake is bled.
Reassembly
Now that the brake fluid has been replaced and the brakes have been bled, close off the syringes with the red clamps.
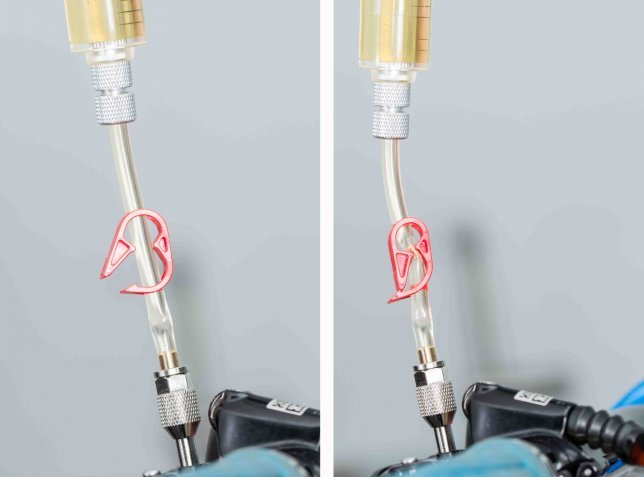
Close off the syringes with the red hose clamps.
Start by removing the syringe on the brake lever and replacing the bleed port screw.
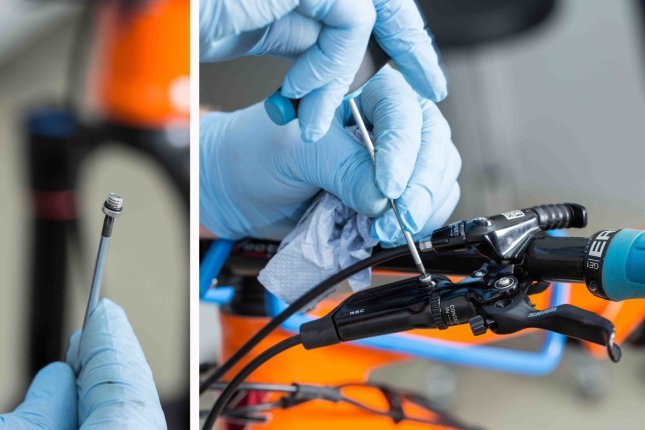
After removing the syringe, you can replace the bleed port screw. Be careful with the O-ring.
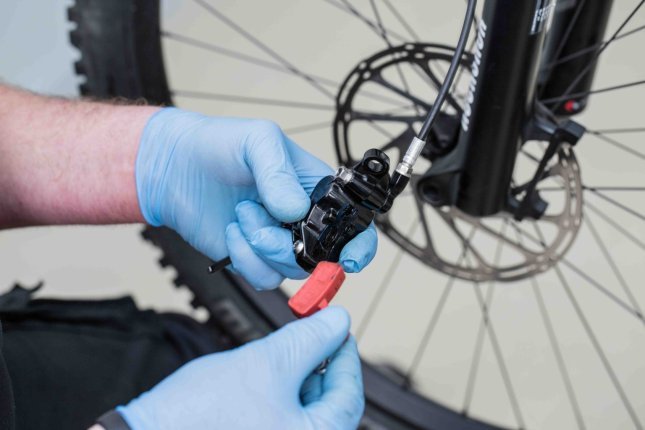
Next, remove the syringe from the brake caliper and replace the bleed port screw.
Remove the syringe and replace the bleed port screw.
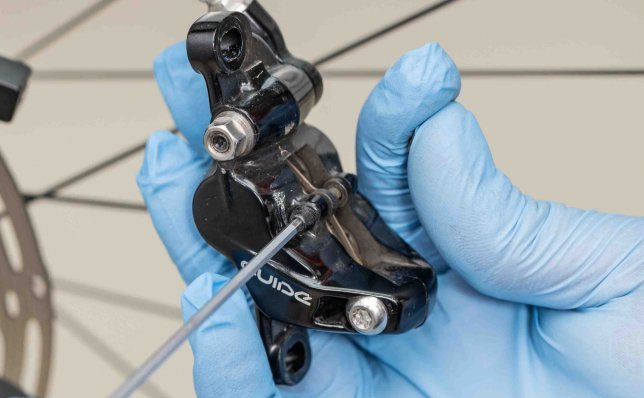
Remove the bleed blocks and clean the caliper with brake cleaner. The brake lever should also be cleaned.
Remove the bleeding block.
Now you can replace the brake pads and the pad retaining bolt.
Replace the brake pads.
Remount and adjust the brake caliper and then reset the brake lever position and you are done
Re-position the brake lever.
Note:
Don’t be surprised if the brakes feel spongy on the first pull. This is normal and all you need to do is pump the lever by repeatedly pulling it.