


Tyre pressure guide for road & gravel bikes
“Hey you! Yes, you on that lightning-fast Factor race bike! Bet your tyre pressure is too high?”
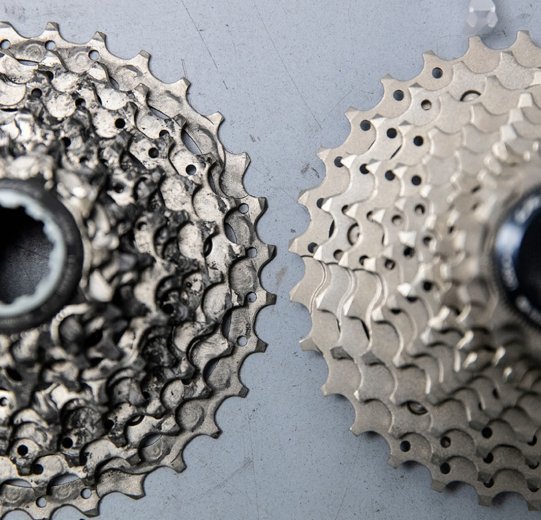
A cassette on a road bike or gravel bike can be changed quickly. We’ll show you how to replace the cassette with just two tools.
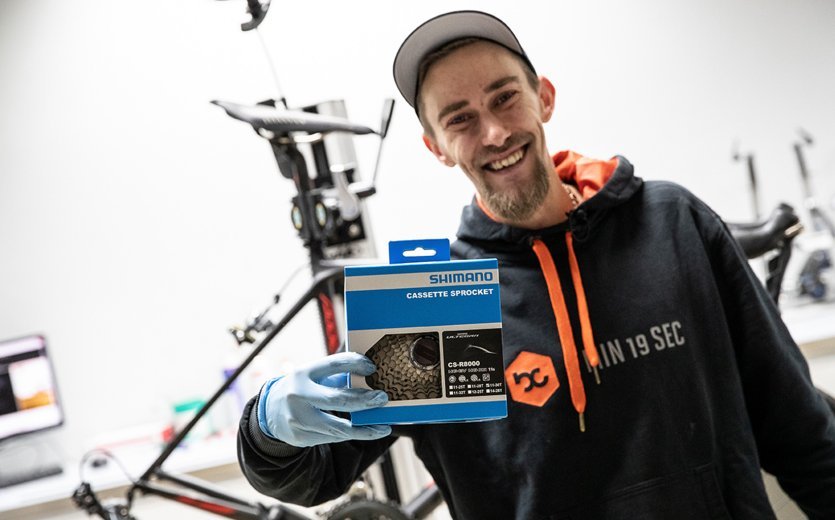
For each and every lovingly maintained road bike or gravel bike, the day comes when the drivetrain wears out. After you have replaced the chain two or three times, it is then usually the cassette's turn. First of all, you should consider whether you simply want to replace your old cassette with an identical new model, or whether you have the option of making an upgrade or changing to a different gear ratio or gradation within a specified framework. Only the following is required:
You can learn more in our post about road bike groupsets and our overview of freehub types.
In this how-to guide we'll show you how to change your cassette, using the example of a rear wheel with a Shimano freehub. There are different standards for freehubs, which is why you cannot simply switch between cassettes from Shimano, SRAM and Campagnolo, but the procedure for replacing the cassette is the same everywhere.
If you spend a lot of time on your road bike or gravel bike, sooner or later it will be time to service the drivetrain.

We’ll show you step-by-step how to change the cassette on your road bike.

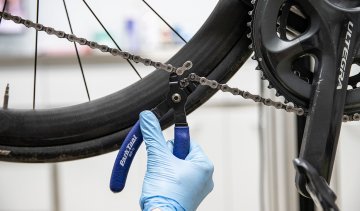
It is best to open the chain with master link pliers. A chain tool also works or, in a pinch, bolt cutters.
With rim brakes, you first open the brake using the quick release.
First open the axle or loosen the quick release, then remove the rear wheel from the frame.

You will probably have to push the rear derailleur back a little.
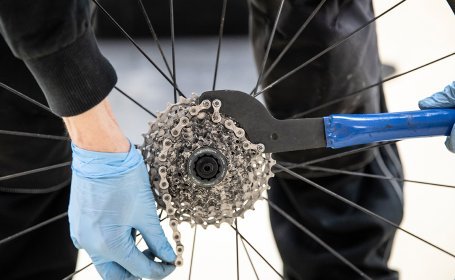
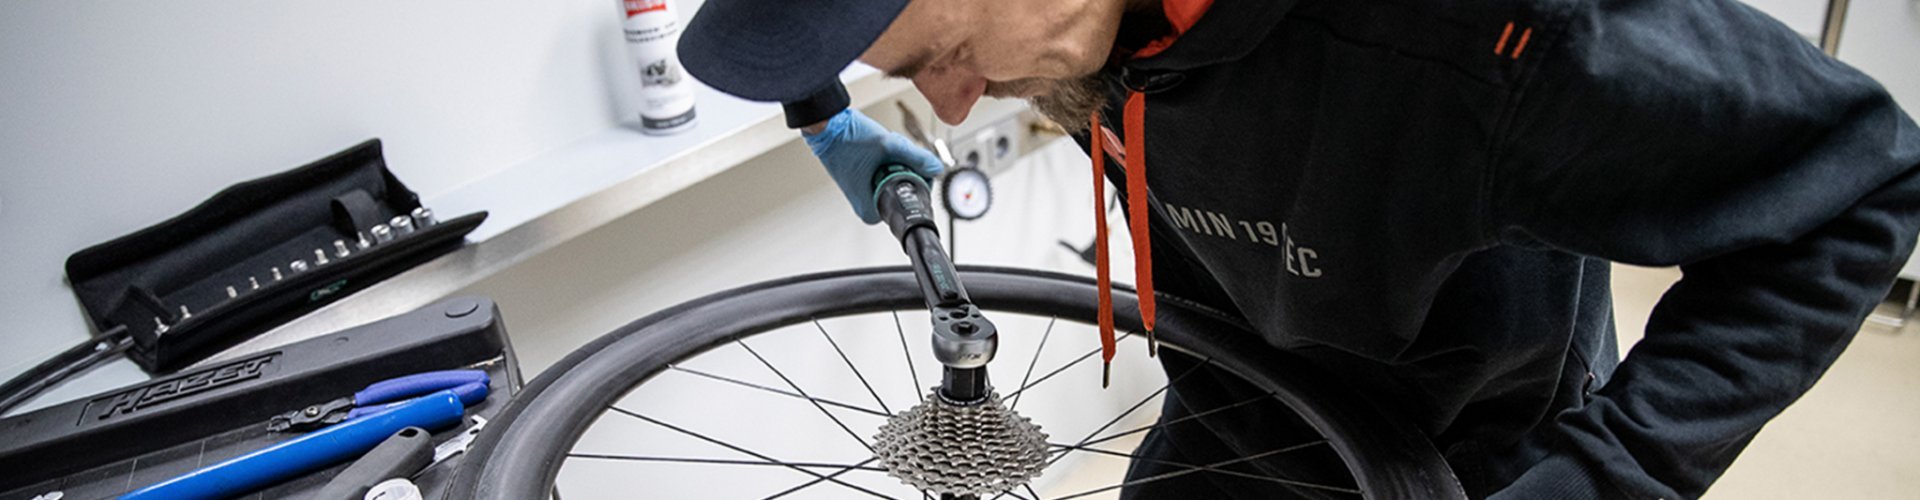
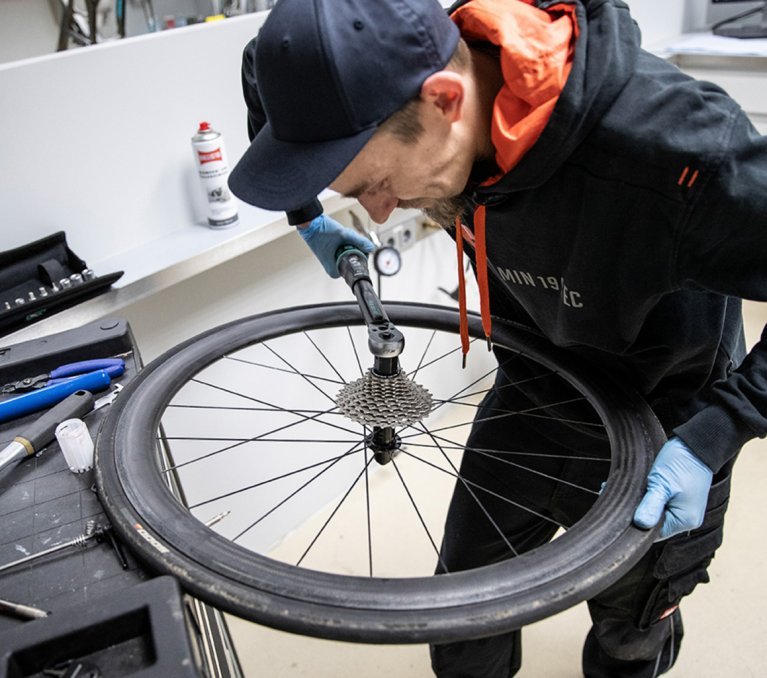
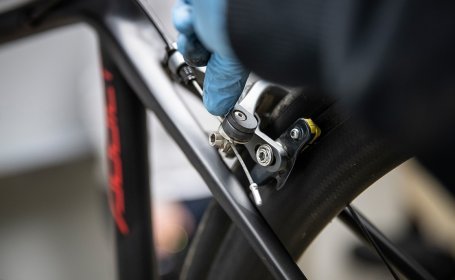
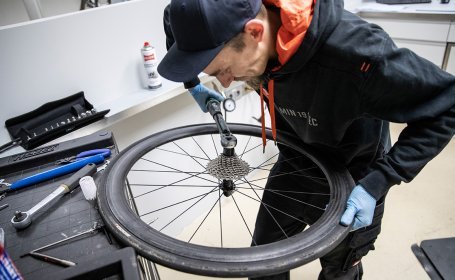
This is how you use tools to loosen the cassette. Place the chain whip on one of the larger sprockets.
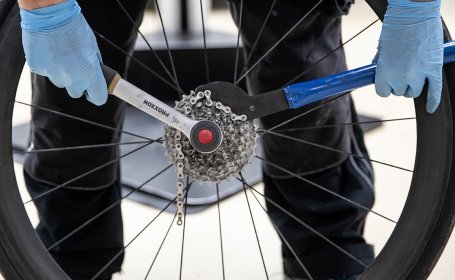
Put the cassette remover in place and push it down to release the cassette.
First loosen the lockring.
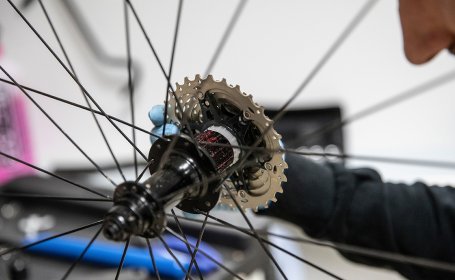
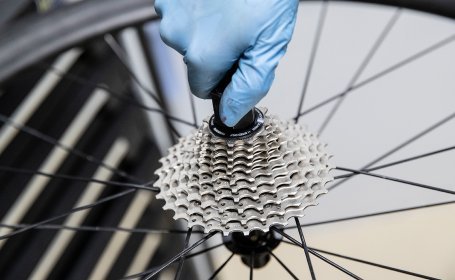
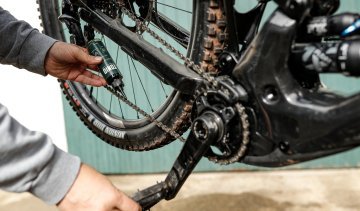
Then you can simply pull the entire cassette off the freehub.
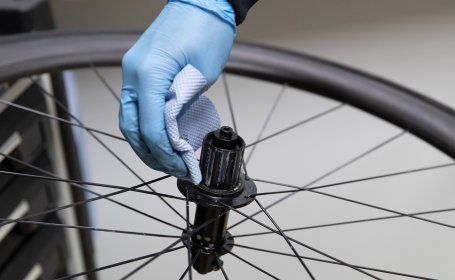
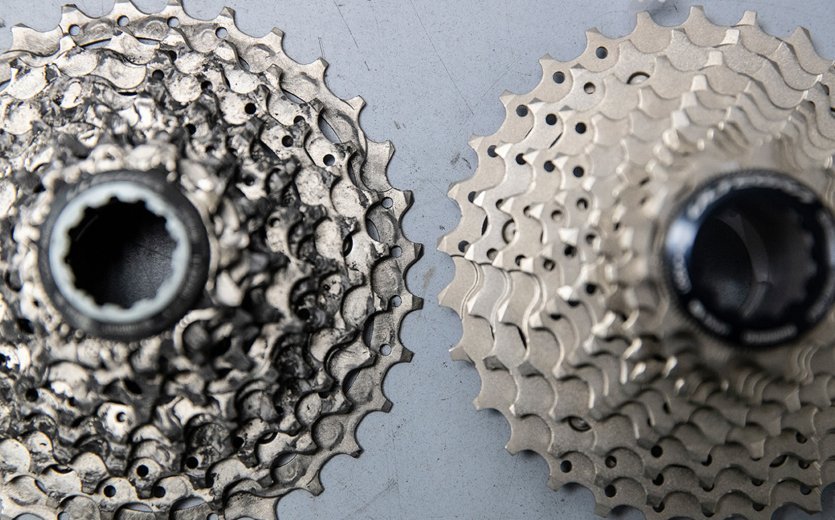
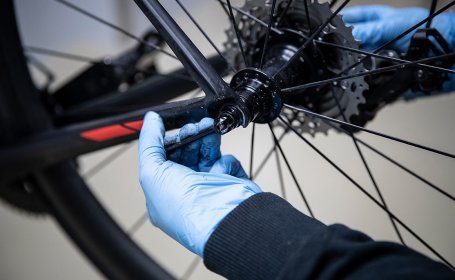
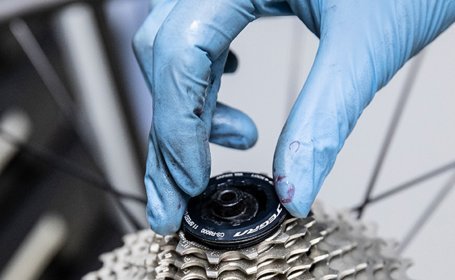
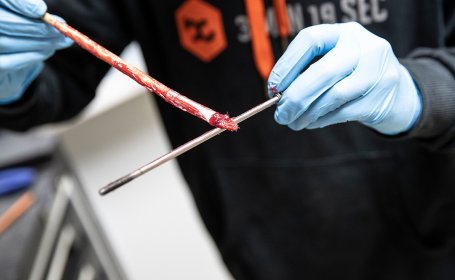
Thoroughly clean the freehub body to allow for an optimal fit of the new cassette.
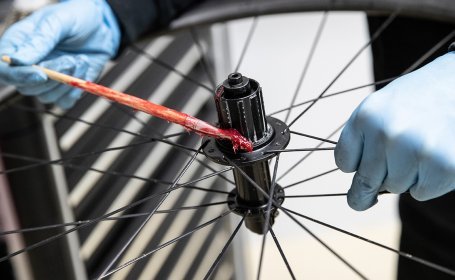
Coat the freehub with a little grease.
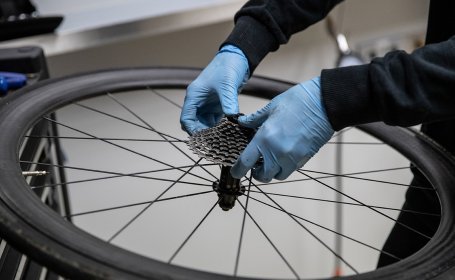
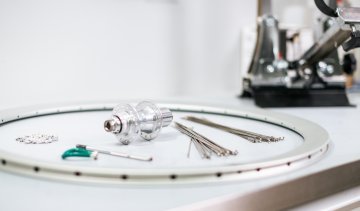
When sliding on the cassette, look for the widest groove or narrowest spline!
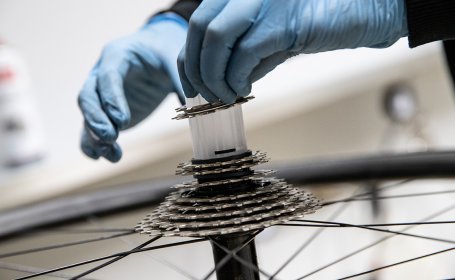
If your cassette is made as a unit, you can slide it on; if it consists of sprockets and spacers that can be detached from each other, the cylinder used to transport it will help you.
If your cassette has a lockring, you can first hand-tighten it.
Tighten the cassette to the torque recommended by the manufacturer.
Your quick release will also appreciate some fresh grease when you reinstall it.
“Hey you! Yes, you on that lightning-fast Factor race bike! Bet your tyre pressure is too high?”

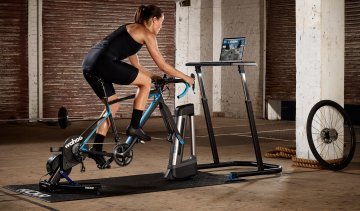
What types of indoor trainers are out there, and which one suits you best? We give you an overview and present the best models on the market.
With the right accessories, your indoor training becomes even more realistic, comfortable and motivating. Find out here how to take it to the next level!
Is the chain on your gravel or road bike worn out? Do you want to install a new one? With our how-to guide, replacing the chain is a piece of cake.
Well-greased chains are smooth, quiet, and shift with precision. But which lubricant is the best? Here are some tips for proper chain care.
Is it worth building a custom wheelset for a road bike when there are so many good system wheels available? Absolutely! Read on to learn more.

Width – drop – reach: your road bike handlebar has to fit you. Only with optimal ergonomics can you bring your performance onto the road.

Searching for THE road bike saddle that makes your beloved hobby comfortable for your rear too? Read here what you need to look out for.
Send your unused goods back within 100 days after purchase and get your money back!
See more


