


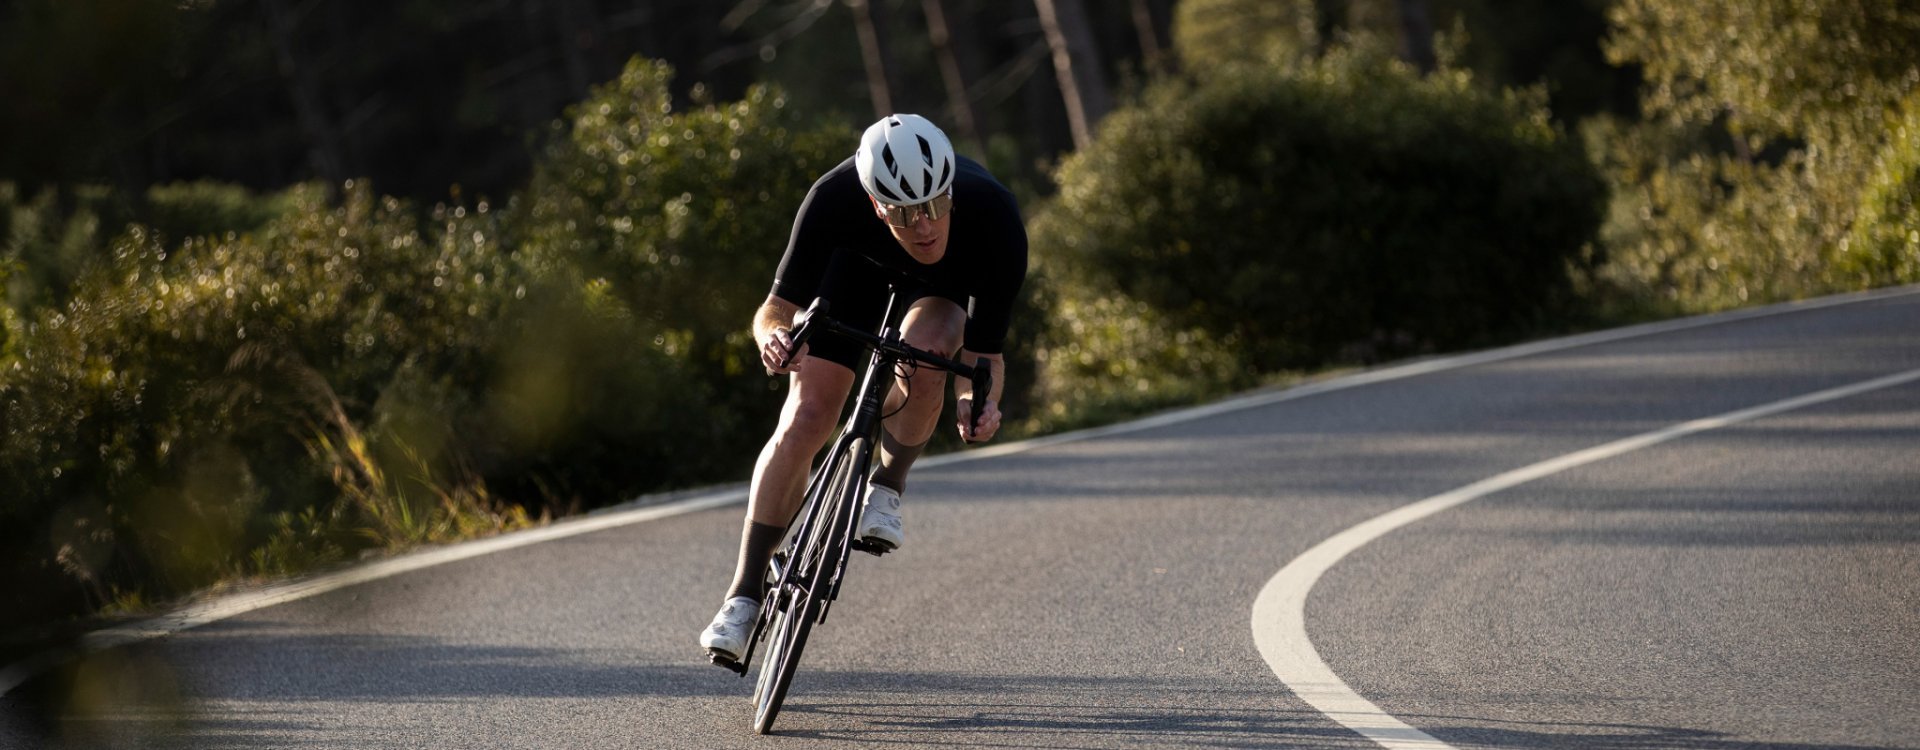
Tyre pressure guide for road & gravel bikes
“Hey you! Yes, you on that lightning-fast Factor race bike! Bet your tyre pressure is too high?”
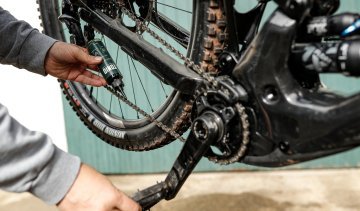
Is the chain on your gravel or road bike worn out? Do you want to install a new one? With our how-to guide, replacing the chain is a piece of cake.
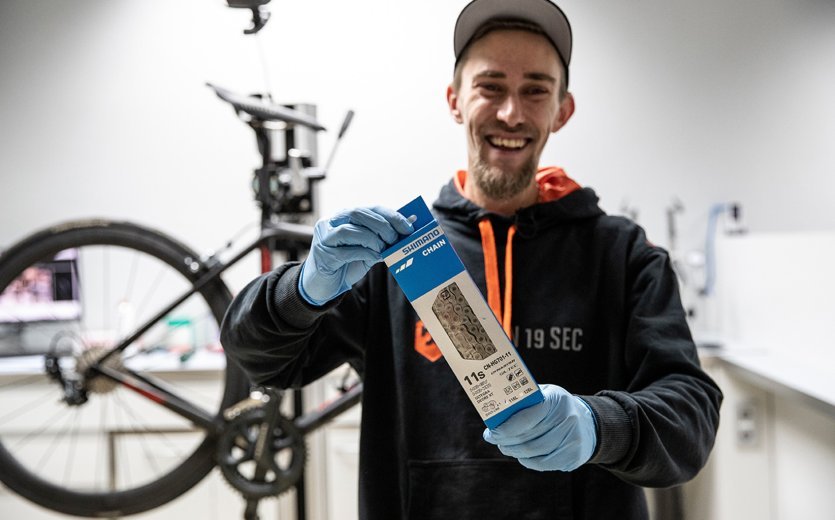
As on every bicycle, the chain is the part that wears out most often on your road bike or gravel bike after tyres and brake pads. If you want to maintain your bike yourself as a hobby mechanic, replacing the chain is one of the fundamentals. Fortunately, it's not complicated at all. If you’re installing a new groupset, replacing the chain is one step in the process. Before you start, you need the right chain, and it must match the number of sprockets on the rear wheel. If you order a master link separately, make sure you choose the one that matches the number of gears. We also recommend that you always have a spare chain at home or take it with you to training camp, as it is difficult to predict exactly when a replacement will be needed. In the following guide, we’ll answer the questions of when, why and how you can replace the chain on your road bike or gravel bike in five steps. Our instructions will help you decide whether you want to replace the chain on a Shimano, SRAM or Campagnolo drivetrain.
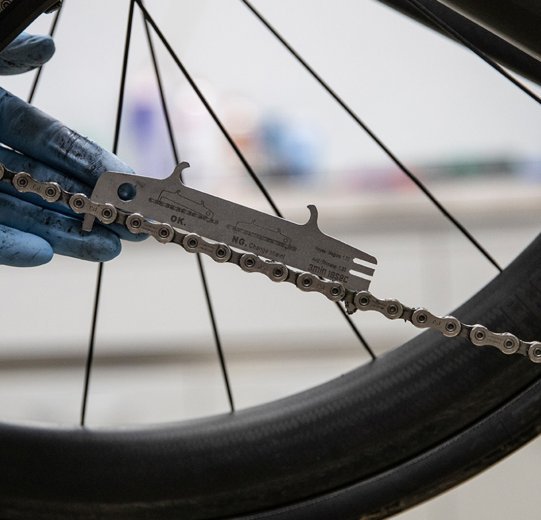
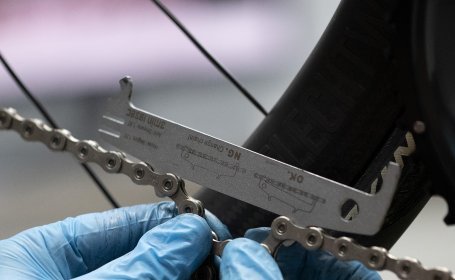
If you spend a lot of time on your road bike or gravel bike, sooner or later it will be time for a new chain. The chain wear indicator will show you when the time has come.
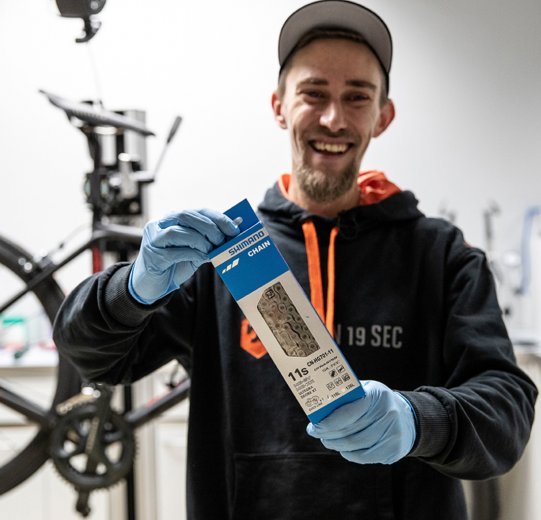
We’ll show you step-by-step how to replace the chain on your road bike.
No matter how well you maintain the chain on your gravel or road bike, if you ride it, it will wear out. It’s quite normal. Friction occurs between the individual parts of the chain links and accrues play over time, which adds up over the chain links. Bike mechanics usually refer to this as "chain stretch". If your chain is too long or worn out, it will start to jump over the teeth of the cassette and chainrings. If nothing works anymore, then the chain has probably also ruined the teeth of the sprockets and chainrings. This means that these parts of your drivetrain must now also be replaced. We explain how to do this in separate posts. However, this does not have to be the case every time. If you check the wear of your chain regularly – we recommend using a chain wear indicator for this – then you can find the right time to fit a new chain as long as the teeth of the cassette and chainrings are still usable. This is sustainable because you can save both money and reduce waste. Unfortunately, it’s difficult to estimate how many kilometres you can expect from the chain – it depends on a variety of factors.
With proper bike maintenance, working on your drivetrain will be a much easier task. We recommend that you use a repair stand so that you can work on your bike at a back-friendly height. For replacing the chain, however, it is also sufficient if the bike is standing in a stable, upright position. Choose a workplace where the floor is easy to clean, or where it doesn't matter if it gets dirty! Stains from old chain grease can be very stubborn, so a suitable work mat is a good way to protect the floor. We also recommend that you keep a cleaning cloth nearby, and you should also have the following tools on hand:
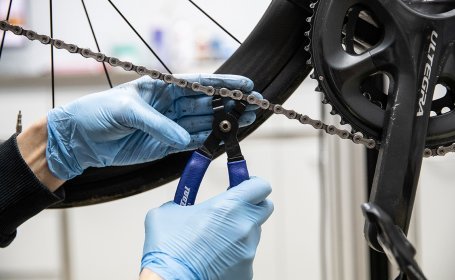
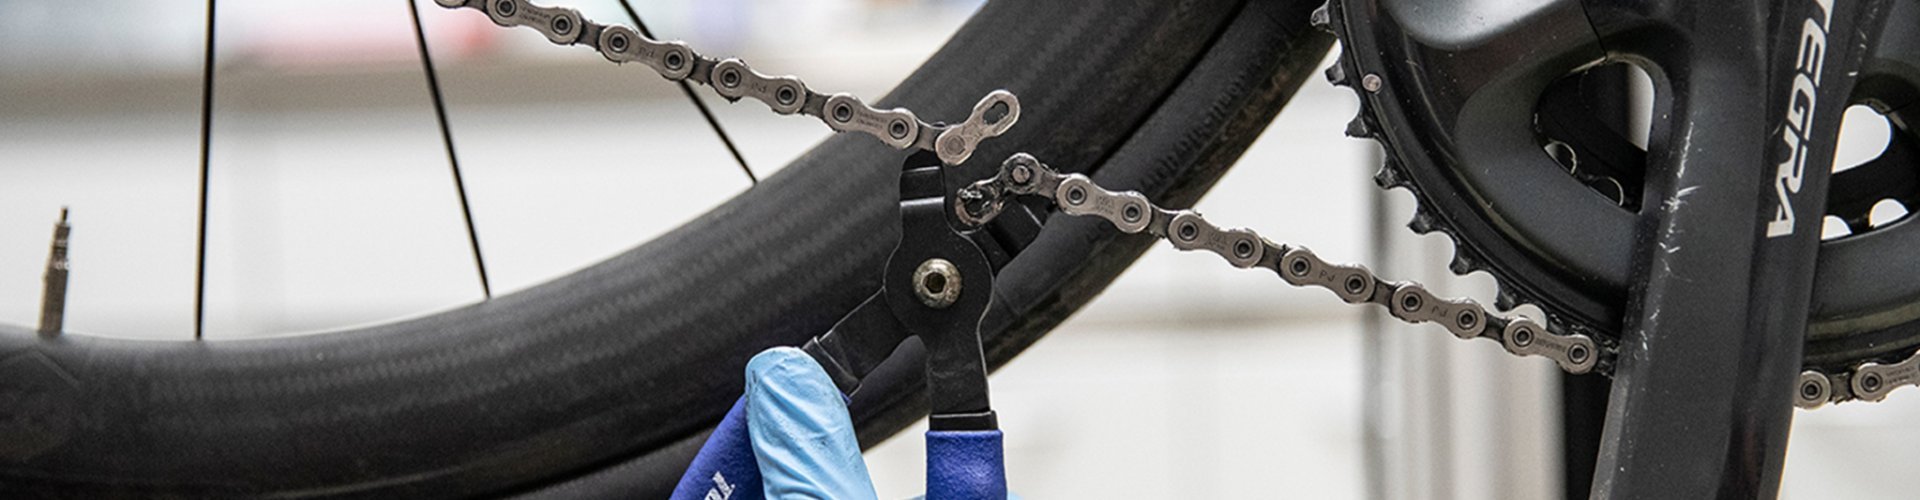
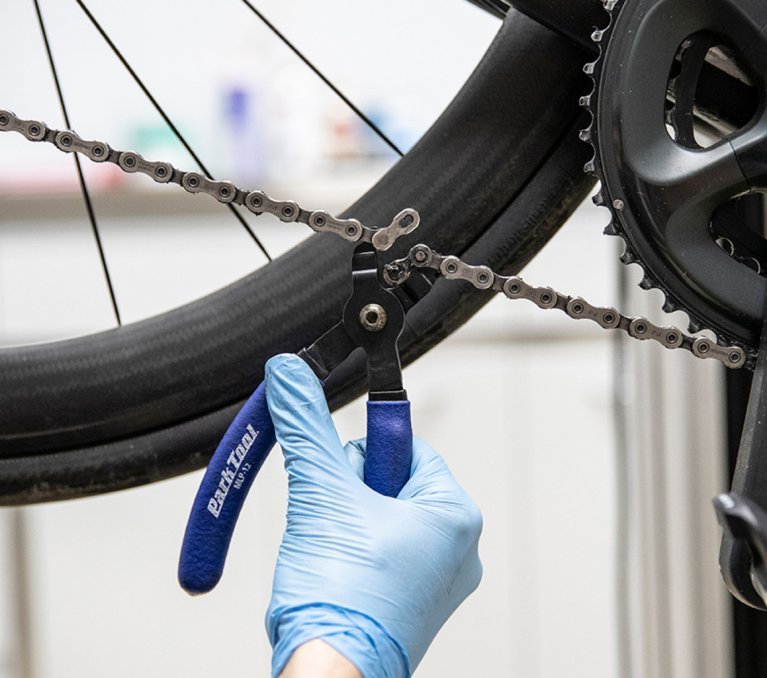
Advantage for all those with a master link: you can easily open your chain with master link pliers.
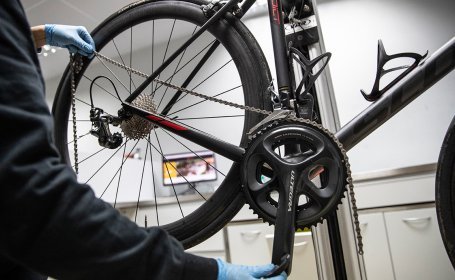
Put the chain on the large chainring and on the largest sprocket of your cassette.
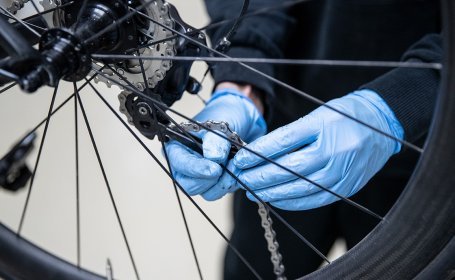
Thread the chain correctly through the rear derailleur and…
… bring the ends of the chain together and pull it further until the derailleur cage is almost stretched.
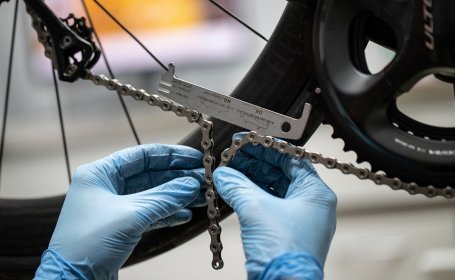
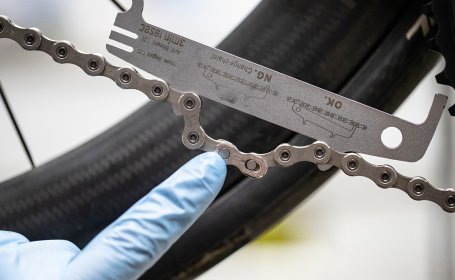
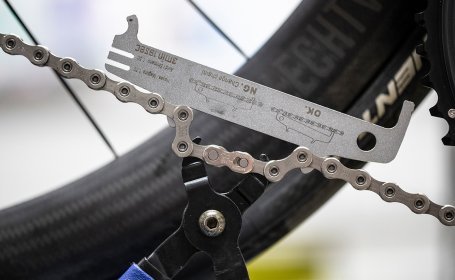
Tip: Use a chain wear indicator to keep the chain tense while marking which link to shorten.
Do you use a chain pin or a master link? Make sure that both ends of the chain are compatible with the type of fastener you have.
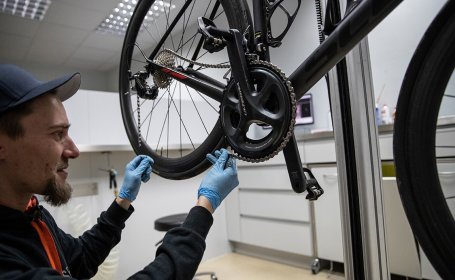
Put the chain on the small chainring and the smallest sprocket and…
...fix it with a chain wear indicator so that you have free hands to close the master link.
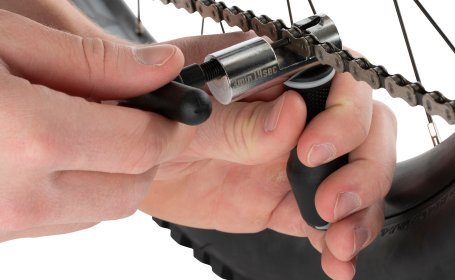
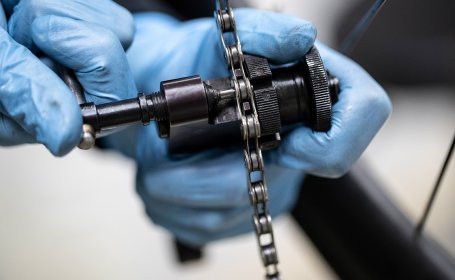
Push the chain pin in until it is flush with the chain link plates.
Hook the master link and hook both ends.
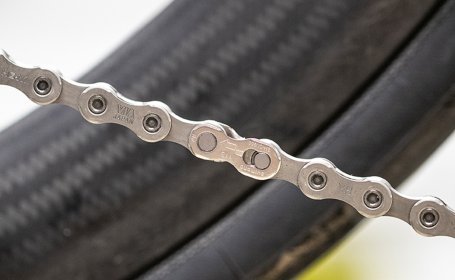
Pay attention to the running direction of the master link.
Push the two chain links to the right and left of the master link apart until the master link engages.
“Hey you! Yes, you on that lightning-fast Factor race bike! Bet your tyre pressure is too high?”

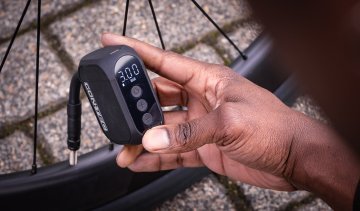
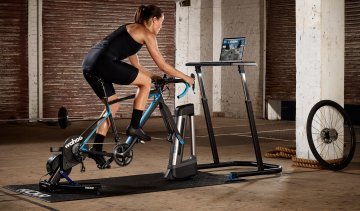
What types of indoor trainers are out there, and which one suits you best? We give you an overview and present the best models on the market.
With the right accessories, your indoor training becomes even more realistic, comfortable and motivating. Find out here how to take it to the next level!
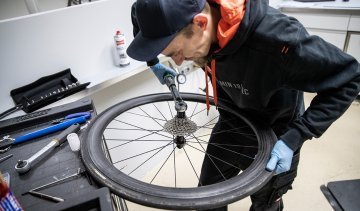
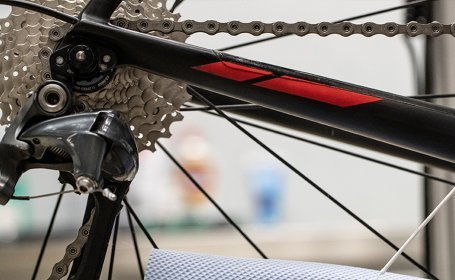
A cassette on a road bike or gravel bike can be changed quickly. We’ll show you how to replace the cassette with just two tools.
Well-greased chains are smooth, quiet, and shift with precision. But which lubricant is the best? Here are some tips for proper chain care.
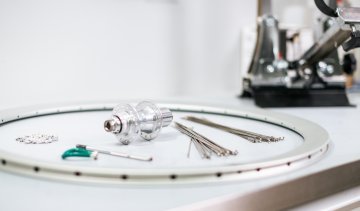
Is it worth building a custom wheelset for a road bike when there are so many good system wheels available? Absolutely! Read on to learn more.
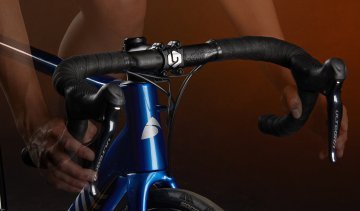
Width – drop – reach: your road bike handlebar has to fit you. Only with optimal ergonomics can you bring your performance onto the road.

Searching for THE road bike saddle that makes your beloved hobby comfortable for your rear too? Read here what you need to look out for.
Send your unused goods back within 100 days after purchase and get your money back!
See more


