


Bicycle inner tubes for road bikes or MTBs: Wha...
Bicycle tube or tubeless tyre? Butyl, TPU or latex? Find out which system is best for you and your bike here.
Does your bike creak when you pedal or when it bounces? We’ll show you the most common reasons and what you can do to counteract creaking on the bike.
A bike can develop some annoying noises: cracking, creaking, rattling or even squeaking. The reasons for this are often very different and sometimes difficult to pinpoint. Bottom bracket, crank, fork, handlebars, saddle – creaking can be caused by a number of different issues, and has ruined many tours. However, the underlying causes of disruptive noises are often quite easy to remedy. We’ll help you locate the source of creaking on your bike and fix the problem.
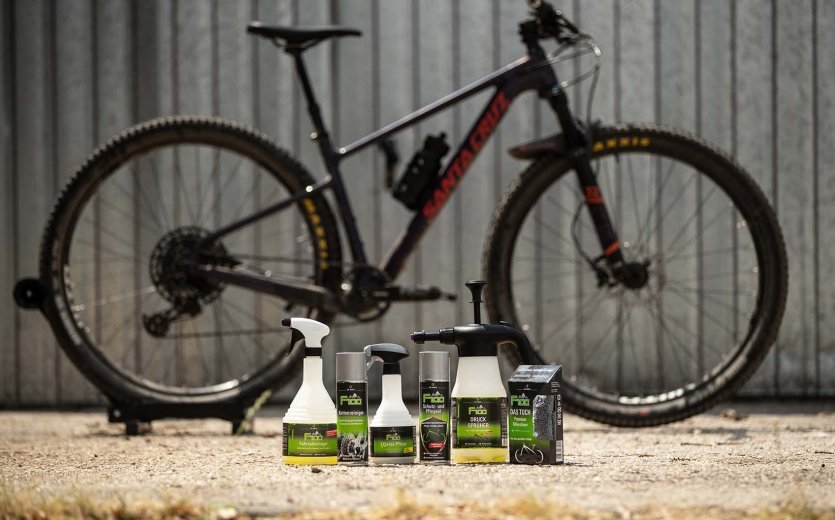
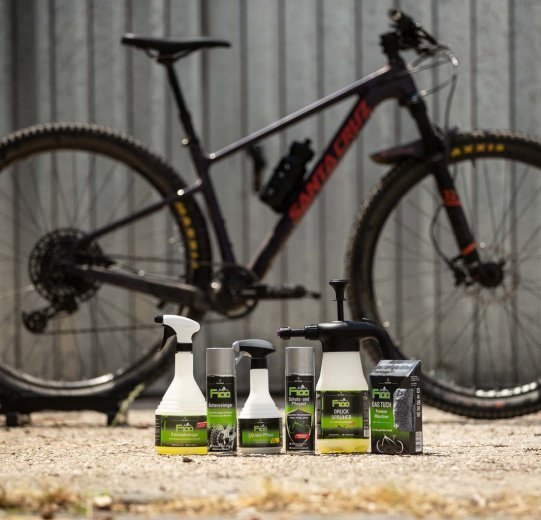
The better you take care of your bike, the less noise it will make. This translates to cleaning, greasing and checking screws and bolts regularly. Sometimes there is just a bit of dirt in the wrong place, or a screw is tightened incorrectly. First and foremost, however, you have to find out where the noise is coming from. It's best to do this with someone who listens to the bike when you sit or stand on it.
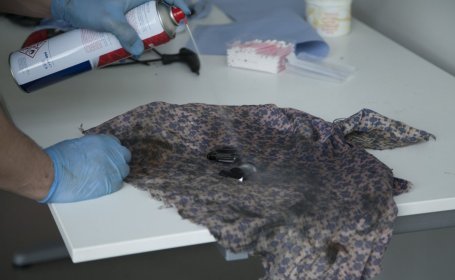
Dirt can be the cause of your bike cracking.
Annoying grinding sounds can often come from between two contact surfaces. Therefore: Clean and maintain your bike regularly!
Your bike creaks despite exemplary care? Check that the screws are correctly tightened.
You can easily isolate where the noise is coming from by listening to its rhythm and when it occurs. Here are a few key questions:
This way helps you determine where to look more closely: at the drivetrain (bottom bracket, crankset, pedals, chain, gears), at the cockpit (headset, handlebars, stem, fork) or at the saddle or seatpost.
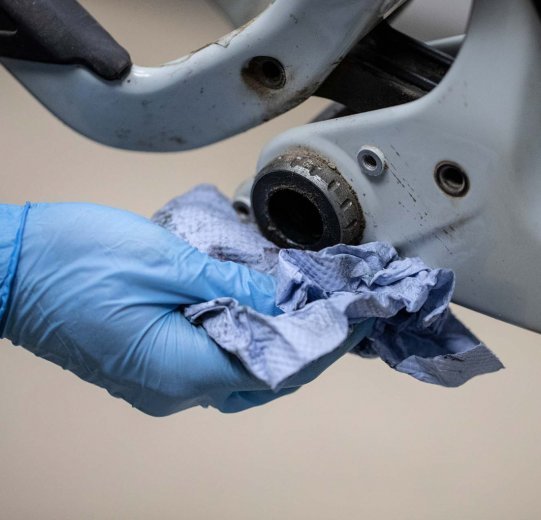
Before you start tightening the hardware, you should first give your bike a thorough cleaning. This way you can have a better overview of any damage and have more fun assembling.
Pro-Tip:
Change only one parameter at a time – this helps you to stay organized and methodical.

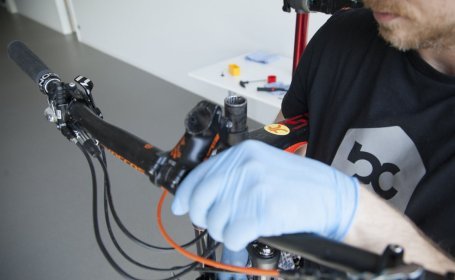
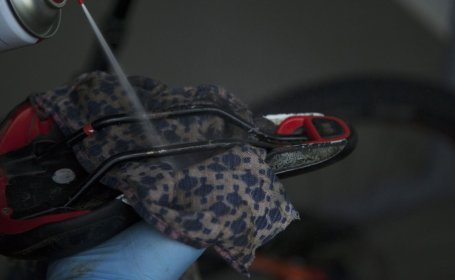
The cockpit cracks? First check the stem and handlebars.
Remove dirt from all contact surfaces of stem and handlebars.
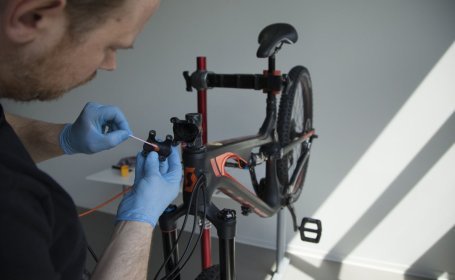
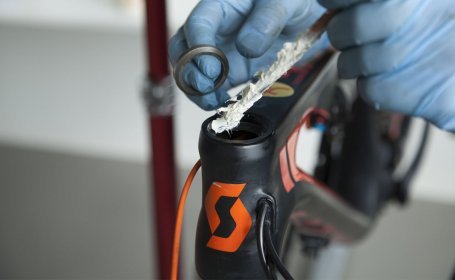
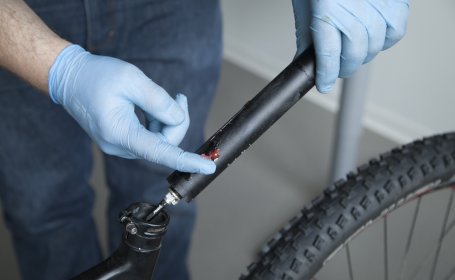
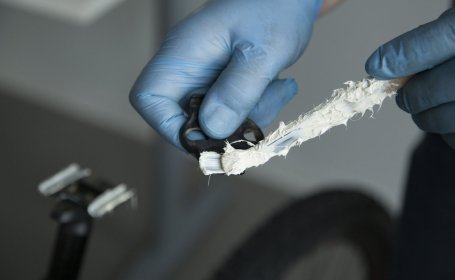
Before reassembly, apply a special assembly paste.
Tip: Tighten the bolts of the stem plate crosswise.
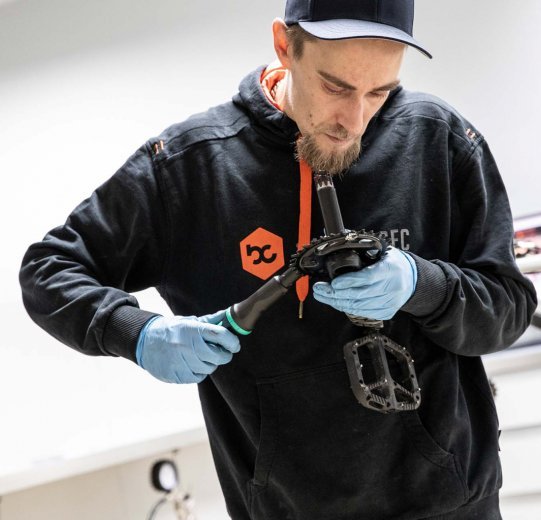
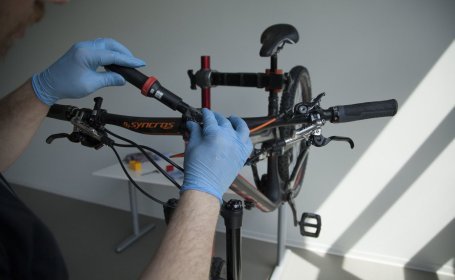
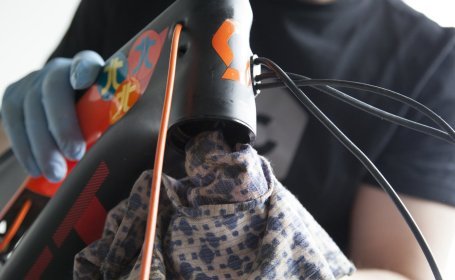
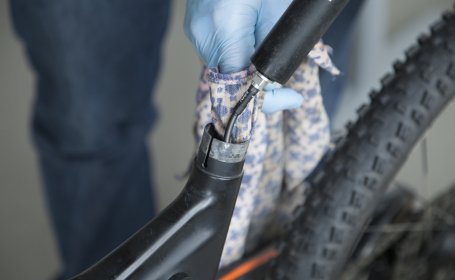
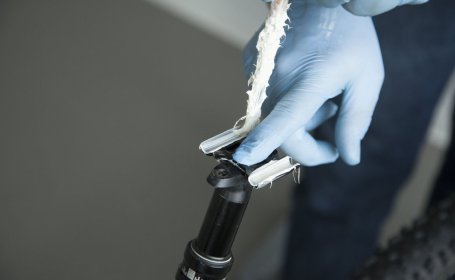
Next Step: Check the stem's steerer tube clamping.
After loosening the Ahead cap, loosen the stem bolts.
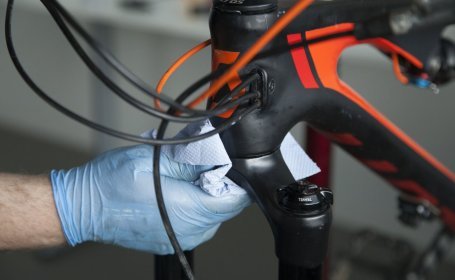
Clean the steerer tube, stem and spacers.
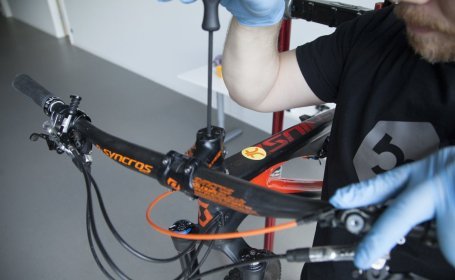
Do the bearings of your headset run smoothly?
Depending on the headset and frame, you will need special tools for installation and removal.
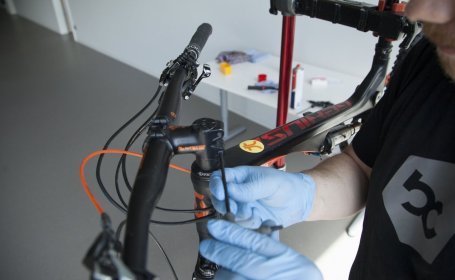
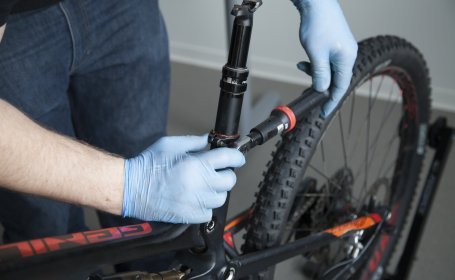
Your headset is running smoothly? Check that the fork cone is tight!
If you have cleaned everything and found no damage, you can reassemble the fork, headset and stem. When installing the stem, you have to readjust the bearing clearance of the headset. We'll show you how to do that here:
If the creaking has still not disappeared after checking these parts, it is also possible that the steerer tube in the crown of your suspension fork is creaking. This should be professionally checked in any case. Please contact our service department or the fork’s manufacturer directly.
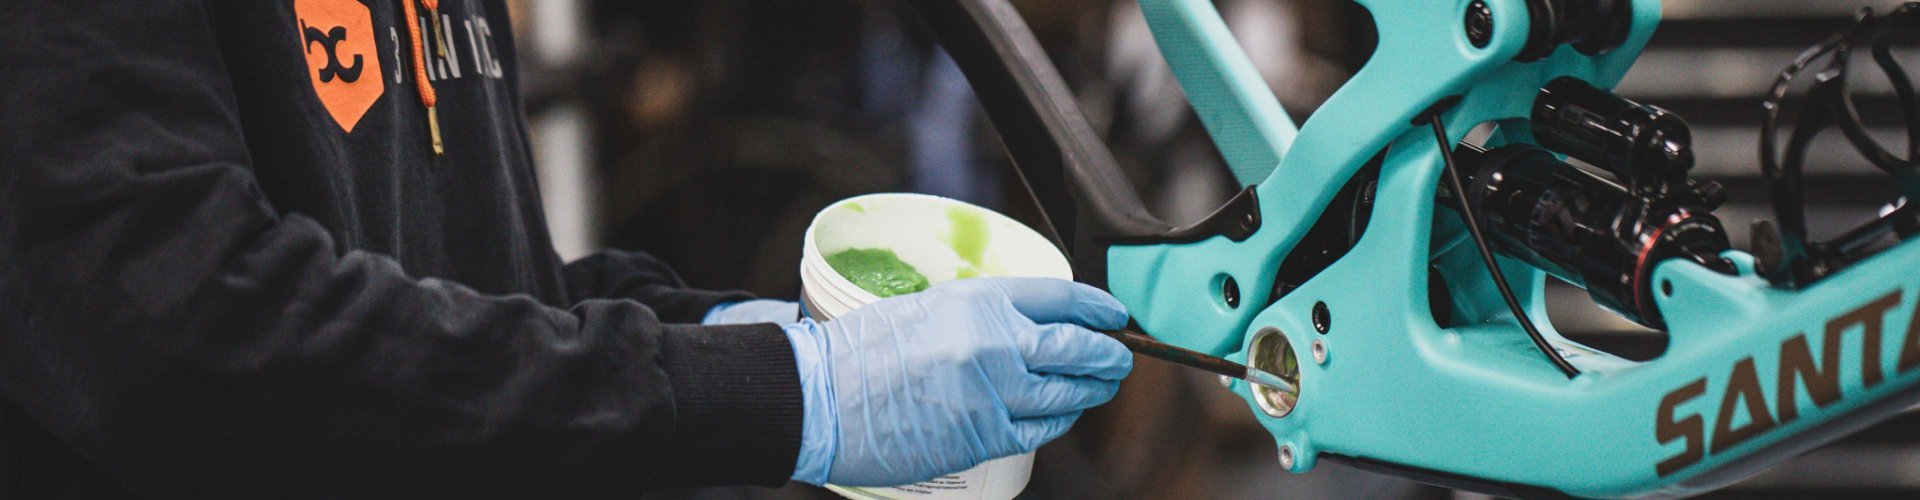
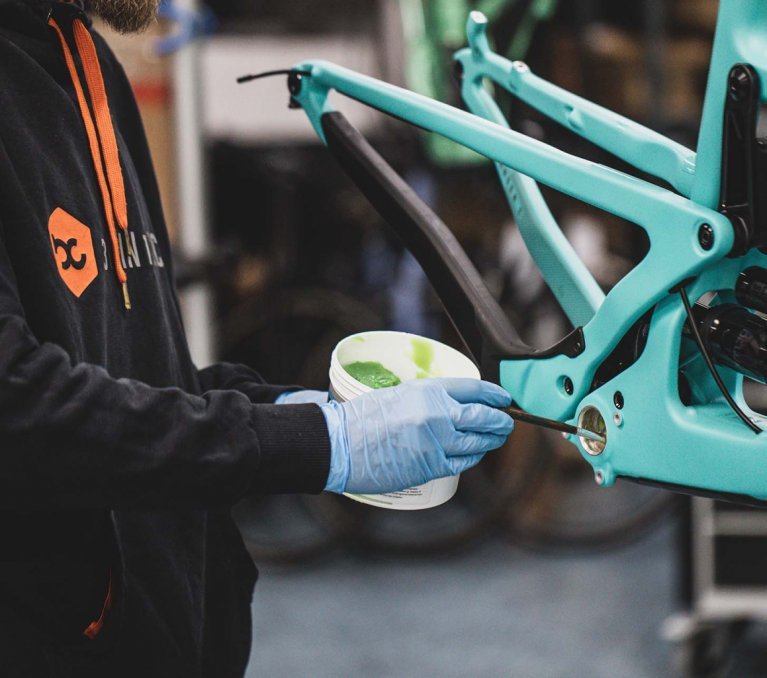
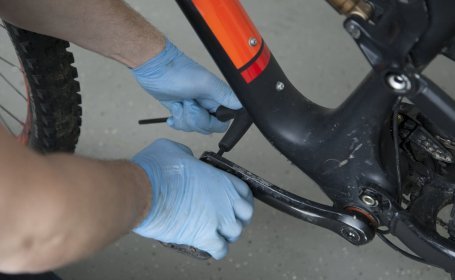
The rear area of your bike is making the noise? First check the seat post clamp.
After removing the seat post, you should thoroughly clean all parts & the frame and coat all contact surfaces with assembly paste.

Assembly paste ensures that the seat post has a better grip in the frame.
Use a torque wrench so as not to exceed the specified torques.
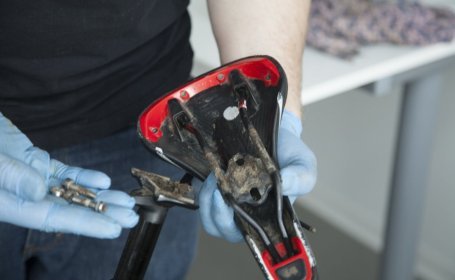
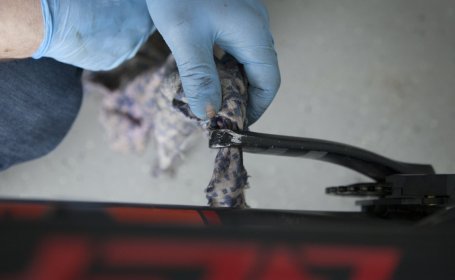
The crux of the saddle: dirt tends to collect at the head of the seatpost.
Clean the clamping of the saddle to eliminate it as a possible source of noise.
Also clean the dirt you have picked up on your tours from the saddle rails.
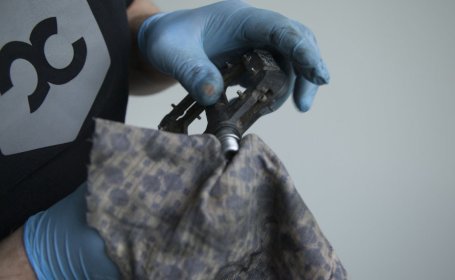
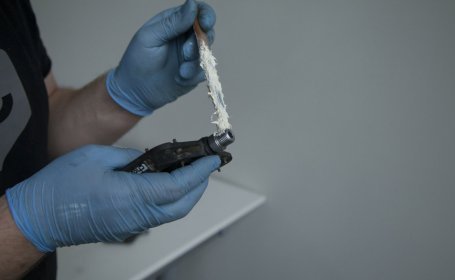
Here too, proper greasing helps against cracking.
When greasing, remember: the saddle rails and the clamp have several contact points.
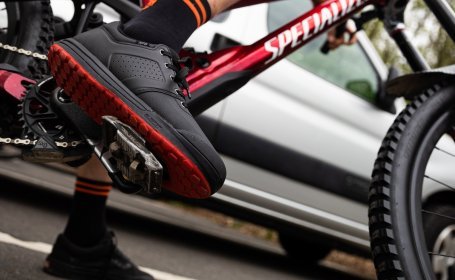
Exposed to the weather without protection and therefore susceptible to cracking noises: pedals.
To Do: Turn the pedals out of the crank, remove the thread on the crank and...
...thoroughly remove dirt from the pedal threads,...
… grease and reassemble.
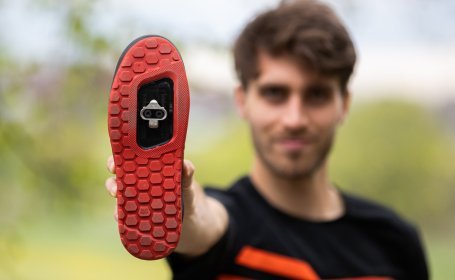
Check the correct fit of the cleat on the shoe.
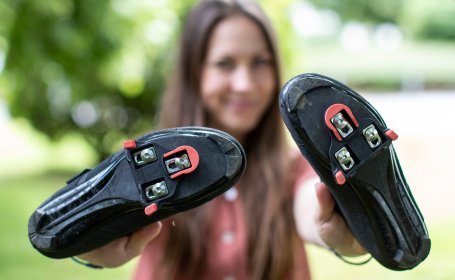
The cleats should not be able to move, but be firmly attached to the shoe.
A perfect hold on the pedal can only be guaranteed with firmly screwed-in cleats.
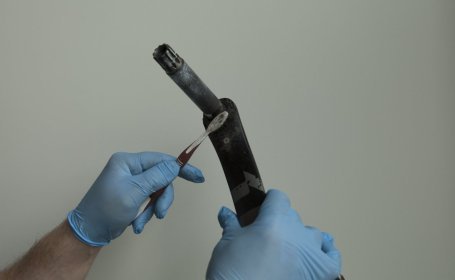
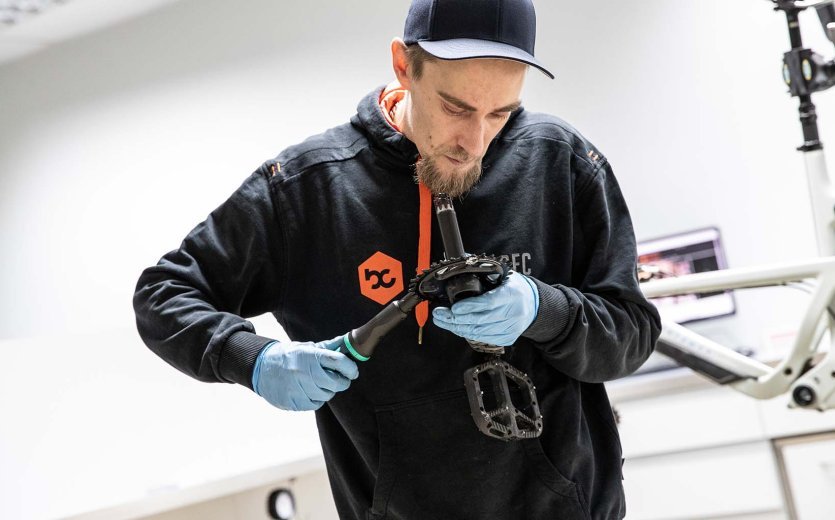
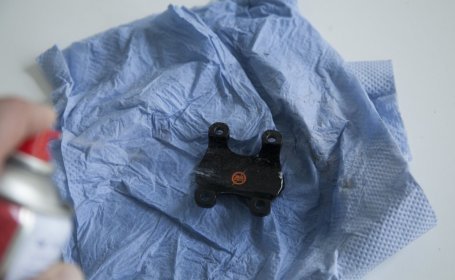
Clean all parts of your crankset thoroughly.
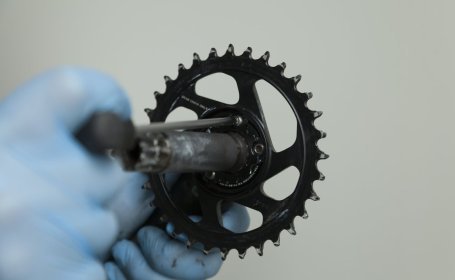
Then tighten the chainring again.
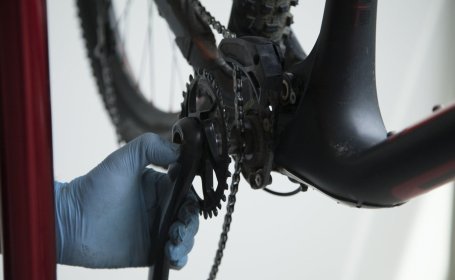
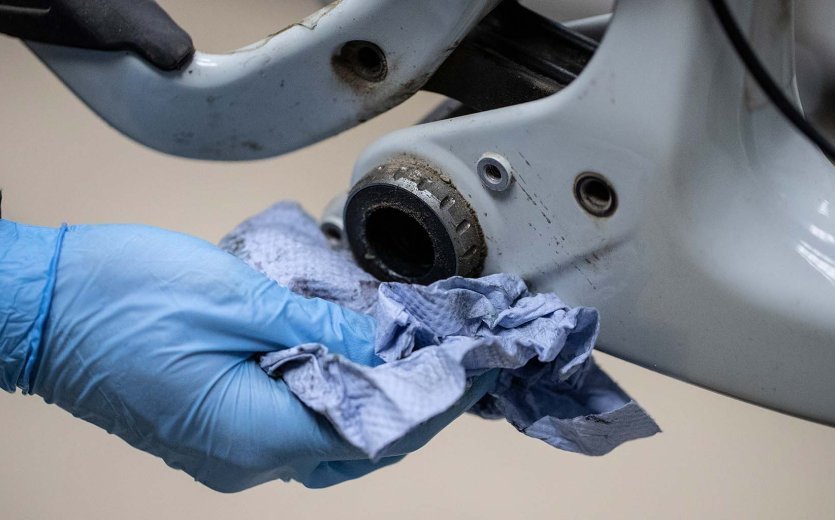
Your bottom bracket is making noise? Step 1: Dismount the crankset.
Check whether the bearings run smoothly or are sluggish.
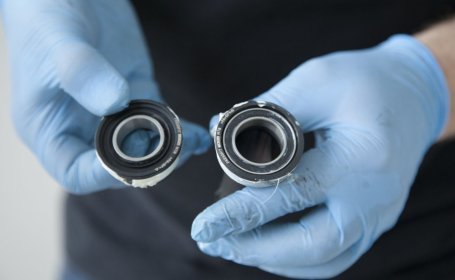
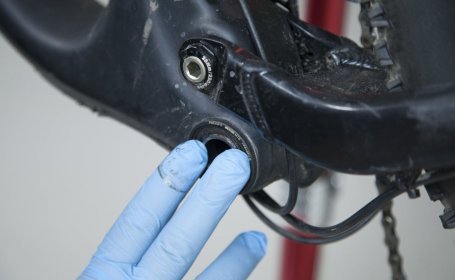
One reason for noise can be the bearing cups in the frame.
Grease the bearing shells generously and reinstall them.
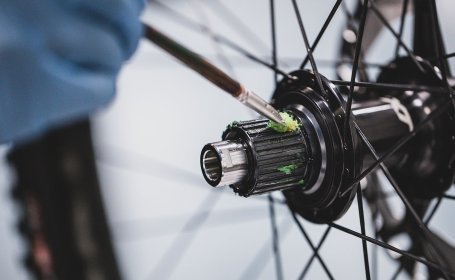
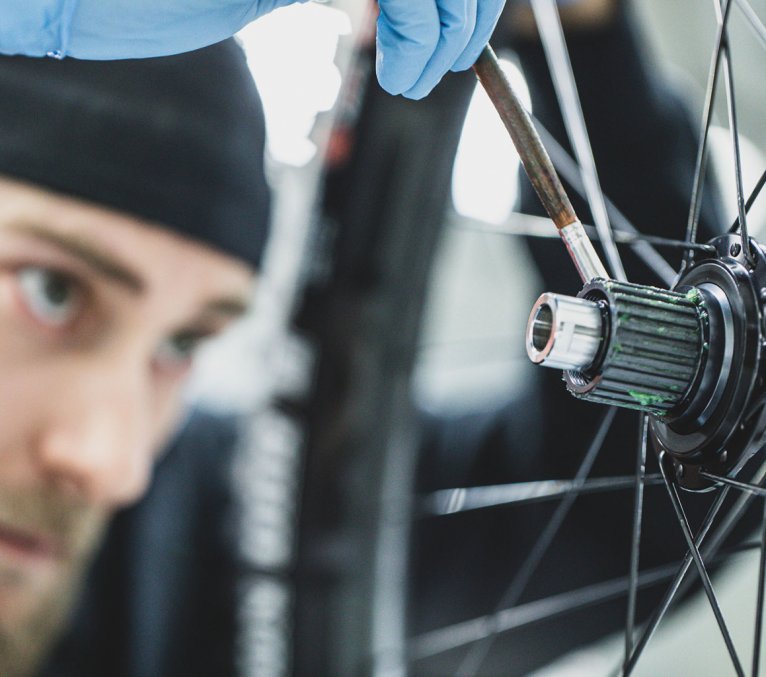
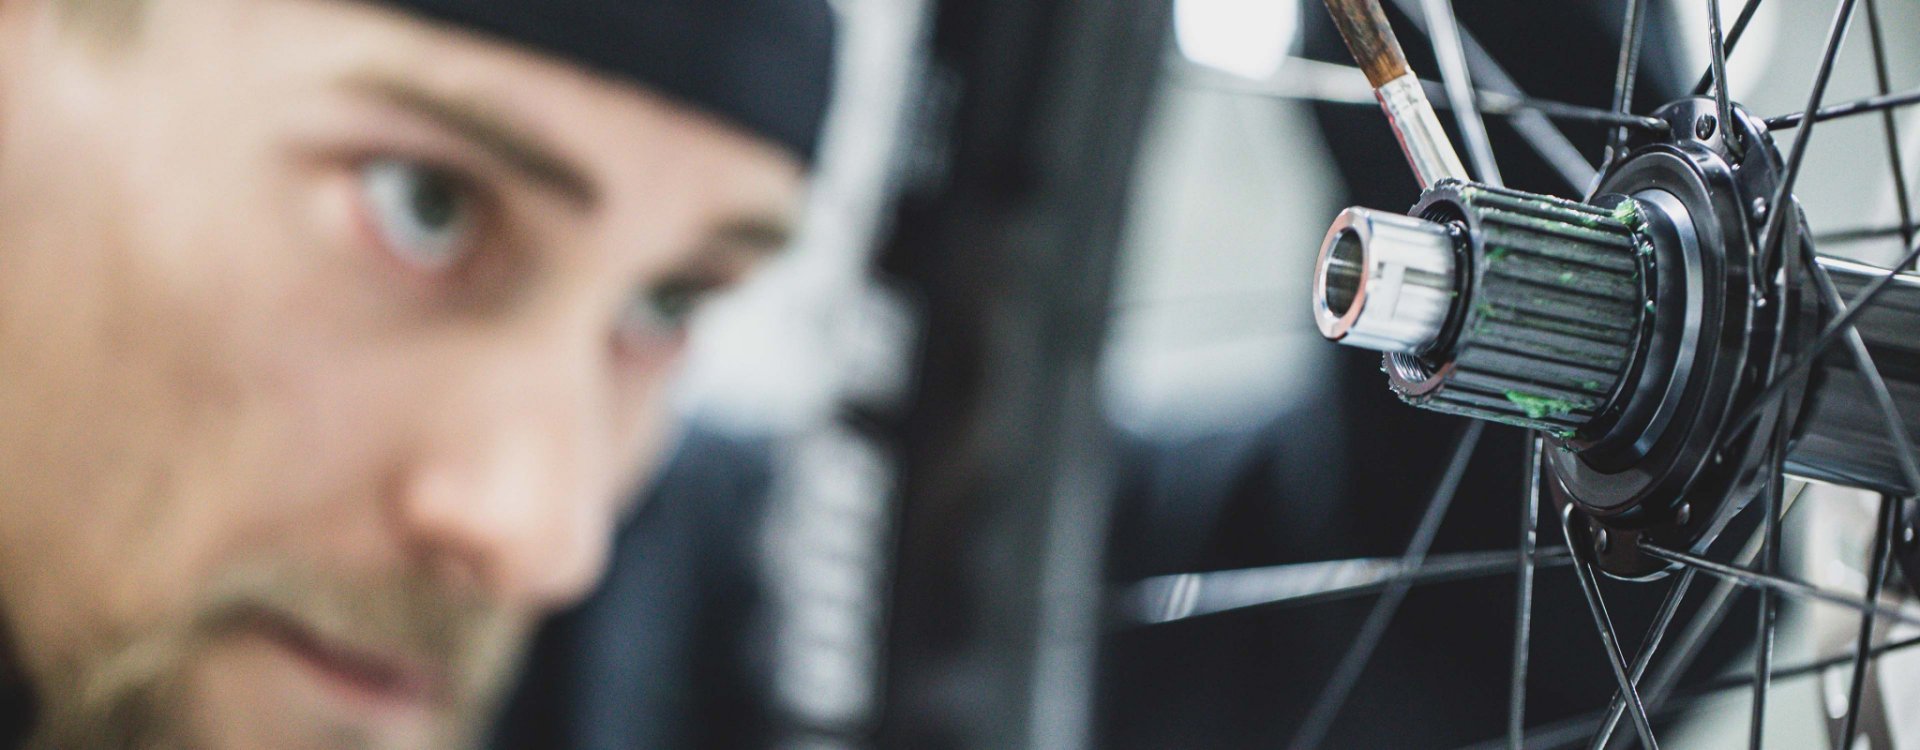
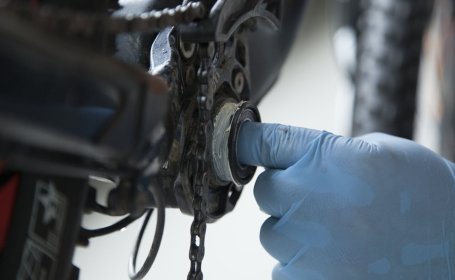
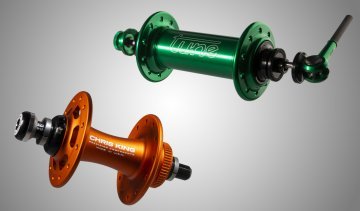
An incorrectly fitted cassette can also be the cause of unwanted noises.
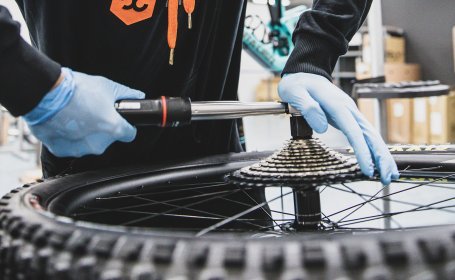
Grease the freehub of your wheel and mount the cassette with the appropriate torque.
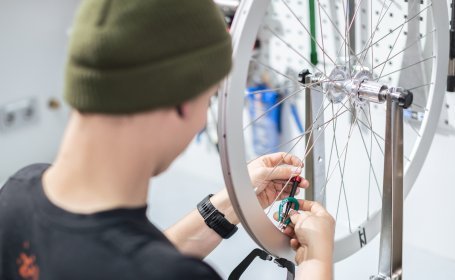
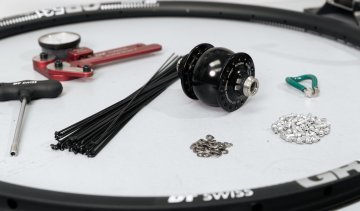
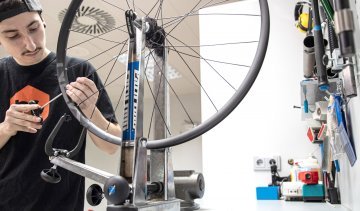
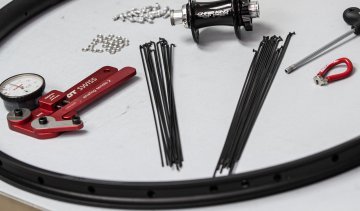
Check the spoke tension of your wheel and tighten them if necessary.
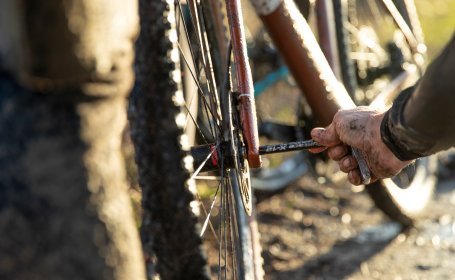
Quick Check: First check whether the thru axle or quick release of your bike is properly seated.
Final Tip: Thoroughly wipe away any excess grease! When you have put your bike back together after hopefully eliminating any creaking, clean of any excessive grease from the bearings and screws. This prevents unnecessary dirt build-up and prevents you from accidentally smearing grease on yourself.
Bicycle tube or tubeless tyre? Butyl, TPU or latex? Find out which system is best for you and your bike here.
Which thru axle is the right one for your hub? We give you an overview of the common dimensions of hubs and axles on MTB, road bike and gravel bike.
Perhaps you’re familiar with the basics, but do you want to learn more about the physics behind a wheel? Allow us to give you an in-depth explanation.
Is it worth building a custom wheelset for a road bike when there are so many good system wheels available? Absolutely! Read on to learn more.
A hub dynamo provides power for lights and charging smartphones and GPS on the bike. We’ll show you what to look out for when building a dynamo wheel.
Looking for a new rim for your bike? We’ll show you what to look for when choosing the right rim for your MTB, road bike or gravel bike.
The question: system wheelset or build your own wheel? We explain the basics for picking out rims, spokes and hubs.
Have you ever thought about building your own MTB wheelset? We’ll give you ten reasons to build your own custom wheelset.
A gravel wheelset has to withstand a lot of hard use. Can't find the right one? Build it yourself! We’ve put together some tips to help you get started.
Send your unused goods back within 100 days after purchase and get your money back!
See more


