
Product test: Thermoformable bike saddles from ...
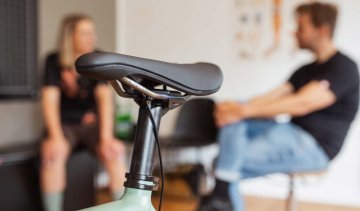
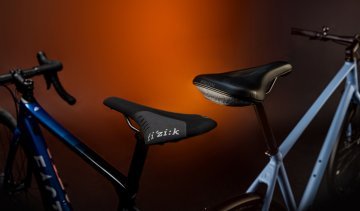
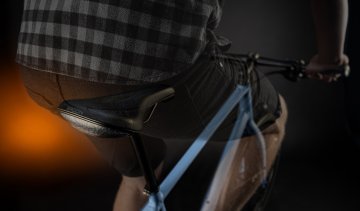
A bike saddle that adapts to your anatomy? We have tested the thermoformable saddles from REFORM for you, which promise exactly that.
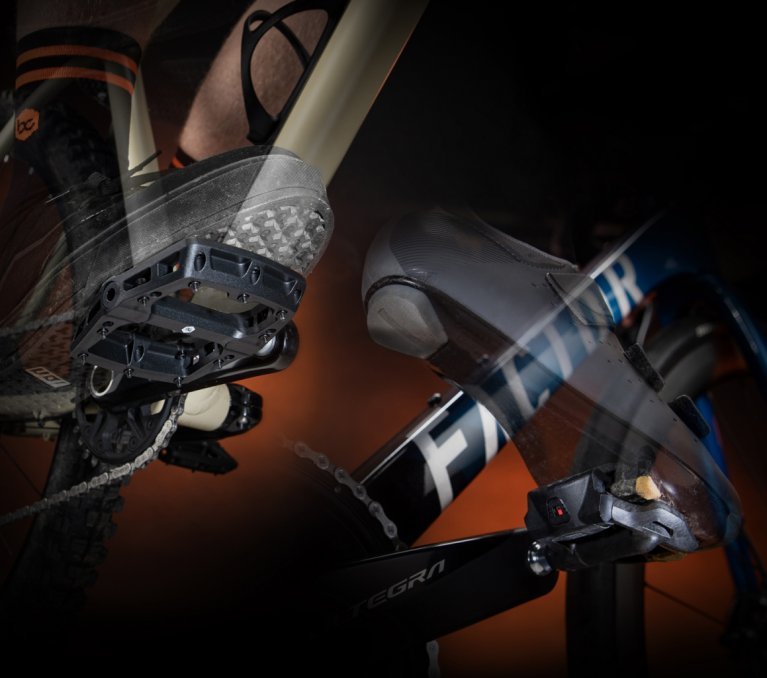
Just pedal and go? What sounds so easy is actually quite complicated. Here’s what to keep in mind when considering the body’s interaction with the pedals.
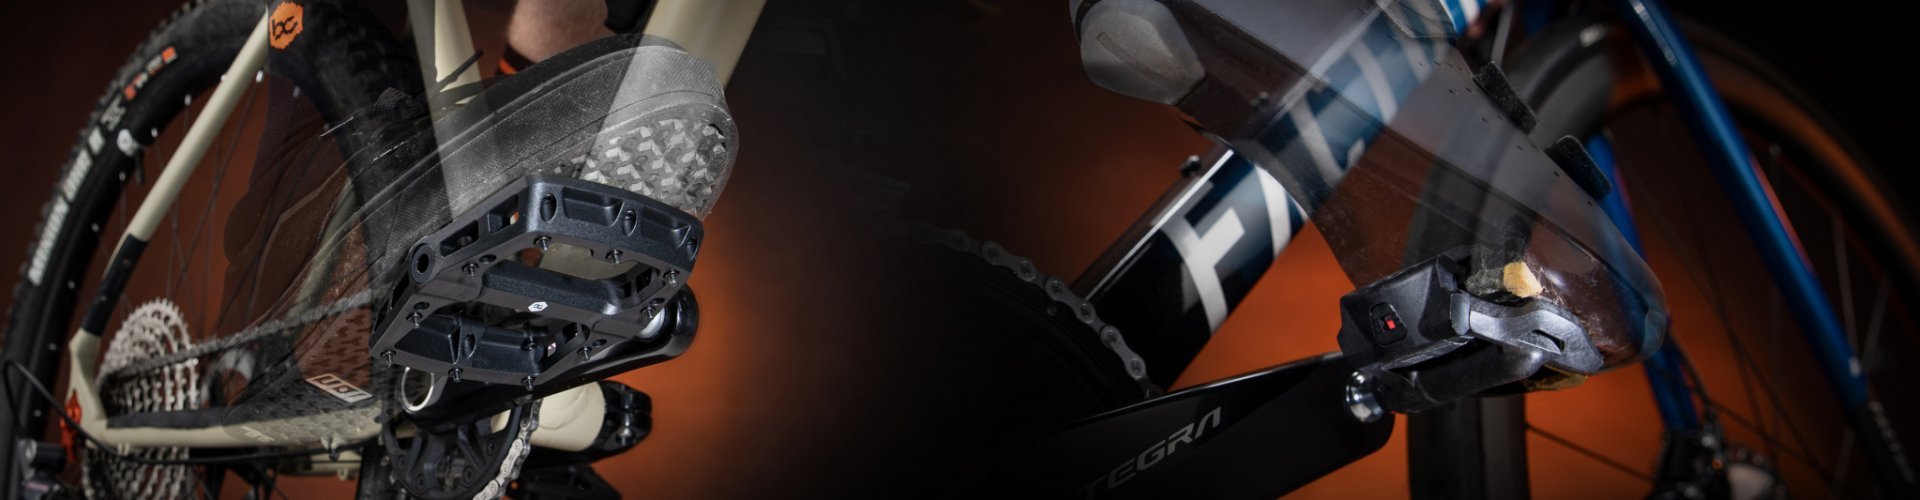
The pedal is the point on the bike where you transfer your power to the machine. This alone shows how important it is for you to choose the right pedals. There are many things to consider: material, design, frictional connection... and of course: ergonomics! Who wants aching knees, cramped muscles or inflamed tendons when your feet don’t fit right on your pedals?! There are two fundamentally different ways in which your foot is “connected” to the pedal: either clipped in, or standing freely.
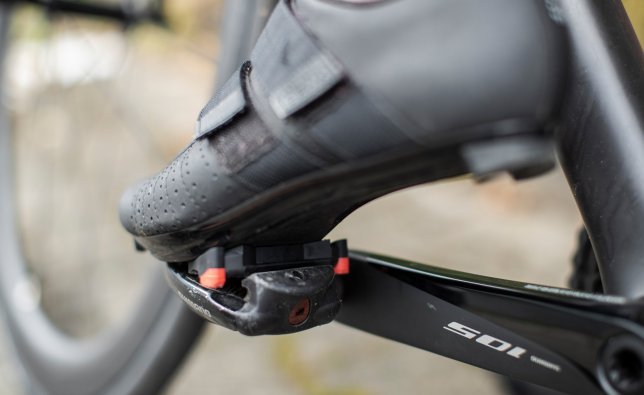
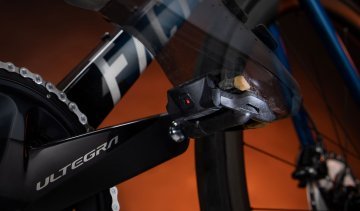
Clipless pedals are standard on road bikes: the fixed connection between man and bike ensures a rounded step and efficient power transfer during push and pull.
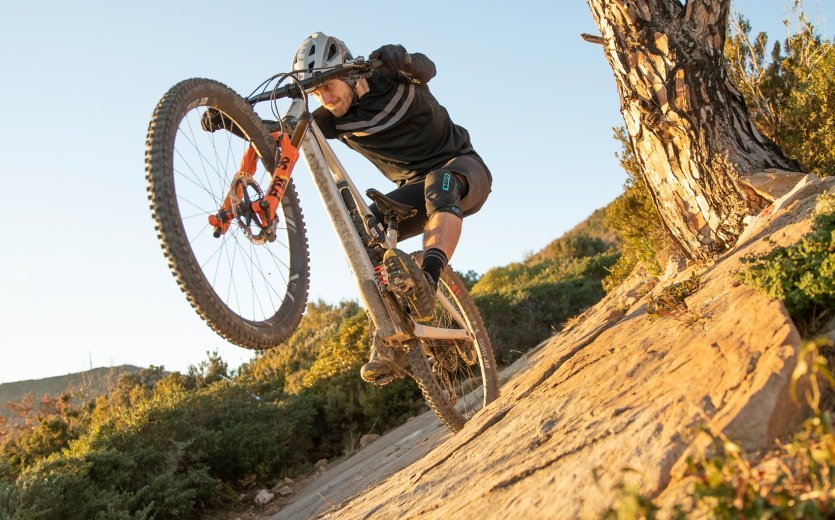
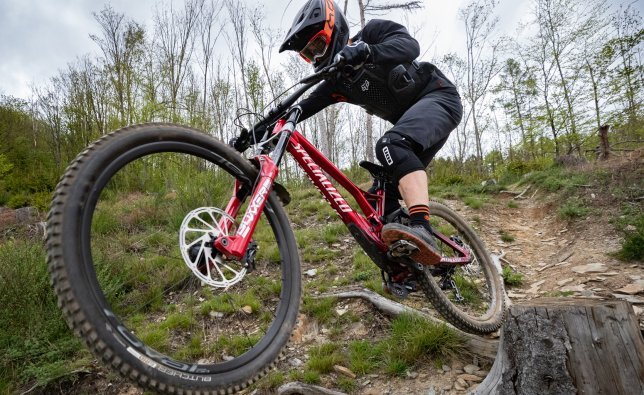
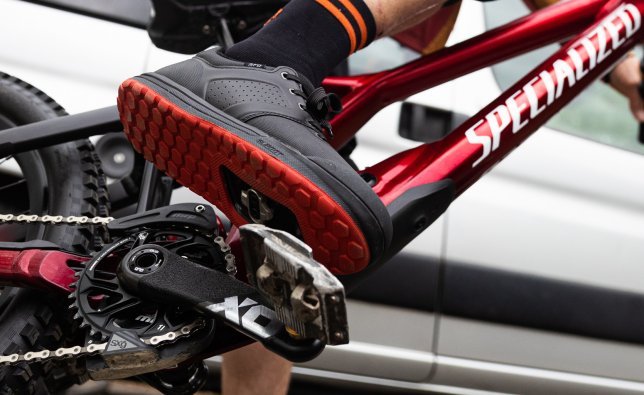
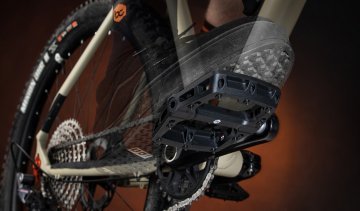
On the mountain bike, it's a question of discipline and personal taste: firmly clicked in, you never lose contact with the pedals.
With flat pedals, however, you have more freedom to experiment with your foot position and adapt it to the riding situation.
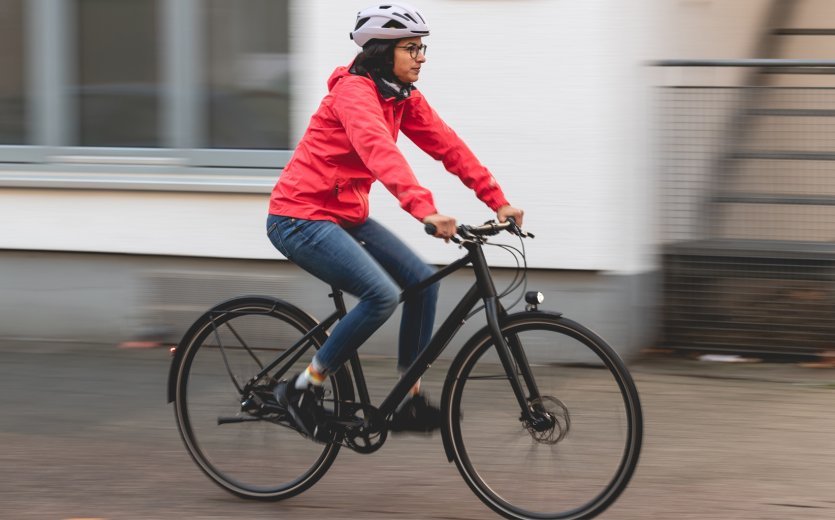
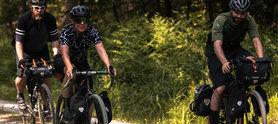
On a touring and commuting bike, which type of pedal you choose is primarily a question of personal taste or habits.
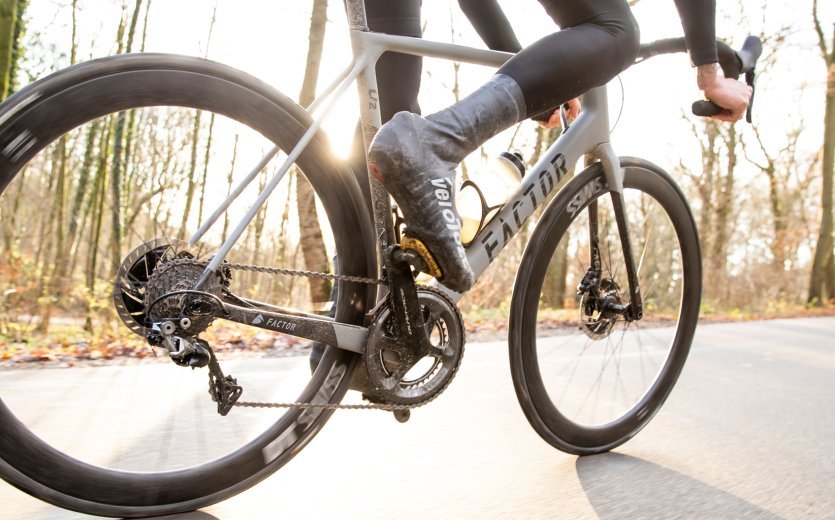
Whether you ride clipped in or place your foot freely on the pedal has many ergonomic facets: power transmission, freedom of movement, and safety, to name a few. Figuring out what is better or worse isn’t always clear, but one thing is certain: the efficient power transmission clearly favours the use of clipless pedals. Due to the firm connection between muscles and machine, you cannot only push but also pull when riding. This means you use every single pedal rotation on both legs and have almost 360° of power transmission. This also provides a rounder stroke that can be sustained for a long time at high frequencies. It doesn’t matter whether you’re tackling a trail with gnarly roots in an enduro race or the cobblestones of the “Hell of the North” somewhere between Paris and Roubaix: with clipless pedals, your power is always transferred to the ground surface, no matter how uneven that may be.
The question of whether to use clipless or flat pedals is particularly important if you ride a mountain bike or a touring bike, or if you use your bike mainly for commuting. On road bikes or cyclocross bikes, the question does not usually arise, as these disciplines absolutely require a rounder stroke for better power transmission.
Whether it is ergonomically advantageous that you can move your foot freely on the pedal requires a different answer. Advocates of flat pedals argue that the foot’s freedom of movement avoids pain caused by repeated stress, and stimulates the muscles in a more versatile way. The slight, mostly unconscious change of foot position during rides also changes the position of the ankle joint and the knee. However, freedom has its downsides: not every foot position makes physiological sense. Many so-called gentle postures do more harm than good in the long run. In particular, clipless pedals do not have this problem. The foot position is predetermined within certain parameters by the fixed connection. Modern clipless shoes do not allow you to install them in joint-damaging, unergonomic positions neither lengthwise nor crosswise. One crux, however, is the angle. If the cleats are adjusted to the wrong angle, any problems are exacerbated by the firm connection between the shoe and the musculoskeletal system. If you ride clipless pedals, you should therefore pay close attention to the correct cleat adjustment. Not only do the manufacturers’ specifications help, but also special templates such as the highly recommended Cleat Tool from the Koblenz-based ergonomics specialist Ergon.
Ergonomics with flat pedals: really? Yes, really! With flat pedals (also called platform pedals), there are also a few things to consider from an ergonomic perspective: Foot position, contact surface, axle width, cage shape, and shoe choice. We’ll give you an overview of the most important aspects.
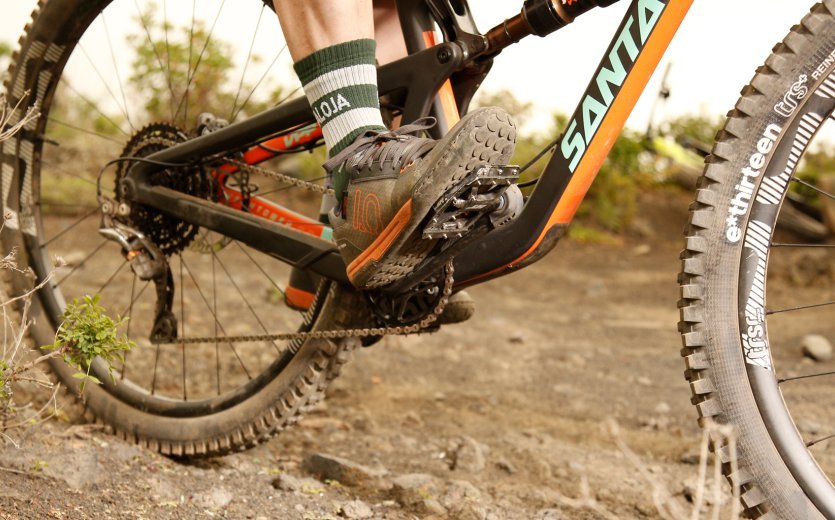
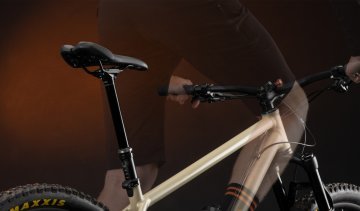
Optimally, you’ll stand with the ball of your foot centred on the pedal or above the pedal axle and with the tips of your feet parallel to the frame. A certain amount of flexibility is of course allowed, especially on a mountain bike where you stand a little further back. This allows for an even foot rotation around the pedal axis, but at the same time allows the heels to hang in the basic position or to actively jam into the wheel with the toes tilted downwards during bunny hops. (As the saying goes: “light hands, heavy feet.”) If you are standing on the pedal with your toes or heels, this indicates that the saddle position is too high or too low. If your feet hang over the outside of the pedal, then you either need a pedal with a longer axle or with a larger platform.
Optimal basic position: the ball of your foot is centred on the pedal or above the pedal axle. © bc GmbH & Co. KG
In regards to the size of the pedal platform, “more is more" is not such a bad motto for once. Particularly on a mountain bike, you stand firmly and securely and have enough space for technical riding. Most MTB platform pedals therefore have an almost square base. The largest of this kind are pedals for hardcore downhill, freeride and enduro use such as the legendary Saint Pedal from Shimano (10.5 x 10.9 cm), the DMR Vault (10.5 x 10.5 cm) or the Specialized Boomslang (11 x 10.8cm). Beyond the MTB, large pedals can help: if the soles of your shoes bend around the pedal at the front and back, you need a larger contact surface – or a harder shoe sole. In general, shoe size and condition play a role in finding a new flat pedal. The bigger your shoes and the softer the shoe sole, the bigger your pedal platform should be. If your shoes bend around the pedal (the so-called plantar flexion), this costs energy and leads to fatigue or cramps. Those who like to wear warm and waterproof but voluminous winter shoes will also be pleased with a large platform. The only real disadvantage of larger pedals: they are heavier.
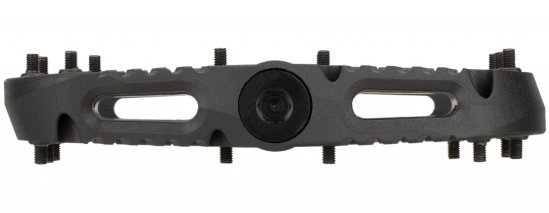
Many pedal manufacturers use three-dimensional shaping to create pedals with certain characteristics. This means that the top or bottom of a platform pedal is not always a flat surface. The pedal thickness is often more or less determined by the diameter of the pedal axle. In principle, it makes sense to use flat pedals on a mountain bike that are less likely to reach the ground. On this point, however, approaches differ between manufacturers. Quite a few pedals have a concave platform. The foot is thus secure and stable in the pedal without the axle pressing uncomfortably into the shoe. US manufacturer OneUp Components takes a different approach with its aluminium platform pedals. Here the pedal is thicker around the axle and slopes outwards – the contact surface is convex in shape. The very flat and additionally bevelled outer sides are less susceptible to contact with the ground, while the ample-dimensioned axle and the correspondingly large bearings promise durability. In the end, there is no better or worse model, and your choice boils down to a question of your priorities – lots of grip and comfort, robustness and durability, concave or convex? Of course, there are also excellent pedals with a straight contact surface.

Many flat pedals are equipped with a concave base. © bc GmbH & Co. KG
The OneUp Comp pedal has a slightly convex shape. © bc GmbH & Co. KG
Pedals and shoes belong together and influence one another. This is especially true for flat pedal shoes. Their soles are a little softer than their clipless siblings in two respects. First to consider is the midsole, which determines the overall stiffness of the shoe. Second is the rubber outsole, which determines grip on different surfaces. More flexibility in this area provides more control, grip and comfort while walking. Be careful, however: if the shoe is too soft and curls around the pedal like an overripe banana, it will cost you both power and control. A dedicated cycling shoe is therefore always the better choice over a pair of gym or skate shoes. Depending on your application, there are a wide variety of models from urban-inspired sneakers to touring shoes, from all-mountain shoes to downhill shoes. All-mountain, enduro or downhill shoes in particular have a very grippy sole and interlock so tightly with the pedal pins that you can hardly move them sideways or from front to back. This means you have to actively take them off the pedal and reposition them, which requires a fair amount of practice.
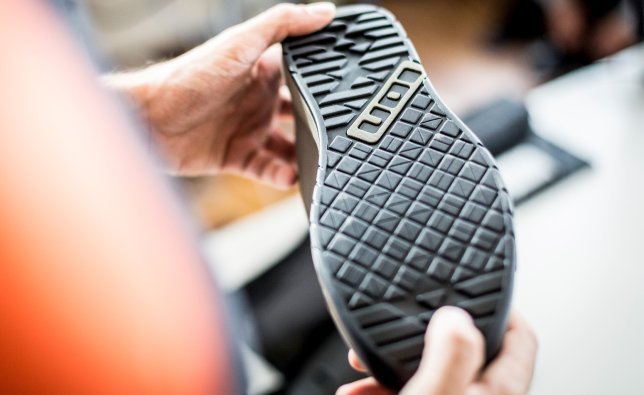
Shoes with a very grippy sole provide optimal grip on flat pedals. © bc GmbH & Co. KG
In some respects, clipless pedals are the supreme discipline of pedal ergonomics. When your foot is firmly attached to the pedal, each adjustment takes on a whole new level of importance. Even small changes can have big effects – for better or for worse. In addition, the requirements for a clipless pedal on an MTB differ in part significantly from those on a road bike. Here’s a overview on what to know.
An extremely important point of clipless pedal ergonomics is the position of the cleat in the shoe. No matter if you’re using a two-bolt system (the preferred choice for mountain biking), a three-bolt system (dominant in the road bike sector), or the rare four-bolt system (like the kind found with some Speedplay models), you can always adjust the angle and position of the cleat. Three-bolt systems such as the Shimano SPD-SL, Kéo from Look or the Speedplay system are particularly popular on road bikes and are absolutely turn-proof on the shoe even with the greatest amount of applied force. Thanks to their large contact surface, you have good power transfer and reduce the risk of foot pain. On the other hand, they often offer less angle adjustment range than their two-bolt siblings such as Shimano’s SPD, Times Atac or the system from crankbrothers. Either way, the pedal plate should sit under the ball of the foot and the tip of the clipped-in shoe should be parallel to the frame. The aforementioned templates will help you enormously with ergonomic fine-tuning. If power transfer and pedalling efficiency are more important to you, you should choose a position further forward under the shoe. The more technically demanding the terrain, the further back the cleat may be installed. Recently, special mountain bike shoes have taken this into account, where the cleat recess is extended very far back and sometimes shifted to the inside of the shoe. This also tends to apply to long-distance cyclists, as it provides protection for the Achilles tendon.
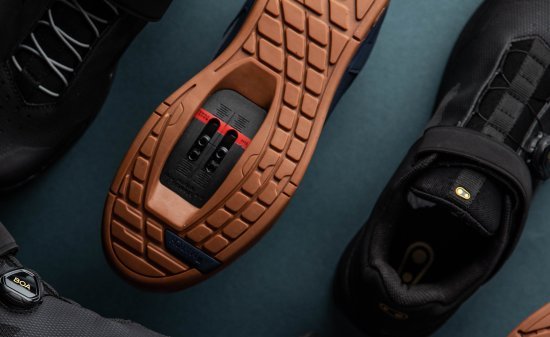
The 2-bolt system is prevalent in clipless pedals for MTB. It allows a high angle adjustment range and uncomplicated clipping out when necessary. © bc GmbH & Co. KG
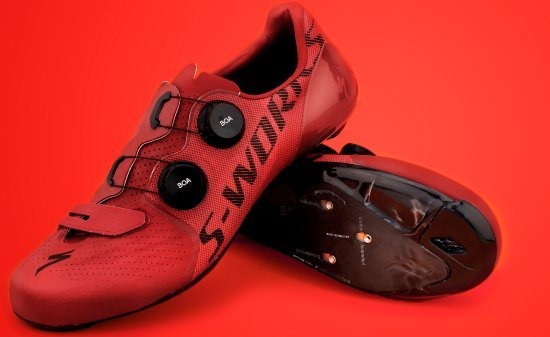
On road bikes, the 3-bolt system is standard, which creates a much stronger connection between shoe and pedal. © bc GmbH & Co. KG
For MTB, clipless pedals are usually designed symmetrically, regardless of whether they also have a cage or not. The best-known example is without a doubt the SPD pedals from Shimano, where you can clip in from above or below. This ensures that you can quickly attach to the pedal even in technically difficult situations. A large pedal platform, as offered by mountain bike pedals from the all-mountain, enduro or downhill segment, makes clipping in even easier. Simply place your foot centrally on the pedal and it will find its way into the clip-in mechanism. Until then, thanks to the cage and pins, you are sufficiently safe even when clipped out. Pedals from crankbrothers are a special case. Their clip-in mechanism, clearly seen in the classic Eggbeater pedal, allows you to clip in from all four sides. This is called 360° Engagement. Crankbrothers clipless pedals with cages also work in a similar way. Since the spring can rotate freely in the cage, the cleat always finds its way quickly and securely.
Clipless pedals in the MTB sector are usually symmetrically designed so that you can quickly find the connection to the pedal even in technically demanding situations. © bc GmbH & Co.KG
Unlike MTB pedals, many road bike pedals are not designed symmetrically, meaning you can only clip in from one side. What seems like a disadvantage at first, however, allows for a larger and stronger spring mechanism and thus a firmer connection between the shoe and pedal. In this way, the pedal can cope with the greater active forces often found in the road bike sector. In addition, this design lowers weight and reduces the risk of hitting the ground when pedalling in steep curves. Constantly clipping out and clipping in again is not really an issue in the road bike sector. One exception, however, are the pedals from the US manufacturer Wahoo-Speedplay, where the springs are located in the cleat. They are symmetrical to the pedal axis and allow you to clip in from both sides.
Clipless pedals for road bikes are often only designed on one side, which makes room for a more powerful spring mechanism. © bc GmbH & Co. KG
With most clipless pedal systems, you turn your heel outwards around the pedal mechanism to release. Shimano’s SPD system comes equipped with a multiple release function. In this case, you can also disconnect by tilting the heel. There are two parameters that influence how easy or difficult it is to do this, and they are not usually combined. Some systems let you change one parameter, some others:
A special case is again Speedplay, whose pedals have a very low release hardness but a high release angle. A good option for people with knee problems, but it takes some getting used to when one is accustomed to a "hard" pedal.
Closely related to the release angle is the term “float.” It describes how many degrees of lateral freedom of movement you have while remaining firmly clipped in. This is especially important for mountain bikers who move very dynamically on their bike, or their bike underneath them in the terrain, steering a lot with their feet and hip rotation. The rule is: the greater the float, the greater the freedom of movement on the pedal and the greater the release angle. This means a lot of freedom of movement is equates to a slower clipping out process. The values for the float range from 0° to about 6°. The Time Atac pedal system offers a special feature: here you can not only rotate your foot around the central spring mechanism, but also move it sideways on the springs by up to 2.5 mm and thus, for example, stand narrower uphill and wider on technical descents.
Speaking of standing wider: the bottom bracket width and crank design not only influence the Q-factor (also called stand width), but also the pedals. The longer the axis and the wider the platform, the further out you can or must stand. On a road bike, XC or generally on long distances, a narrow Q-factor is usually the norm. This is either out of pure habituation, as the efficiency is perceived to be higher, or because of aerodynamic advantages. Gravity mountain bikers in particular like to stand further out and wider for more pressure and control on the pedal when they are not in the basic position, but working from the thighs and hips. Naturally, your hip width also plays a role: people with narrow hips quickly find wide Q-factors uncomfortable, and vice versa.
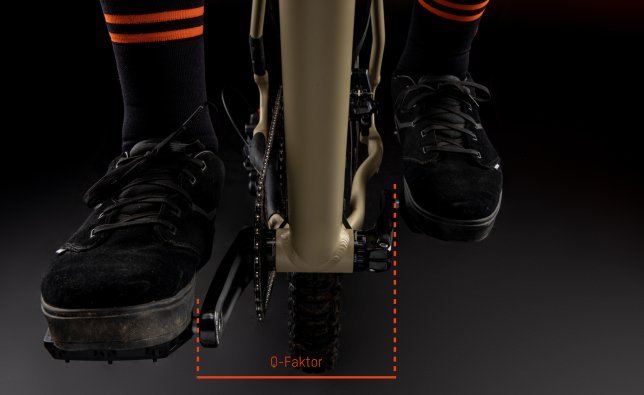
Q-factor: how far apart your feet are on the pedals. In other words, do you pedal straight down, or do you have to pedal in a slightly outward direction? © bc GmbH & Co. KG
Whether your clipless pedals need a platform or not essentially depends on your application. You stand more securely on the platform, regardless of whether you are clipped in or out. It also makes it easier to clip in under difficult conditions and, thanks to the larger contact surface, allows you to use softer shoes without your foot bending too much around the pedal body. That's why clipless pedal platforms are especially interesting for technically demanding routes and when the walking comfort of your cycling shoe is important to you.
The harder the sole, the better the power transfer – that is a fact. However, hard soles also have their disadvantages: they do not roll off well, and comfort and stability while walking or standing are miserable. They also transmit vibrations and require a good footbed to prevent fatigue. On a mountain bike, the lack of feedback and the reduced control can also be a disadvantage. Therefore, there is no such thing as the perfect cycling shoe, only shoes that combine your personal requirements in the best possible way. An indication of the sole hardness is given not only by the manufacturer’s specifications, but also by our application filter: shoes for road cycling, cyclocross, triathlon and track have the hardest soles, shoes for dirt jumping, slopestyle, downhill and city tend to have the softest – the rest fall somewhere in between. We have already pointed out another aspect: the smaller your pedal, the harder your shoe should be. Tip: Ergonomic insoles with different hardnesses are a great way to adjust the comfort or efficiency of your shoe and compensate for errors. This is not an ergonomic issue, but you should still pay attention to it: the shoe must also fit the pedal system in terms of the number of bolts.
A bike saddle that adapts to your anatomy? We have tested the thermoformable saddles from REFORM for you, which promise exactly that.

Biking doesn't have to hurt! There are lots of adjustments you can make to adapt your bike to your needs. We’ll show you how.
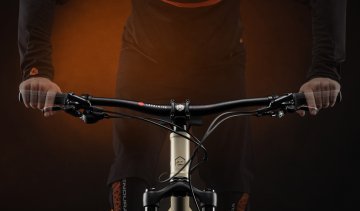
Backsweep? Upsweep? Rise? The handlebars let you adjust ride quality, comfort and ergonomics perfectly to you and your MTB. Read our tips to learn more.
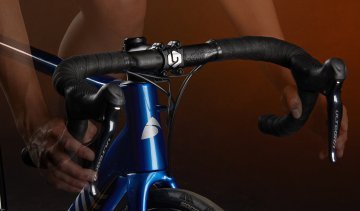
Drop – Reach – Flare: On road handlebars, aerodynamics and ergonomics must go hand-in-hand, so that you can bring your best performance to the road.
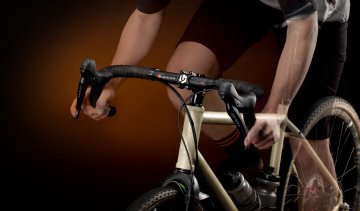
Gravel handlebars are the new trend in drop bars. Learn here what flare, drop, reach, and back sweep mean and why they matter.
Gravel handlebars are the younger siblings of drop bars, with a stronger focus on comfort, control and view. Read our guide for gravellers.
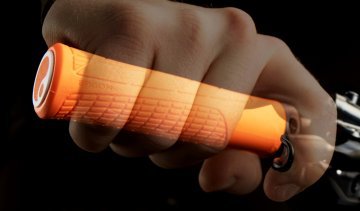
Handlebar grips are a decisive factor in the ups and downs of cycling. Depending on the area of use, the requirements for a grip are very different.
SPD? ATAC? SPD-SL? Kéo? There are many clipless pedal systems for MTB and road bikes, but they are not all compatible. An overview of all systems.
The variety of platform pedals, also called flat pedals, is vast. Here’s what to look for when buying a pedal so that it suits you and your riding style.
The way you bed your butt is how you ride. Finding the right bike saddle is often not easy. We’ll give you tips on what you should pay attention to.
As you sit, so must you ride. Finding the right saddle for your bike doesn’t have to be an epic journey. We’ve got some tips on what to look for.
The requirements for your MTB saddle depend on the specific application and your anatomy. We give you tips on choosing the right MTB saddle.

Searching for THE road bike saddle that makes your beloved hobby comfortable for your rear too? Read here what you need to look out for.
To ensure your cycling tour isn't a torture: We're sharing tips on how to find the perfect saddle for your touring bike.
We’ll give you tips and advice on the right saddle for your touring bike, so that your bike tour doesn’t become a headache.


Send your unused goods back within 100 days after purchase and get your money back!
See more