


How To: Inspect Your Bike
Ready for the season? We’ll show you how to prepare your bike for the upcoming season and which parts require special attention.
In order to fully utilise the potential of your mountain bike suspension, you should know its adjustment options and functions. We’ll explain them all!
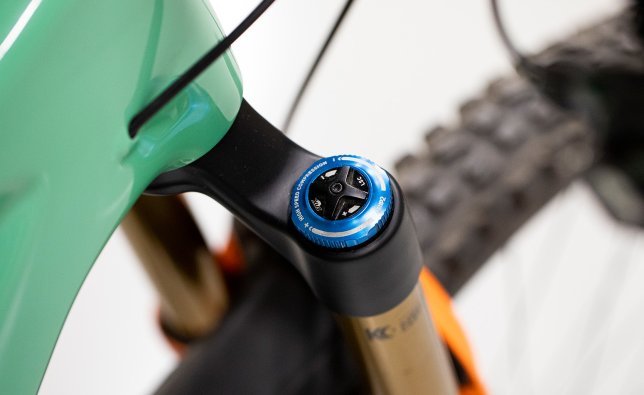
Modern suspension components for mountain bikes feature numerous external adjustment options and offer you the possibility to adjust your suspension precisely to your personal preferences, your riding style, the route or the weather. The first step toward finding the right setup is to know the different options and understand how they impact your bike. Not every suspension fork or every shock offers every adjustment option. It is best to first check what applies to your chassis before you start setting up your MTB!
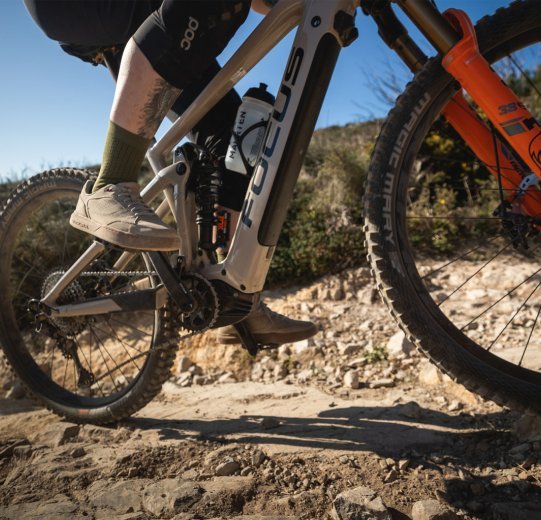
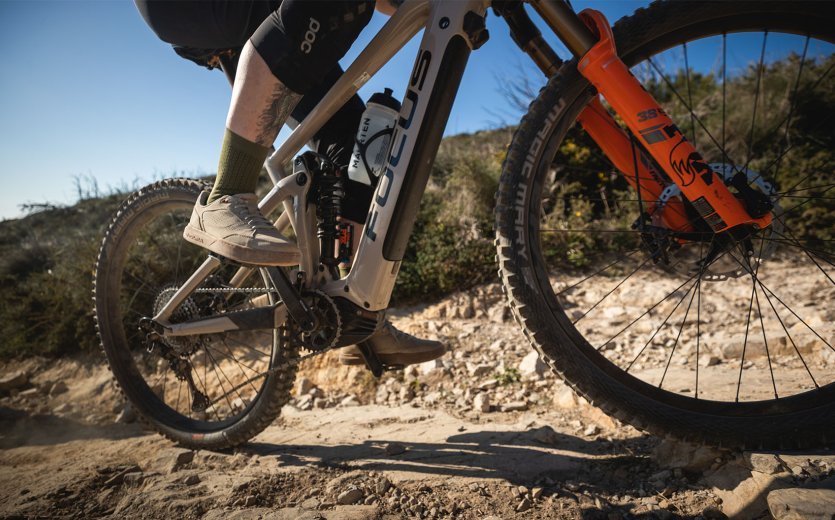
What could be better than biking over challenging terrain with a perfectly-adjusted MTB suspension?
How to find the optimal settings for your MTB suspension.
Adjusting your suspension is not rocket science, but it does require a bit of systematic knowledge and discipline. You will achieve the best results if you follow a few basic tips.
| Whether it’s a fork or shock, it's the order that counts. Always start with the suspension stiffness or sag before moving on to the other parameters, because the suspension stiffness affects all other settings. Continue with rebound and compression, before you move on to finer details like volume spacers. Also set the sag with open rebound and compression damping (see below) and rebound with open compression damping. |
| Get your suspension set up with the basic parameters of suspension stiffness, rebound and compression. You’ll get 90 percent of the work and have a good starting point for making other adjustments. |
| Only change one setting at a time! Experiment with how the change affects you and then move on to the next adjustment! If you change several parameters at the same time, you will later no longer know what had what effect. |
| There is only one way to find out if you’ve set up your suspension correctly: try it out! For your test rides, it's best to find a trail that you know well and are confident riding on. Only then can you concentrate on the chassis. |
| When you have found a good basic set-up, make a note of it. This way you can quickly adjust everything to the correct values again, such as when you get your bike back from the workshop. |
Suspension stiffness – or "spring rate" in physical terms – describes the ratio of a force acting on the spring to its deflection. In other words: how far does a spring compress when you load it with a certain force? The suspension stiffness is the most important adjustment parameter of every suspension component. It has a direct effect on the driving dynamics and an indirect effect on all other setting options. The suspension stiffness is used to set the sag, which is so important for riding dynamics, i.e. how far your suspension component compresses due to your body weight plus equipment. The correct sag ensures that the suspension works optimally in both directions, i.e. can compress and rebound. Rebound is important to keep your tyres in contact with the ground, even on potholes in the trail. Depending on the area of use and the available suspension travel, you usually choose a sag of 15 to 30 percent. The more travel you have, the greater the sag values usually become. For full-suspension bikes, make sure that the amount of sag on the fork and shock do not differ dramatically. This easily leads to a front- or rear-heavy riding behaviour.
With an air suspension, you simply adjust the stiffness via the air pressure. In any case, use a special suspension fork or shock pump. Steel or titanium coils allow you to install springs of varying hardnesses – depending on your weight. Don't forget to consider the weight of your equipment, such as clothing, shoes or backpack. You can also preload the suspension to a certain extent. However, you should know that a higher preload is not the same as a harder suspension. Too much preload can have a negative effect on the response, which is why we advise against using preload to adjust the suspension stiffness.
If your fork has an external travel setting, make this and all other adjustments in the extended position.
Tip: Manufacturers such as Fox Racing Shox or RockShox provide setup tips for their suspension forks. Often they stand directly on the dip tubes of your fork. This is not possible with shocks because of the different gear ratios on different rear triangle designs.
With rebound damping you control the rebound speed of your suspension components . Why the rebound is important? Remove the coil from a ballpoint pen, squeeze it and release it. The little coil will take off with amazing speed. Translated to the MTB and the trail, this means that if the movement is not damped, the front or rear wheel bounces and makes for an uneven ride. More damping means slower rebound speed and is usually marked with a "+" on the adjuster. RockShox uses simple pictograms for labelling this: "hare" means faster rebound/less damping, "tortoise" stands for slower rebound/more damping.
If you change the suspension stiffness on your mountain bike, you will usually also have to adjust the rebound setting, because a higher pressure or a harder suspension means a faster rebound.
On some high-quality suspension components, the rebound setting is divided into "low-speed" and "high-speed". This has nothing to do with your riding speed or the speed of the impact, but with the amount of suspension travel used. The more travel you use, the higher the counterpressure from the suspension (regardless of whether you’re using air or coil suspension) and the faster the rebound process. The low-speed setting thus changes the rebound speed from low to medium suspension travel utilisation, the high-speed setting from large to full.
Tip: For full-suspension bikes, make sure that the rebound settings of the fork and shock harmonise.
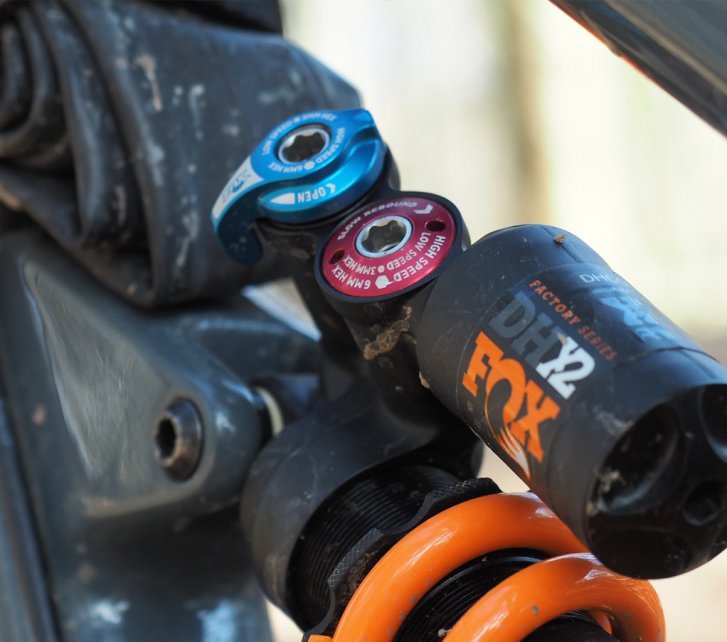
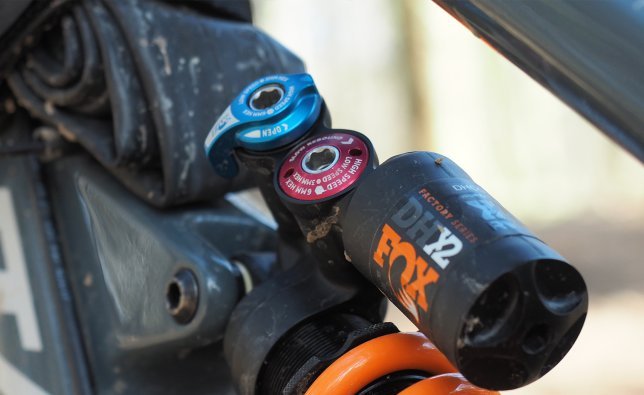
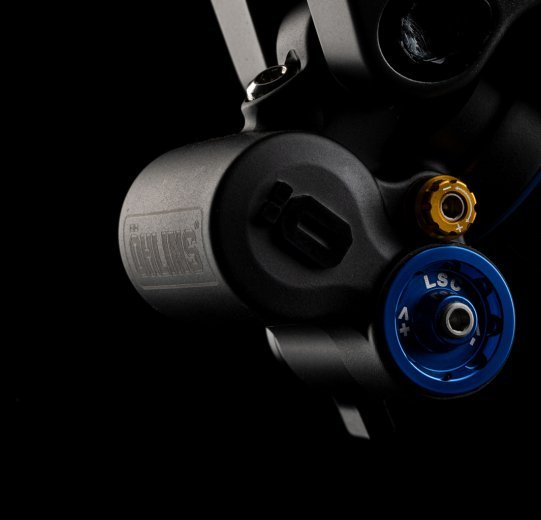
Fox's DHX2 shock also differentiates between low-speed and high-speed rebound. This allows a particularly fine adjustment of your chassis. © bc GmbH
The compression stage is the opposite of the rebound stage, namely the load on pressure. This setting allows you to control the compression of your suspension component(s) on the MTB. The higher the compression damping, the slower the suspension component compresses, both when pressure is applied from above (for example, in the saddle) and when riding over bumps. Less compression damping means an active chassis, but it can also feel jumpy. More compression damping reduces the sensitivity of the spring component, but provides more counterpressure.
A special feature of a compression damper is a platform damper, which is in addition to or instead of a fine-grid adjustment. Usually a platform damper has a few, strongly differing stages, e.g. "Open - Pedal - Lock" by Rock Shox or the "Climb Switch" by Fox or Cane Creek. Unlike a real lockout, the closed mode here also does not completely block the oil flow in the damper.
As with rebound, particularly high-quality suspension components also differentiate between high- and low-speed compression and thus allow your MTB suspension system to be finely adapted. A stronger low-speed compression damping with less high-speed would, for example, ensure that the suspension does not sag on smaller impacts, but immediately releases the necessary suspension travel on larger impacts. Unlike rebound, compression damping has a relationship between the speed of suspension movement and the low- or high-speed setting. Low-speed compression dampens the compression against slow movements such as pedalling while standing or pedal input. High-speed compression is responsible for the fast strokes that mean high piston or shaft speeds.
Tip: Closing the compression damping almost completely on a mountain bike uphill is fairly common, but often inefficient and uncomfortable. As soon as you leave the smooth-as-a-baby's-bottom asphalt, an active chassis that ensures that the tyres follow bumps and do not lose contact with the ground is usually the most energy-saving and best solution – especially for uphill riding.
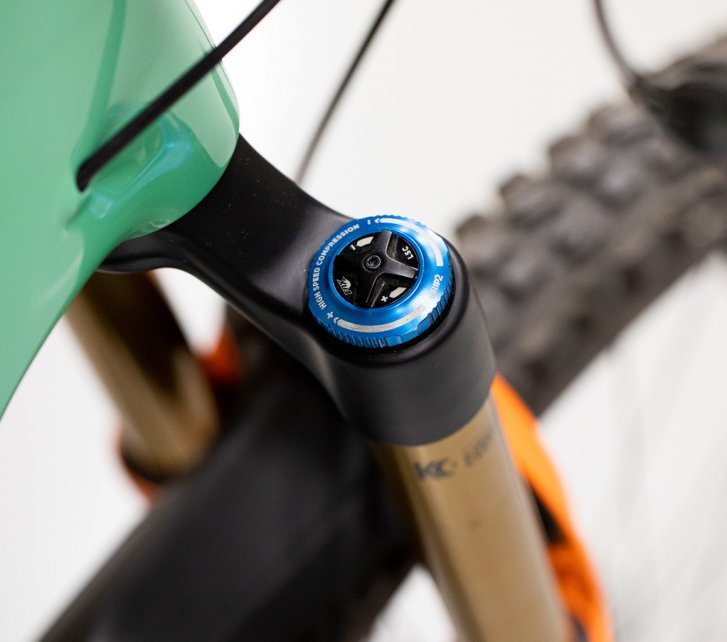
Appropriately-adjusted compression damping provides the necessary balance of responsiveness and counterpressure. © bc GmbH
Air can spacers have been an integral part of the mountain bike world for some years now. They are particularly widespread with suspension forks. Here they are also called "tokens" - analogous to the term coined by RockShox. The spacers are mounted in the air can of the suspension component (either a fork or a shock) and reduce the volume. The more spacers you fit, the higher the final progression of the characteristic curve. In other words, the more suspension travel you use, the greater the resistance. This is useful, for example, as a measure against bottoming out during large jumps. You would not achieve the same effect with a simple increase in suspension stiffness or more compression damping, as you would also negatively influence the response of the spring medium.
Make sure to use the spacers intended for your suspension components!
Tip: More is not always better. How much progression your spring characteristic curve should have depends on many individual factors. The truth lies somewhere in between: find the setting that gives you the amount of progression to avoid sagging and enough counterpressure, but still allows you to use the travel without sacrificing grip and comfort.
Ready for the season? We’ll show you how to prepare your bike for the upcoming season and which parts require special attention.

Air fork and coil shock with titanium or steel coils? We’ll go over the characteristics of different spring media for mountain bikes and e-bikes.
Mountain bikes and E-MTBs come with suspension elements that rely on air or steel as the spring medium - or even titanium. We'll explain the differences.

Modern MTB suspension systems consist of a spring and a shock. We explain the differences so that you can find your perfect suspension setup more easily.
Send your unused goods back within 100 days after purchase and get your money back!
See more


