


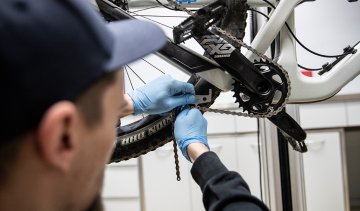
How to: Replacing the MTB Chain
Is the chain on your MTB worn out? Do you want to fit a new one? No worries. We’ll explain how you can replace your chain on your bike.
With the right tools, replacing the cassette on your MTB is a quick and easy task. We’ll show you how it’s done.
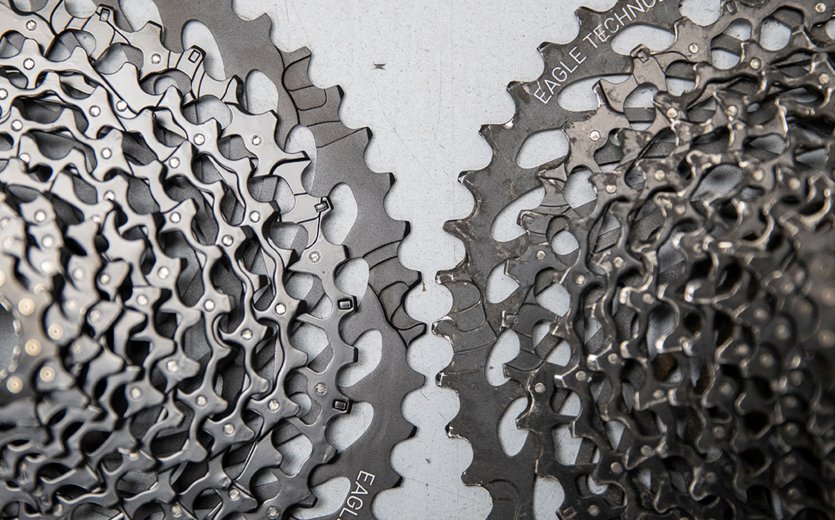
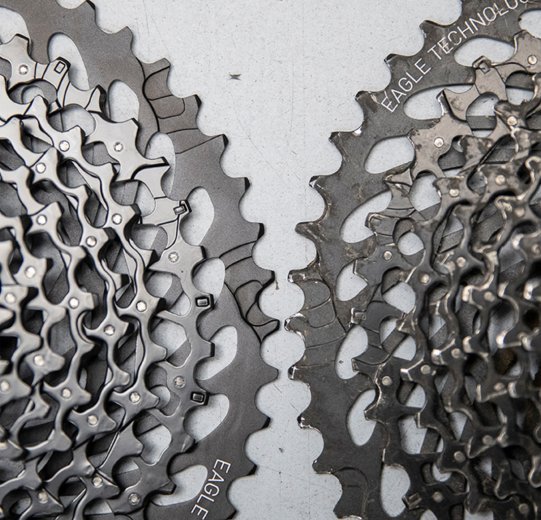
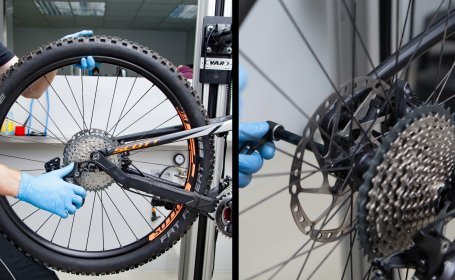
Even with good care and regular chain replacement, the sprockets of the cassette on your mountain bike will eventually wear out. By the time you notice it, it's already too late, because the chain is already slipping over the worn teeth of your beloved gears. In this case, the only thing that can help is to replace the cassette so that your drivetrain runs smoothly again. It could also be an ideal opportunity to install a sturdier or lighter chainring.
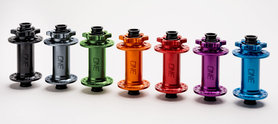
To find out which cassette you need, just have a look at our posts on mountain bike cassettes and on freehubs, because your cassette must be compatible with your freehub. Basically, you are not doing anything wrong if you re-install the same model of your cassette. This ensures that it fits perfectly with the freehub of your rear wheel and also with the rear derailleur. If the exact model no longer exists, focus on the number of sprockets and the spread – i.e. the smallest and the largest sprocket.
There are different freehub standards on mountain bikes and e-bikes – but the principle and assembly procedure are the same everywhere. Therefore, you can use these instructions for bikes with SRAM XD freehubs as well as for Shimano cassettes.
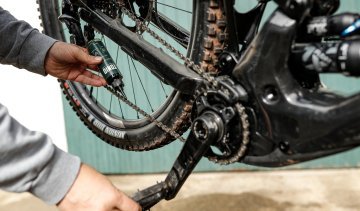
If you spend a lot of time on your bike, sooner or later it will be time to service the drivetrain.
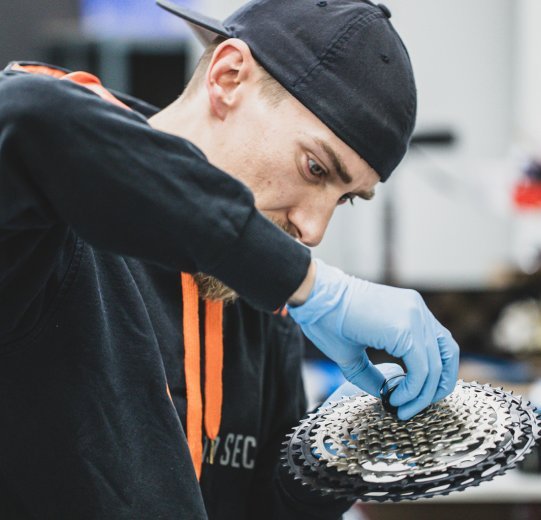
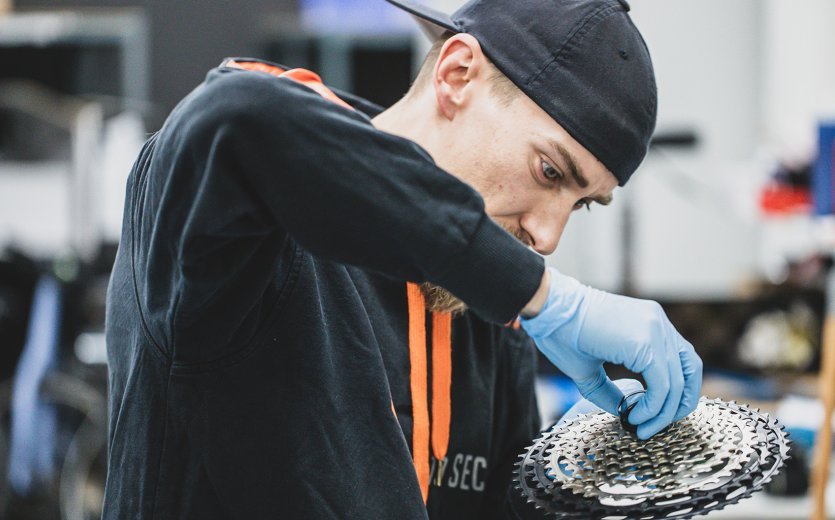
We’ll show you step-by-step how to replace the cassette on your mountain bike.
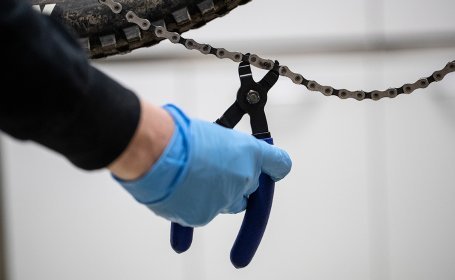
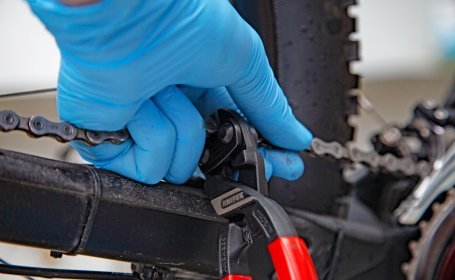
You can open the chain either with master link pliers, a chain tool…
... or (the hard way) with bolt cutters.
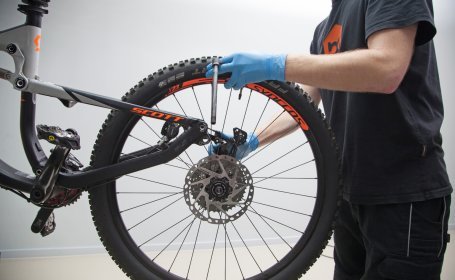
Loosen the axle and remove the wheel.

Tip: pull the rear derailleur backwards when you want to release the rear wheel.
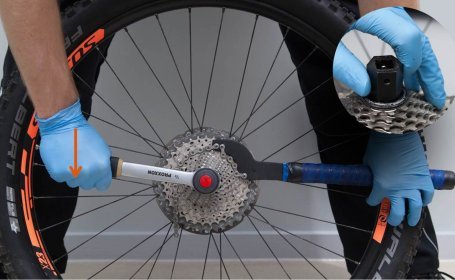
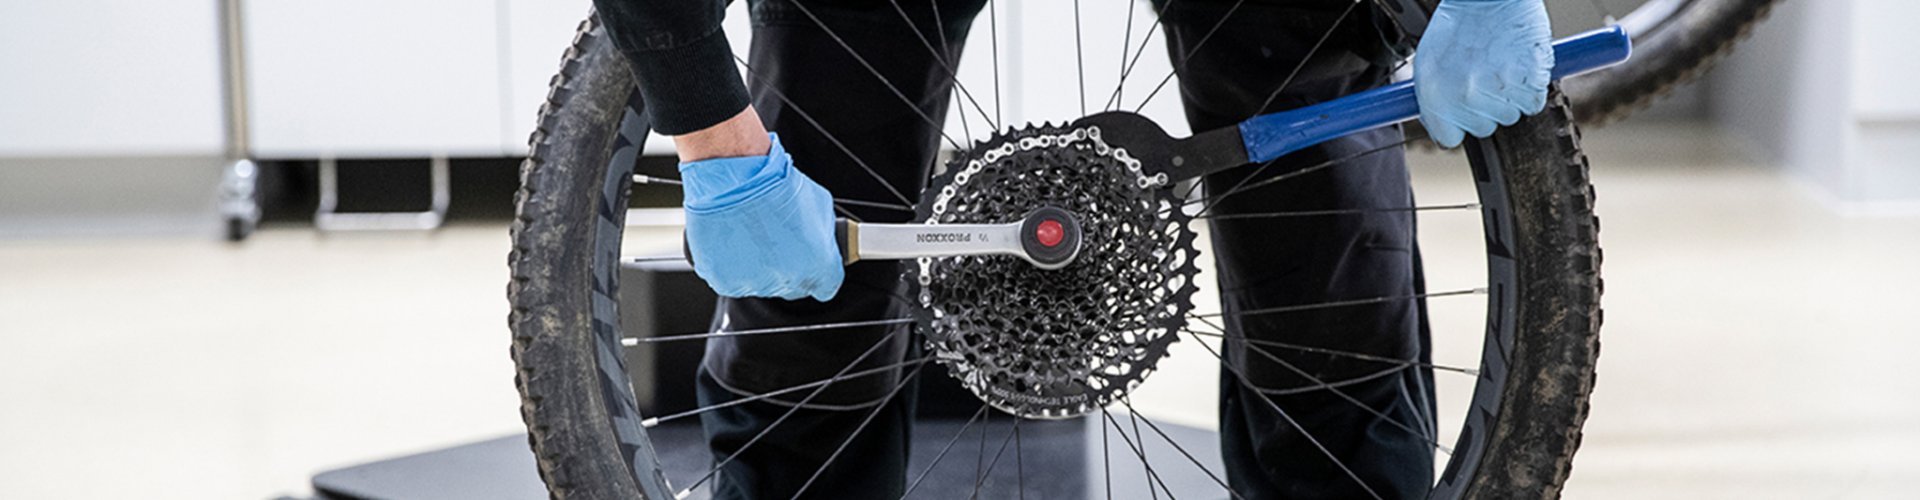
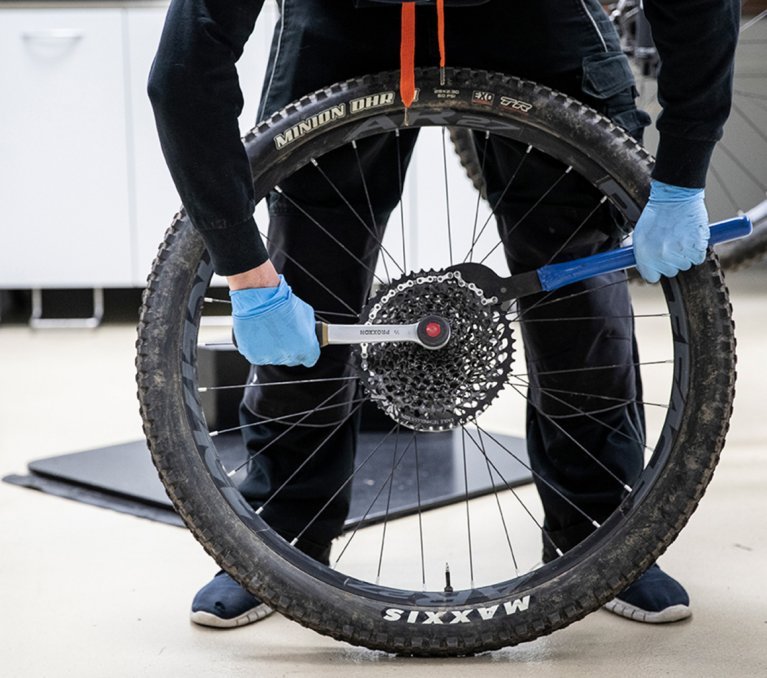
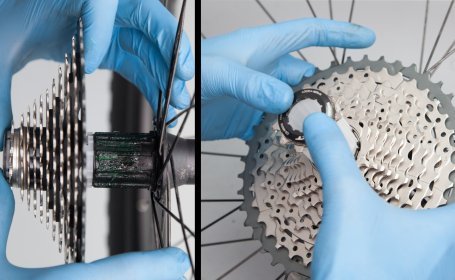
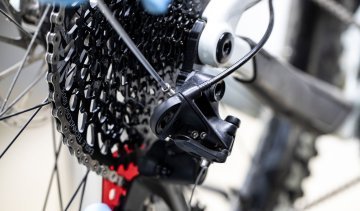
This is how you use tools to loosen the cassette. Place the chain whip on one of the larger sprockets and pay attention to the maximum wrap around the sprocket!
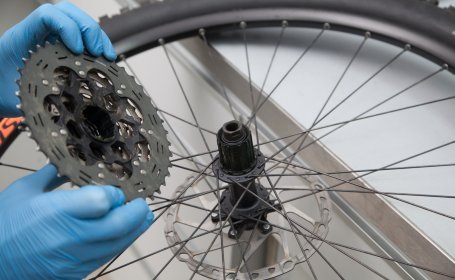
After you have loosened the cassette, you can usually pull it off the freehub quite easily.
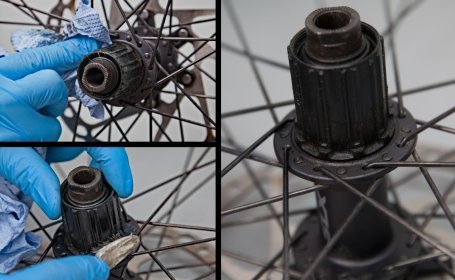
Thoroughly clean the freehub body, especially at the rear, to give your new cassette an optimal fit.
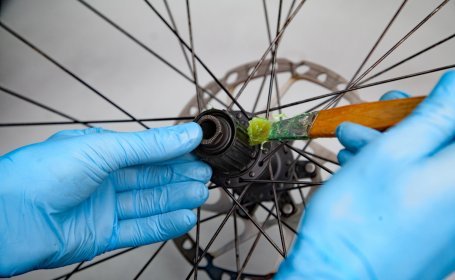
Coat the freehub with a little grease.
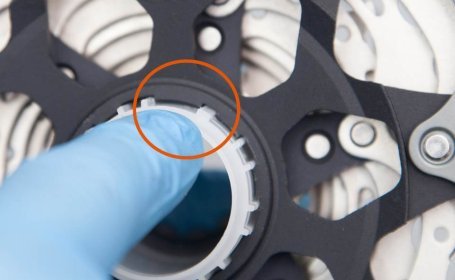
When sliding on the cassette, look for the widest groove or narrowest spline!
If your cassette is made as a unit, you can slide it on; if it consists of sprockets and spacers that can be detached from each other, the cylinder used to transport it will help you.
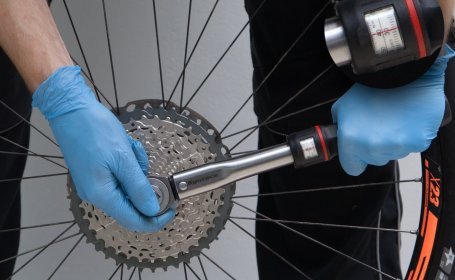
Use a toprque wrench to retighten the cassette.
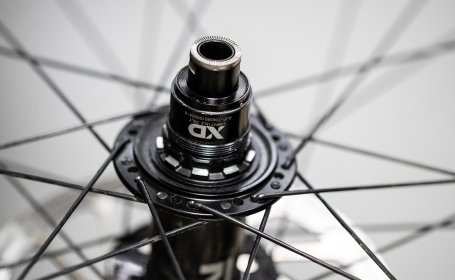
Here you can see the special feature of the SRAM XD freehub. The grooves do not extend over the entire width of the freehub.
The axle is also happy to get some fresh grease when it is reassembled.
Insert the rear wheel and screw in the axle.
Is the chain on your MTB worn out? Do you want to fit a new one? No worries. We’ll explain how you can replace your chain on your bike.
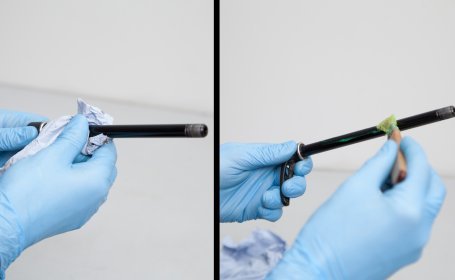
Well-greased chains are smooth, quiet, and shift with precision. But which lubricant is the best? Here are some tips for proper chain care.
Whether you’re using Shimano or SRAM, adjusting the derailleur on a mountain bike or e-MTB is not difficult. With our tips, every gear will shift smoothly.


Send your unused goods back within 100 days after purchase and get your money back!
See more