
Shimano, Campagnolo or SRAM? Shifters & Deraill...
Whether you’re a sprinter or a mountain enthusiast, a nerd for classics or a fan of light materials, our tips will guide you to the right road bike system.
Performance measurement like the professionals. What are the advantages and disadvantages of modern power meter systems?
They have been established in professional cycling for many years and are also indispensable in the ambitious environment of leisure cycling: power meters. The small measuring units provide precise and reproducible performance values of what a rider puts out. Cross-disciplinary. The basic principle of power measurement has been retained since the pioneering times at the beginning of the 1980s, when Ulli Schoberer developed the first power meter and later sold it with his company SRM. In recent years, however, more manufacturers have come into the market, which has led power meters to become significantly cheaper. And they supplement the heart rate monitor as a training control tool, if not even replace it. For some years now, not only professionals have been watt-controlled. No, more and more ambitious recreational cyclists rely on the numbers that the bike computer relentlessly and honestly displays in training and competition.
The argument for measuring performance is obvious in ambitious cycling and competition: When I know what power I can push out and for how long, it opens up the space to better control performance and ultimately improve results. The more precisely you control the intensities in training and competition, the greater the training effect and an improvement in results. In contrast to the heart rate, which reacts quite sluggishly and time-delayed to load changes, power meters display the power with only a minimal time delay and basically "live". Especially on longer climbs a fast initial speed can be avoided. An experience that most of us have certainly painful had at some point.... Ergo: A power meter helps to keep output below the "threshold output" and to avoid "acidification".
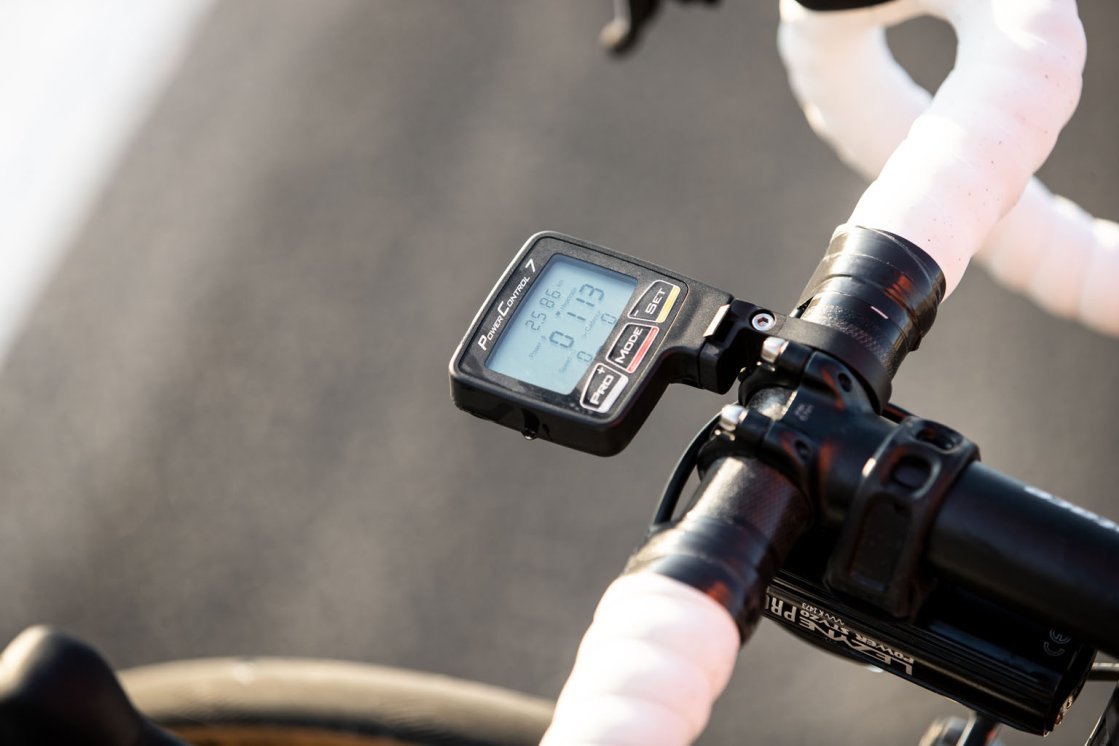
But if you know your pace, have an eye on the display and keep this pace...
The measuring principle of the common power meters is identical with all suppliers, as already mentioned at the beginning: Strain gauges are glued to the corresponding component, the material twist or strain is converted into an electrical resistance and the torque generated is then calculated. Consequently, power meters on the drivetrain of the bike work very well:
There were also attempts in the mid-2000s to measure the performance of the chain via its elongation. However, this system has not been successful. At about the same time, the rear hub measurement had its peak. However, since such a system is strongly tied to a wheel, which is frequently changed in racing, this approach has lost its attractiveness with other state of the art options available. (However we are excited to see what the future holds for Powertap after SRAM acquired them. Maybe in the future you will see system wheels from Zipp with the successors of the G3 hubs from Powertap.)
Finally, it should be noted that there have also been attempts to install a power meter in the sole of the shoe. The increase of the stack height in the shoe, a resulting, larger standing height and further problems, however, finally made the project from the company Luck fail.
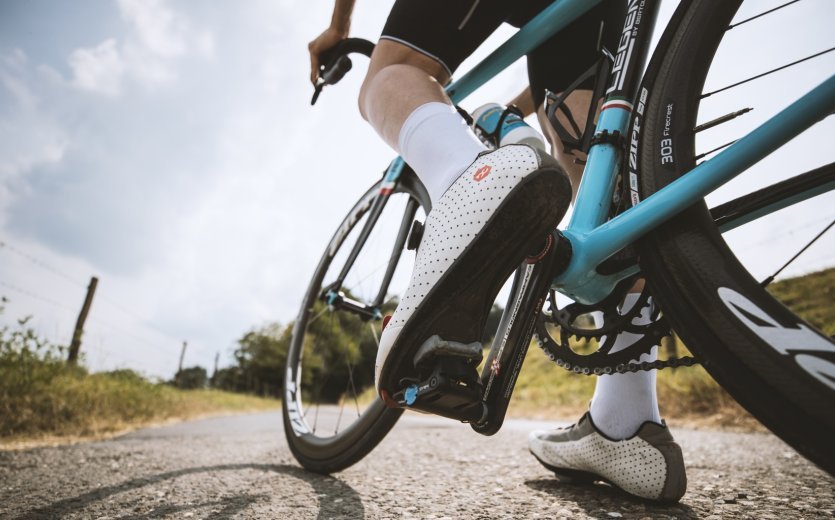
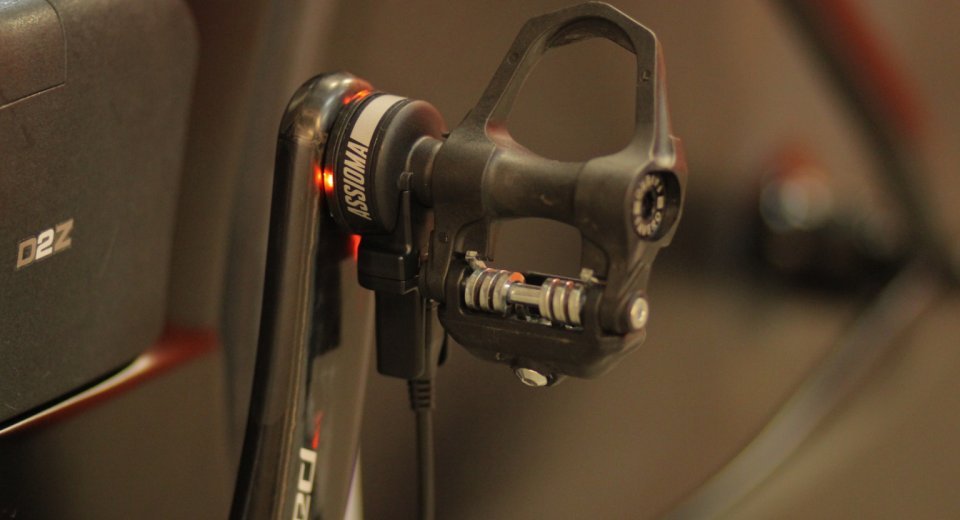
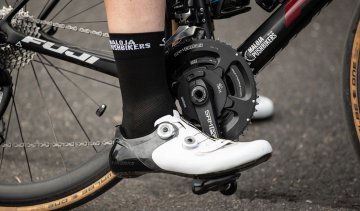
SRM's Exakt power meter inside a Look pedal.
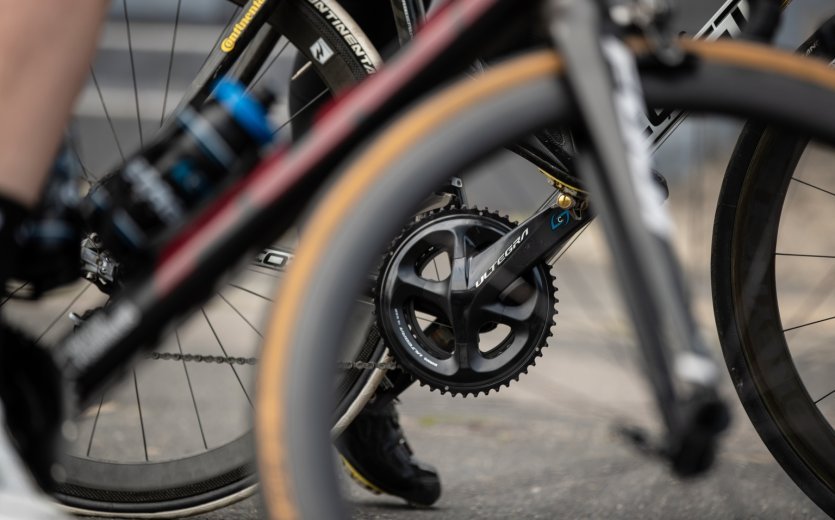
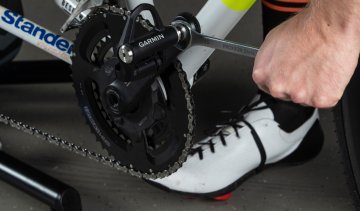
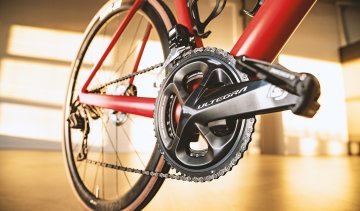
Stages Power meter tracking both sides inside Shimano's Ultegra crankset.
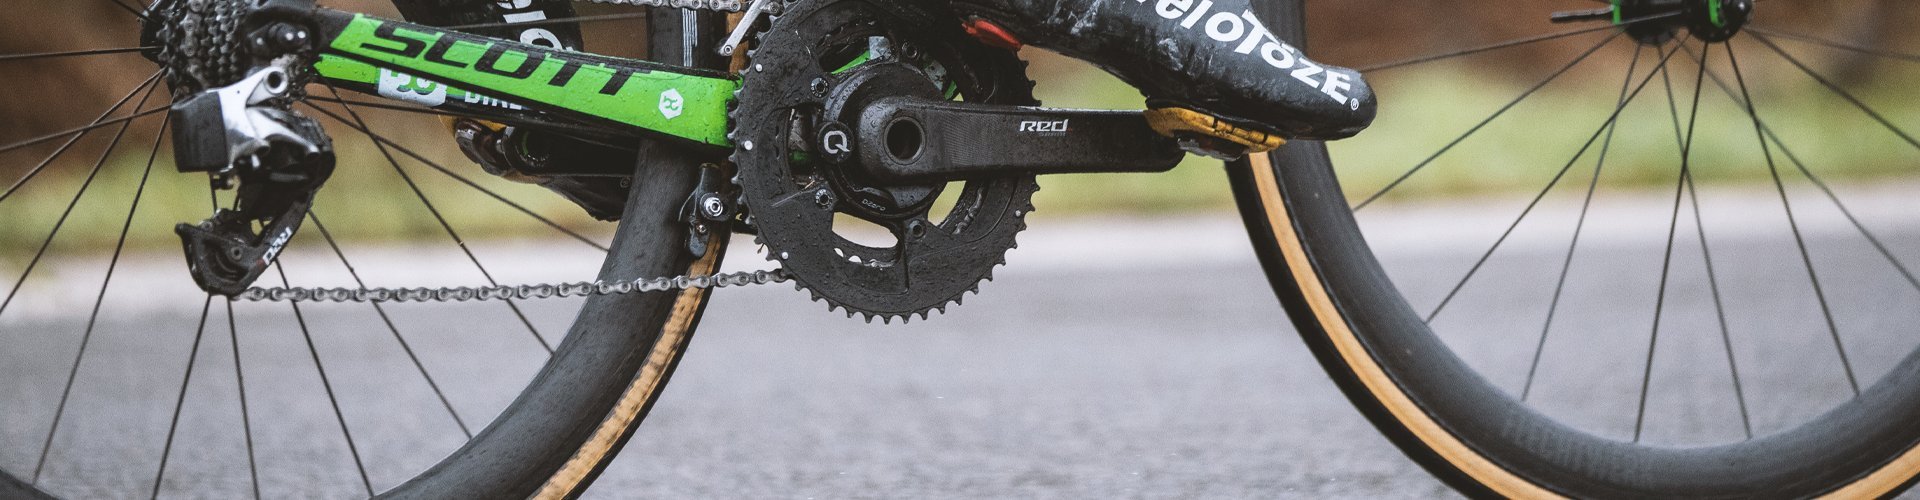
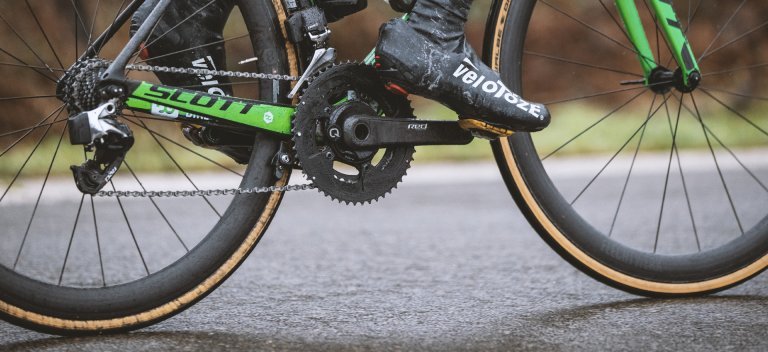
Power meter from US-brand QUARQ measuring the power at the spider.
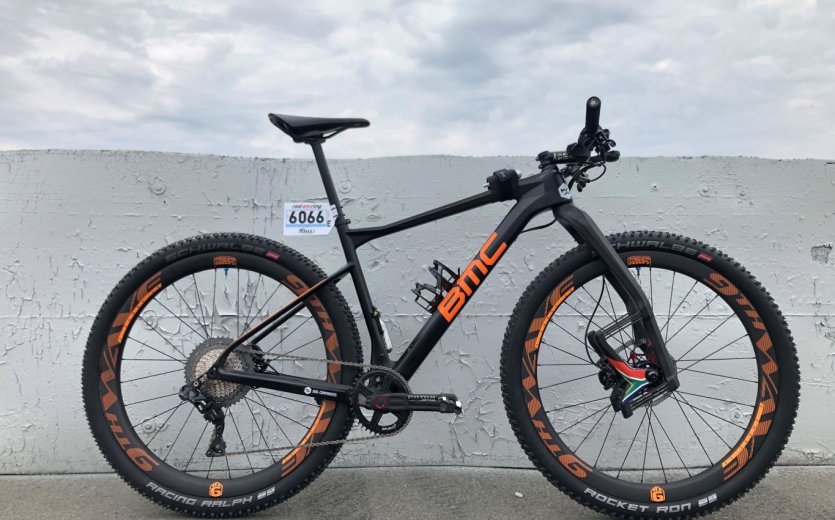
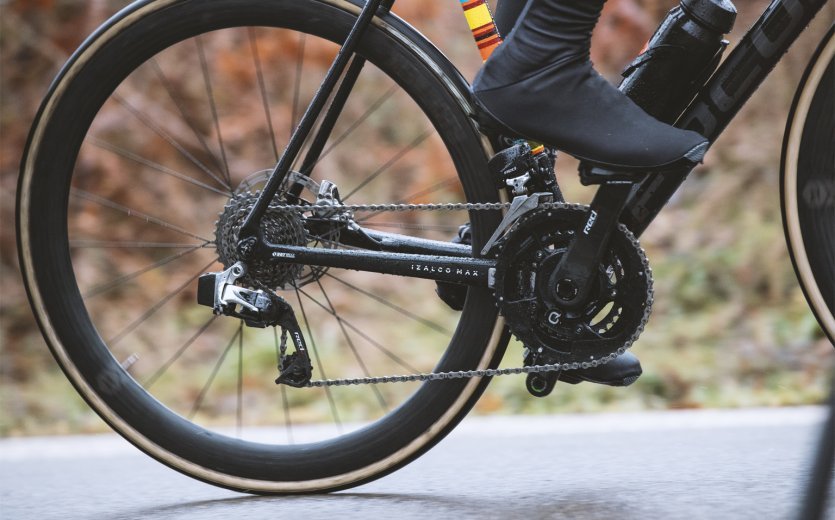
Rotor power meter InPower in a mountain bike, with oval chainrings.
Which power meter is preferred at the individual level in the end depends very much on two fundamental questions:
A power meter that measures both legs individually naturally provides more accurate data, but a one-sided measurement is sufficient for performance-based training control.
Bilateral systems are particularly interesting when you know you have a significant imbalance between your two legs, or are returning from an injury that has weakened a leg more. In principle, however, it should be noted that for the athlete who only uses the power meter as a control instance for pacing, a one-sided system is sufficient. It is not for nothing that the athletes of Team Sky with the "Marginal Gains philosophy" have won several Grand Tours with one-sided systems from Stages.
The measurement on both sides makes sense especially for those who want to deal with the pedal stroke as a movement sequence in more detail. Here, in combination with the latest head units, bilateral systems simply offer more possibilities to analyse the motion and the efficiency of the cadence. However, you should make sure that it is actually a two-sided system: Spider-based power meters also only calculate the balance and do not measure individually. Here, one half of the pedal turn is attributed to the left leg and the other half to the right. Tension and compression phases can only be measured by pedal systems, the Shimano power meter, the Stages LR and the Rotor 2INPower, as these have separate strain gauges for each leg, including measuring and transmitting units.
Since a power meter is usually to be mounted on an existing bicycle or integrated into the drivetrain during assembly, the question of installation inevitably arises. The range extends from very simple (watch out, right-hand thread on the pedal!) to complex bottom bracket salad with chainring crux.
In this context, the path of least resistance is taken with a pedal power meter. The current models from renowned suppliers (Favero, Garmin, Powertap, SRM) no longer require alignment or special torques except for SRM and can be screwed in like a normal pedal. However, the simplicity of installation is paid for by the exposed position of the power meter. The pedals are often the first place to be affected by a crash and often strike at the end of a curve, especially when it comes to criterium races. The pedal bodies can usually be replaced without any problems and the measuring electronics are located in the axle, but pedals just take more than other components. The Favero Assioma should be praised at this point. In contrast to its competitors, the electronics of the Italian pedal are not completely integrated into the axle. The circuit board and battery are located in the "knob" very close to the crankarms and are excellently sealed against water and dirt. With the integrated rechargeable battery, there is no need to worry about changing them.
Crank systems are a little more conversion-extensive, however there are some differences: With a one-sided system, normally only the left crankarm has to be replaced - which means loosening and tightening three bolts. If the bicycle is equipped with a Shimano crank, the installation of a Stages LR or Shimano power meter crank isn’t an issue. These are Shimano cranks, which were only given a power meter afterwards. Crank out, power meter in. The bottom brackets can stay in the bicycle. Be careful with direct mount brakes on the chainstay: Due to the special design of the frames, there is only little space between the rear triangle and the crank on some models. Since the power meters are glued on the inside of the cranks, it is absolutely necessary to check whether there is enough space between crank and chainstay. Otherwise the frame and the power meter could be damaged.
If your bike is equipped with a SRAM groupset and crank, installing a QUARQ crank is just as easy. Here you should only check in advance if you ride a BB30, GXP or DUB crank and choose the power meter accordingly.
For Rotor brand systems, make sure you use a bottom bracket for 30 mm axles, as the INPower axles do not fit in 24 mm bottom brackets. Our team in the service department will be happy to help you at this point. If you change the chainrings - and thus the gradation - at the same time, you should also check and adjust your front derailleur.
In summary, if you are going to be moving the power meter from bike to bike, then pedal based systems are the way to go.
Unbeatable in its simplicity: mounting a pedal power meter is a question of seconds.
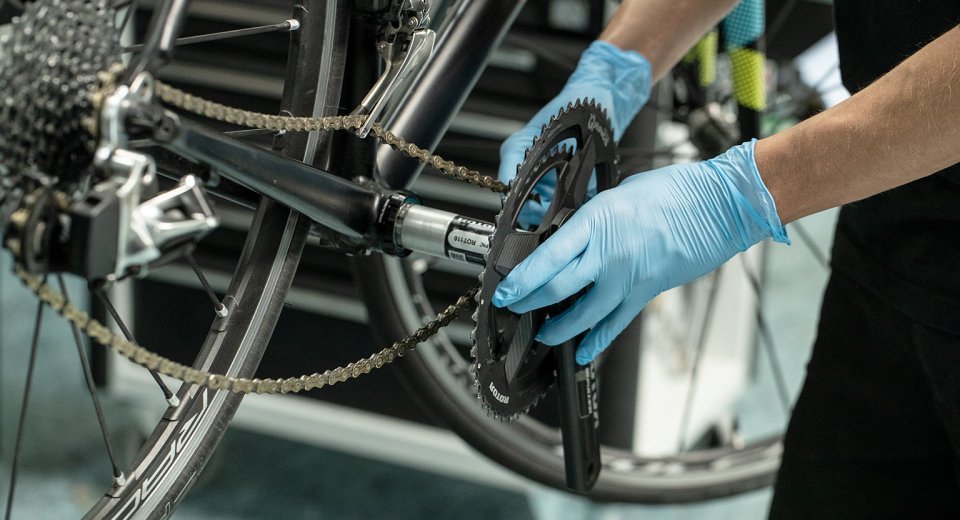
Systems that measure the power at the crank require more effort when mounting them.
The following list shows the system differences and special cases related to compatibility with the bicycle to prevent a mistake when buying:
When it comes to connectivity, the ANT+ standard is the first choice for power meters. Lately, Bluetooth LE has also become more widespread, which above all facilitates its use on a turbo trainer. (Most laptops do not have an ANT+ receiver and need to be equipped with a dongle to use Zwift, Rouvy and the like. Bluetooth is the connection standard here.) For bike computers, there are normally no standards that cannot be processed by a particular manufacturer.
Finally, it is certainly interesting to know whether one prefers a system with a permanently installed rechargeable battery or exchangeable rechargeable batteries: The advantage of rechargeable battery-powered devices (such as those from SRM or Favero) is that nothing can go wrong when changing batteries. However, I'm sure there are a few Garmin customers, on the other hand, who can probably sing a song about the precision need to replace the batteries.
However, if you forget to charge the power meter battery before the ride, then you will be standing at the start line without wattage values. Admittedly, this rarely happens with an SRM that has 3,000 to 4,000 hours of operating time, but it can happen more frequently with the Faveros. Here the batteries must be charged every 40 hours at the latest.
For systems with batteries, it is advisable to carry a corresponding battery in your bibs or jersey pocket, at least during training. Just in case. However, the nearest petrol station can usually help out too.
Which system you choose depends on many factors.
Basically our recommendation is: If you want to use the power meter on more than one bike, there is no way around power meter pedals. As always, exceptions confirm the rule and must be considered on a case-by-case basis.
For those who use the power meter on only one bike, the crank is traditionally the most reliable place for a power meter due to the less exposed position. There are combinations of frame and bottom bracket every now and then that make a solution tricky, but our service department is ready for any challenge.
Whether you’re a sprinter or a mountain enthusiast, a nerd for classics or a fan of light materials, our tips will guide you to the right road bike system.
Garmin launches the 4th generation of its Power Meter pedals. Rally is the name of this extremely versatile system. Jonas can give you a first look.
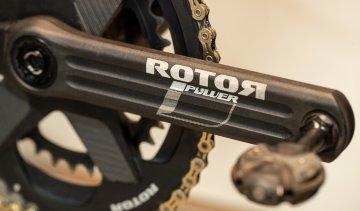
Rotor ALDHU 3D+ cranks are extremely flexible with direct mount. This also applies to the InPower power meter. Our riding impressions with oval chainrings.
SRM is quite rightly regarded as THE benchmark for power meters. Of course we took a closer look at the new SRM Origin Aluminium...
Some say, it is difficult to measure just one leg. Here my impressions of the double-sided Stages Shimano Ultegra LR power meter...

Smart training: all about power measurement, tricks from the pros and taking it easy on the first climb.


Send your unused goods back within 100 days after purchase and get your money back!
See more


