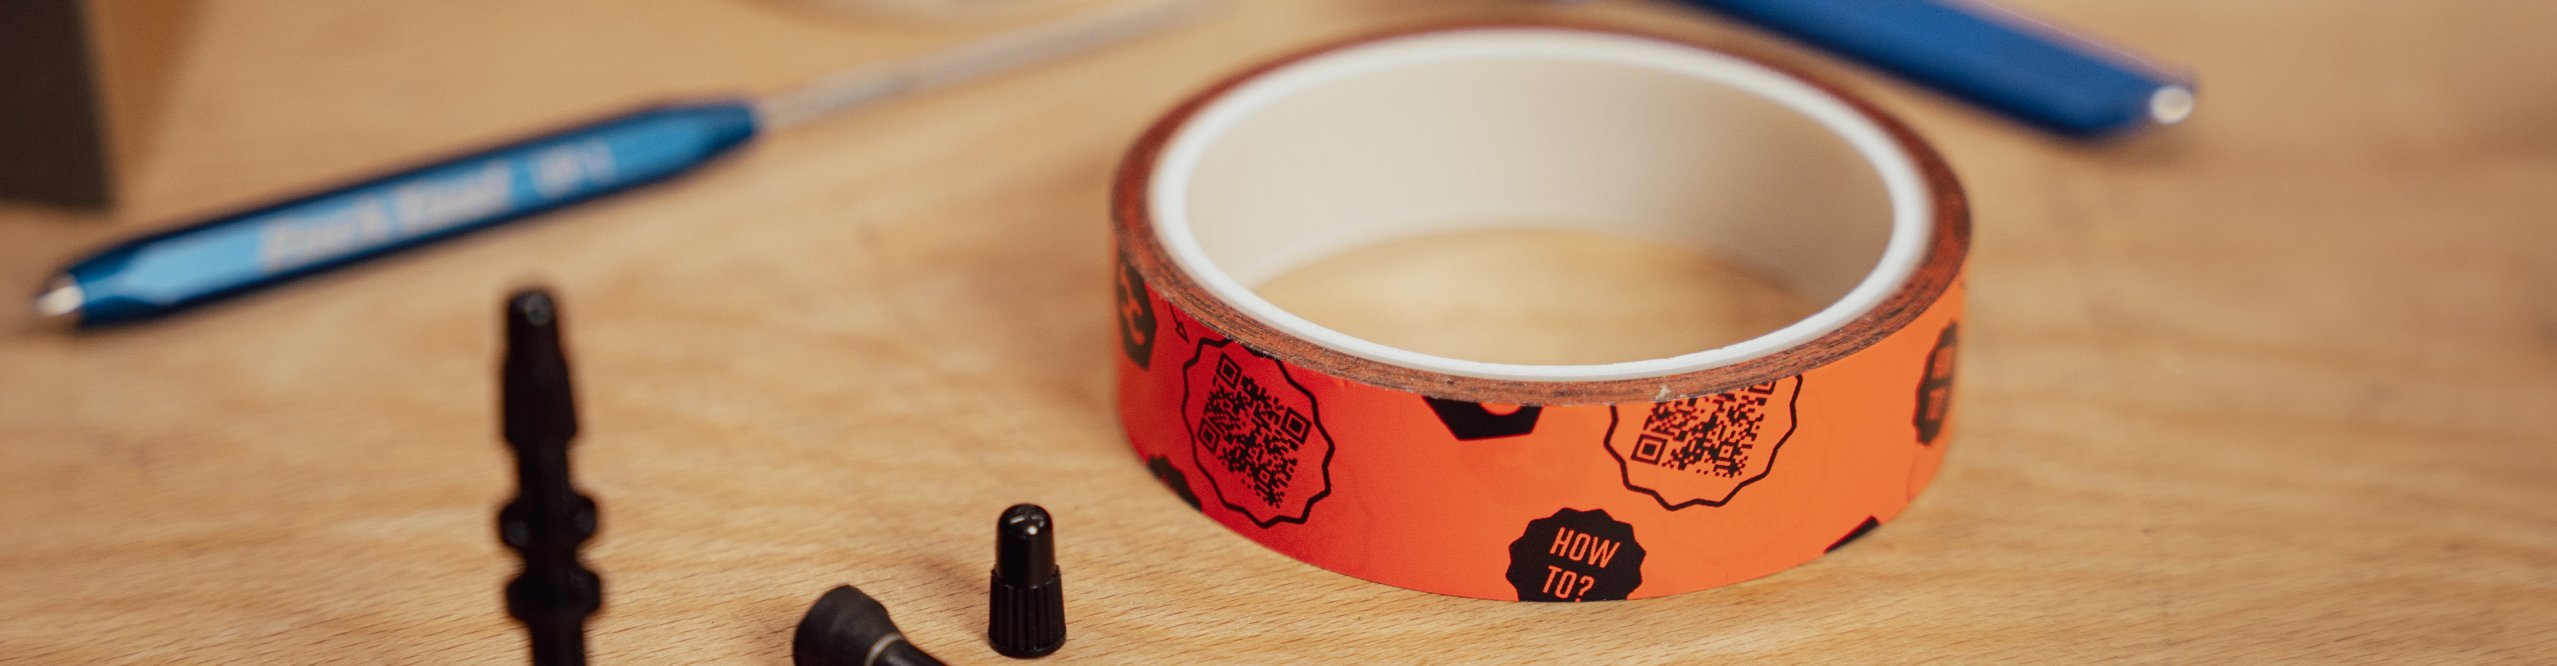
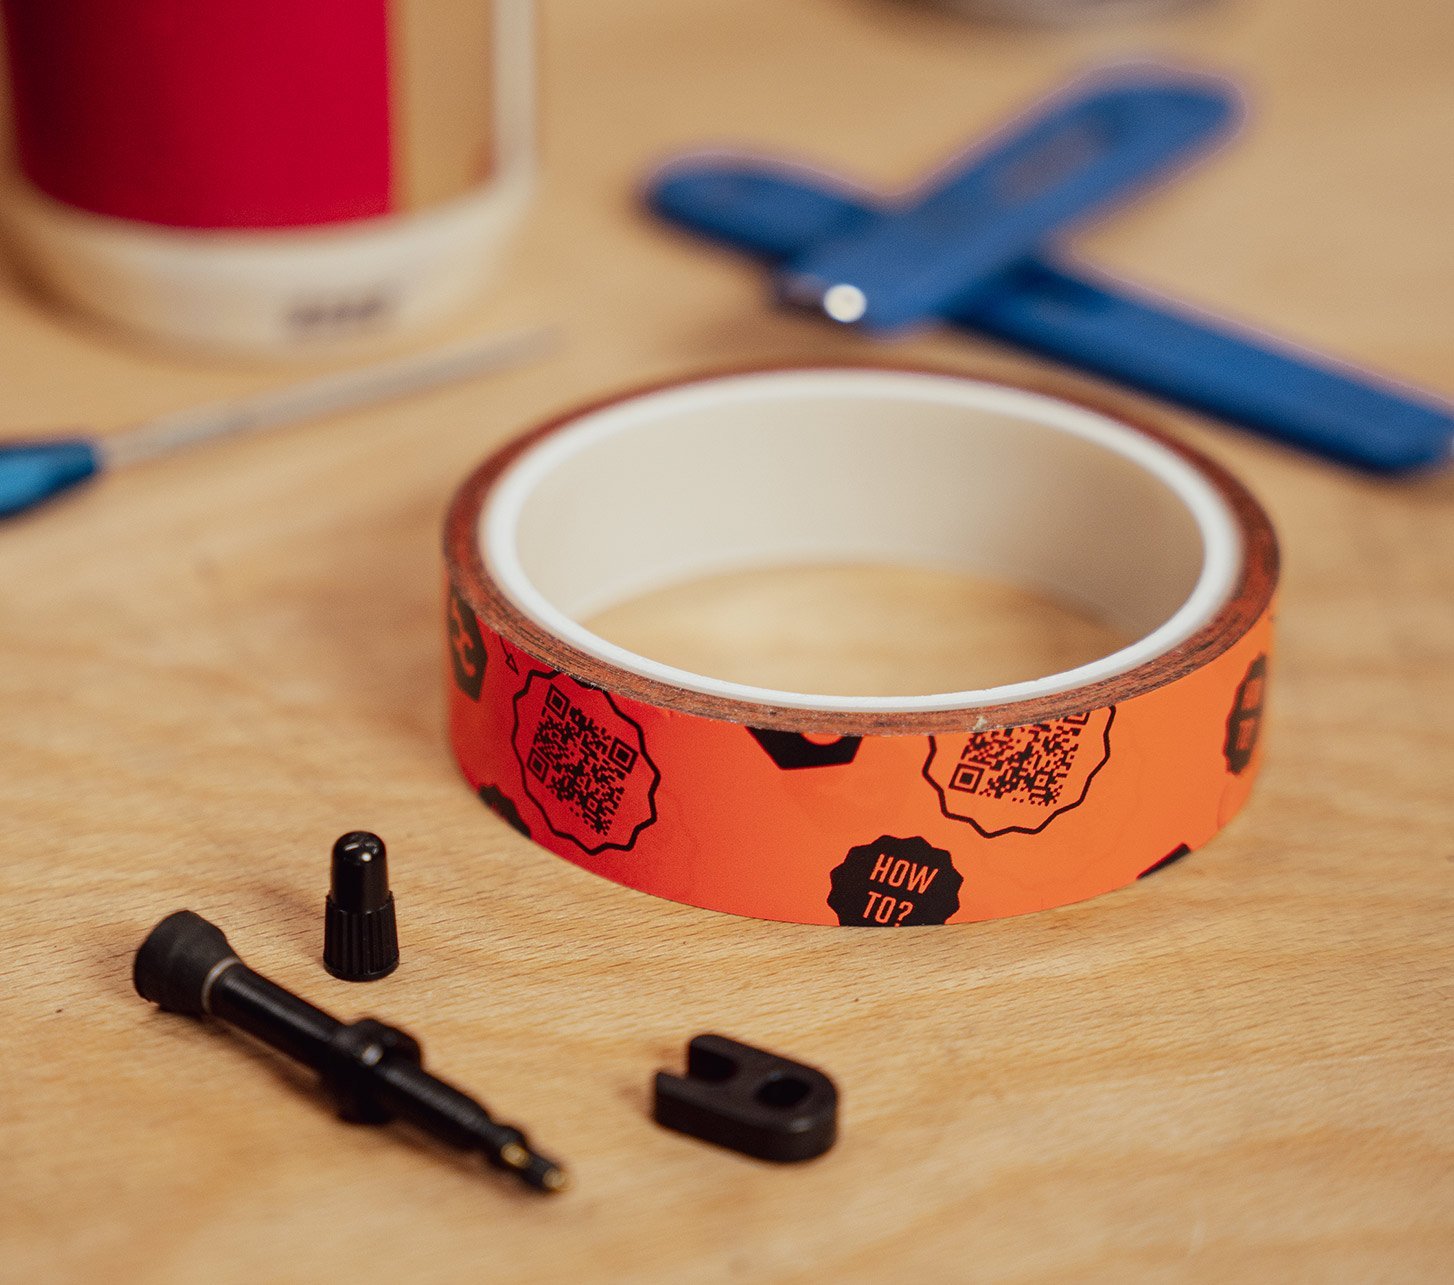
How To Tubeless Felgenband anbringen
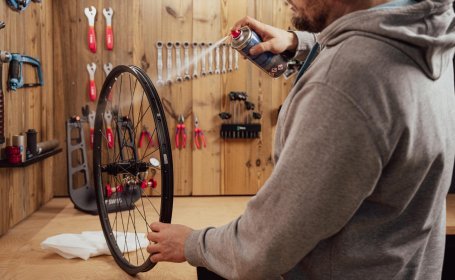
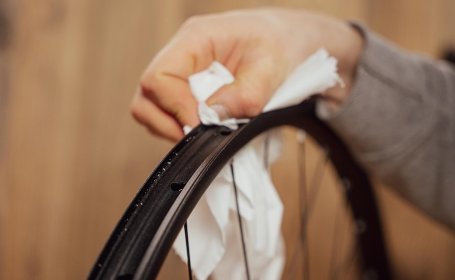
Schritt 1: Felge gründlich Reinigen


Schritt 2: Startpunkt vor dem Ventilloch wählen


Schritt 3: Felgenband unter Spannung einkleben

Schritt 4: Felgenband fest andrücken

Schritt 5: Felgenband abschneiden

Schritt 6: Ventilloch freilegen

How to install tubeless rim tape
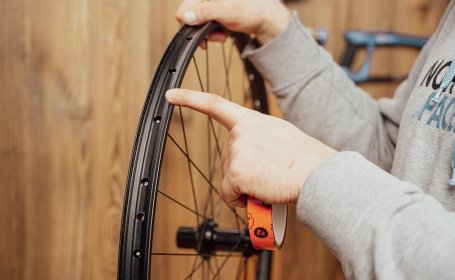
1. Clean the rim thoroughly
Before you start, the rim bed must be clean, grease-free, and dry. Completely remove old adhesive residue, dust, or sealant residue. Brake cleaner is particularly suitable for this, as it evaporates without leaving any residue and ensures optimum adhesion.
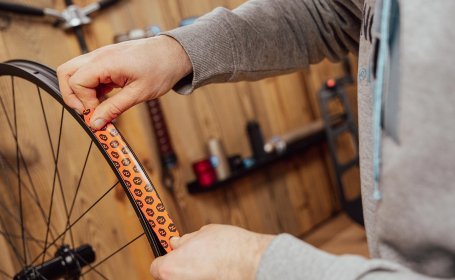
2. Choose a starting point in front of the valve hole
Start sticking the tape a few centimeters in front of the valve hole. This ensures that the valve does not lie directly on the edge of the rim tape and can seal reliably.
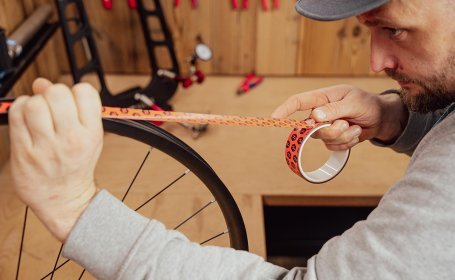
3. Stick the rim tape under tension
Pull the bc basic Tubeless rim tape evenly under tension and stick it in the center of the rim bed. Work your way around the rim and press the tape down continuously. At the end, the rim tape should overlap by approx. 5 cm to ensure a secure seal.
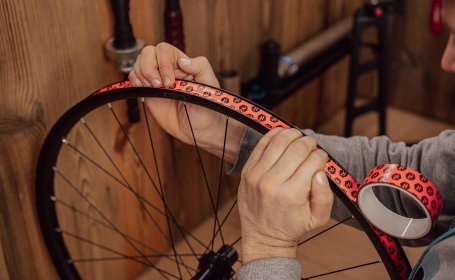
4. Press the rim tape down firmly
Now press the rim tape firmly into the rim bed, especially in the transition areas to the rim flanges. The cleaner the tape fits, the more reliably the tubeless system will hold air later.
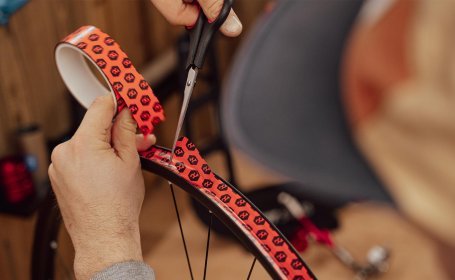
5. Cut the rim tape
Make sure to cut the rim tape with rounded edges at the end rather than straight across. Sharp edges can cause air or dirt to collect underneath the tape. This can reduce adhesion and negatively affect the seal.
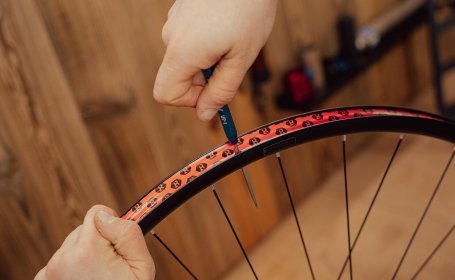
6. Expose the valve hole
Heat a nail or a thin metal tip and use it to carefully pierce the valve hole in the center. Melting the rim tape prevents sharp cutting edges, reducing the risk of tears and leaks.


